On today’s blog post we are going to be thinking about looking after your ink pads.
The Classic Stampin’ pads come in a range of 50 colours and are the staple item in any stamper’s craft collection.
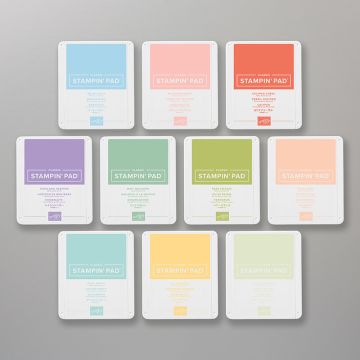
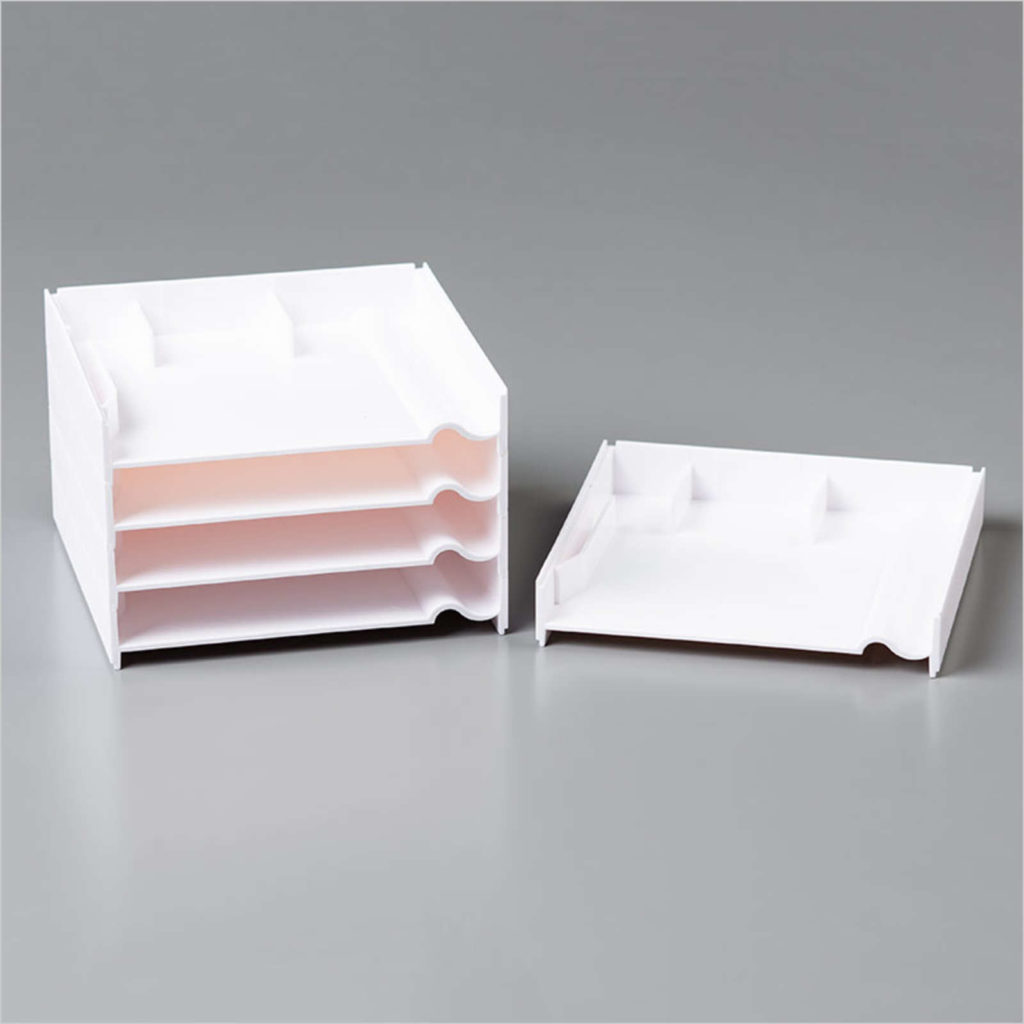
We have had our new design of the Stampin’ Up! Classic Stampin’ Pad for a couple of years now, but they may be completely new to you. The cases are designed to stack well, taking up less space on your shelf. Of course you can also invest in our beautiful storage.
How to Open
To open the ink pad, simply open like a makeup compact, flip the top fully open, then slide it down the track until the top covers the base. New ink pads can be stiff and difficult to slide. If this happens, take a small candle, such as a birthday cake candle, and rub the wax across each track. Gently slide the top back and forth to even the wax film. Blow out any loose wax pieces so they don’t end up on the ink pad. The ink pads loosen with use and get easier to open over time.
How to Close
To close the ink pad, slide the top by pulling the grooved end away from the base. When the stops hit the back of the tracks, flip the lid closed. Ensure the lid closes tight to prevent them drying out.
Applying Stickers
From the closed position, flip the ink pad over – you will see coloured stickers in several languages and a sticker with no text. Choose the ink pad name in your language and apply the sticker to the base of the front of the ink pad. Take the blank sticker, open the ink pad and place the sticker in the grooved area next to the ink foam. When the ink pad is sitting in the open position you will be able to tell what color it is.
Re-inking
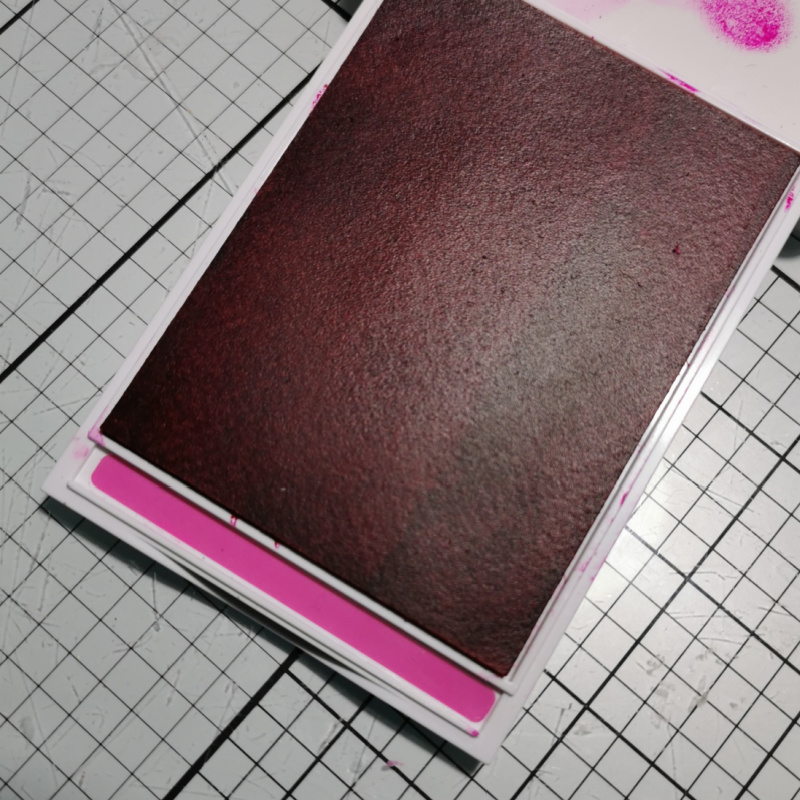
Ink pads will eventually need re-inking. It is best to purchase the re-inker when you purchase the ink pad so you are never stuck with a dry pad. To re-ink, first double check that the name on the ink refill bottle matches the name on the ink pad. Squeeze ink onto the pad evenly but sparingly. The ink will sit on top of the foam. Take a bone folder or a teaspoon and gently work the ink into the foam. Repeat this process until the ink pad looks evenly inked. If you over ink, take a paper towel and dab off excess ink. Ink will easily wipe off the bone folder or spoon.
Cleaning
Inky fingers are a by product of stamping. Your inky fingers often lead to ink on the case. To clean stray ink off the ink pad case, use a damp paper towel with a little dish detergent. Rub away the stray ink to keep your ink pads looking new.
Reassembling an Ink Pad
Fortunately, these pads stay together better than the previous model, however, they can come apart. To reassemble, look at a pad that is assembled. Open it and note the positioning of the nubs on the firm foam piece with respect to the front of the ink pad. Take the two pieces of the unassembled pad. Insert one side nub into the slide groove at an angle. Place the opposite side nub into the opposite slide groove and tug it into place. Wash hands as you will get ink on you!
How can I Help?
These ink pads are so versatile. From stamping, to water colouring, to blending. They handle all these jobs beautifully. Have
If you live in the UK, I would love you to choose me as your demonstrator.
- You can shop here or click on the images listed below.
- sign up for my newsletter to receive news and inspiration
- Find out more about joining my team to get a 20% discount on your craft supplies
- email me if I can be of any assistance.
- Make sure you use the current host code so I can thank you for your order.
- Anyone purchasing from me will receive a Tutorial Bundle as a Thank You.
