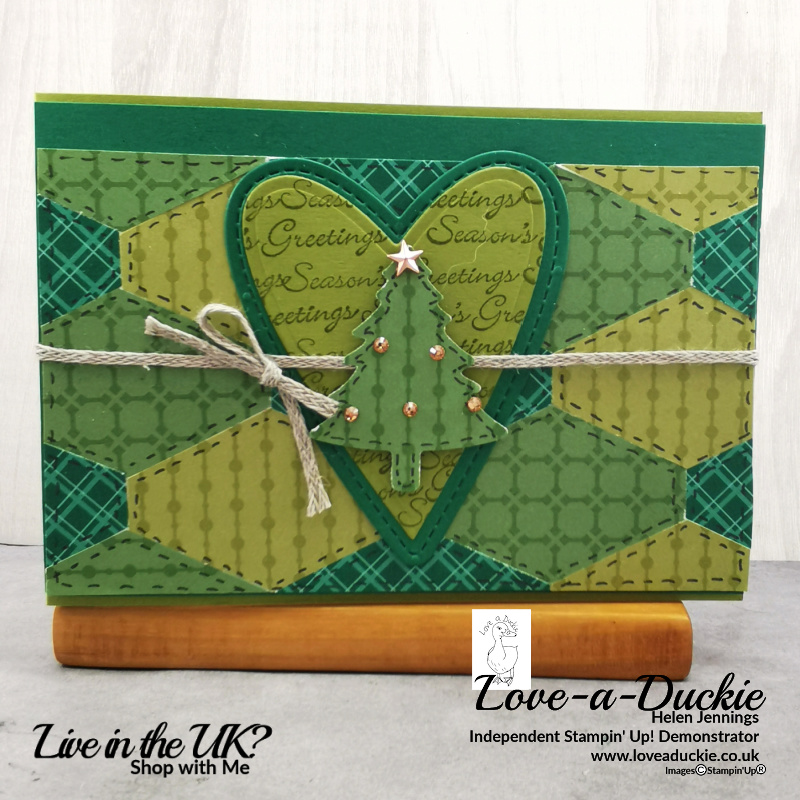
For the Stampin’ for Christmas blog Hop this month, I thought I would share a Quilted paper Christmas card.

A Quilted Paper Christmas Card
For my project I used papers from the Regal paper Stack that you can receive as a free gift if you join the Stampin’ Up family before February 28th.
- Stamps: Itty Bitty Christmas;
- Inks: Old Olive
- Tools: Tailored Tag Punch; Stitched be Mine Dies; Pine tree Punch
- Paper: Regal Paper Stack; Old Olive card; Shaded Spruce card; Basic White card
- Embellishments: Braided Lined Trim; Star Designer Elements; Champagne Rhinestones
- Adhesives: Adhesive Sheets; Multipurpose Liquid Glue; Dimensionals
| Metric A4 | Imperial letter-size | |
| Old Olive | 29.7cm x 10.5cm scored at 14.9cm | 11″ x 4 1/4″ Scored at 5 1/2″ |
| Shaded Spruce | 14.9cm x 10cm | 5 1/2″ x 4″ |
| Green Card | 14.9cm x 9.5cm | 5 1/2″ x 3 3/4″ |
| Basic White | 13.9cm x 9.5cm | 5″ x 3 3/4″ |
Instructions
- Fold the card base in half.
- Punch shapes out of 3 designs of green paper (Shaded Spruce, Old Olive and Garden Green) with the Tailored Tag Punch. You’ll need 4 of each.
- Mark the centre of the smaller piece of green card, stick a piece of adhesive sheet to it, peel off the backing and position the central punched shape. Arrange and stick the rest of the shapes around it until the card is full. You will find you can use half pieces to fill gaps.
- Use a fine black pen to draw in the stitched lines. I used the now retired, journalling pen.
- Stick this mat to the Shaded Spruce mat.
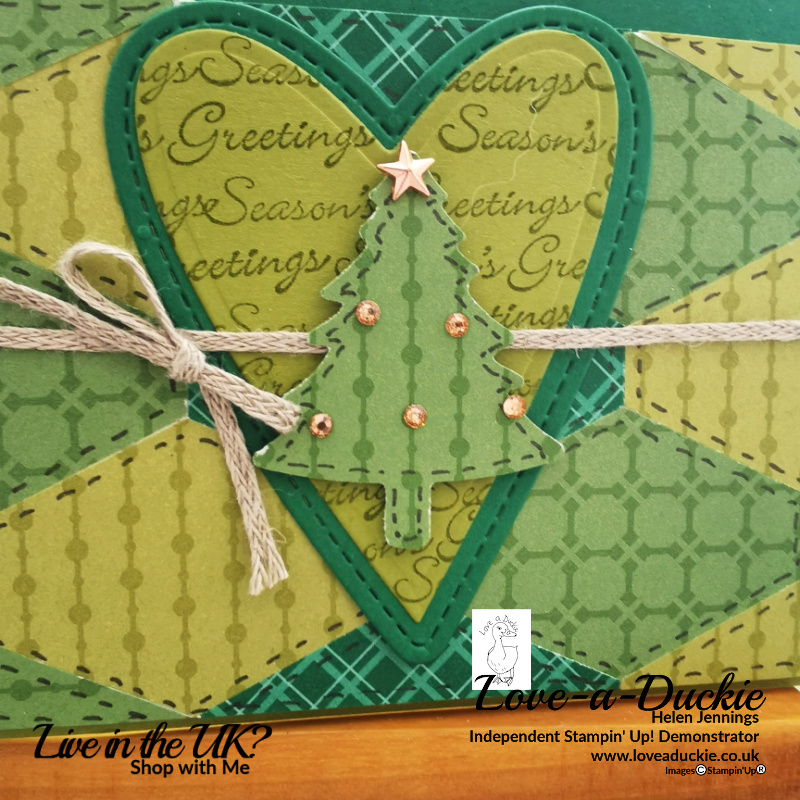
- Die cut a Shaded Spruce heart and a smaller Old Olive Heart.
- Stamp the greeting all over the Old Olive heart with Old Olive ink. Stick the two hearts together and then stick them to the card front with multipurpose liquid glue.
- Wrap a length of Braided linen trim around the layers and then stick these mats to the card base.
- Punch a Pine Tree from Garden Green paper. Stick to the card front with dimensionals. Add a star to the top of the tree and champagne rhinestones for baubles.
- Attach a bow of Braided Linen Thread with a glue dot.
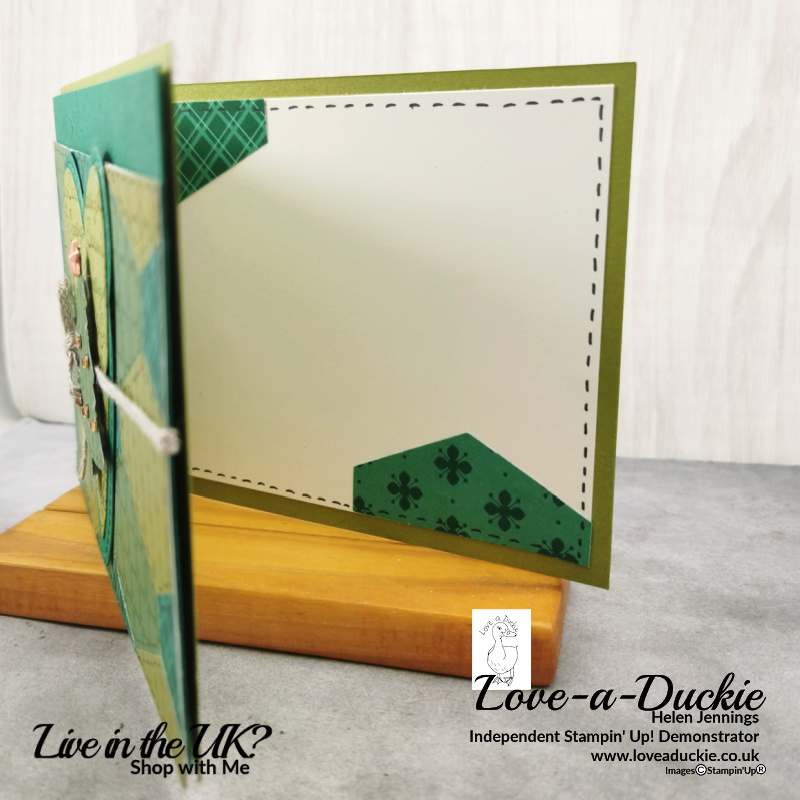
- Stick a Basic White mat inside for your greeting panel. Add some left over pieces of tag punched shapes to this mat to decorate and finish with faux stitching all around the edge.
Hop from Here
I hope you have enjoyed my project. Do leave a comment if you can, because it certainly makes my day. Then it is time to hop around all the other projects
February Blog Hop Roll Call
Helen Jennings – You are here
How Can I Help?
Whether you are someone who makes there Christmas cards all through the year, or just plans to, I hope you have enjoyed this one. You could easily adapt the idea for different papers, different shapes and different occasions. If you get your hands on these papers, you will be spoilt for choice.
Stay safe and Stay well
Helen xx
If you live in the UK, I would love you to choose me as your demonstrator.
- You can shop here or click on the images listed below.
- sign up for my newsletter to receive news and inspiration
- Find out more about joining my team to get a 20% discount on your craft supplies
- email me if I can be of any assistance.
- Make sure you use the current host code so I can thank you for your order.
- Anyone purchasing from me will receive a Tutorial Bundle as a Thank You.




A beautiful patchwork card Helen!
What a labour of love, but worth every dash! Lx
Fabulous card, one of my favourite punches
Very creative! Excellent use of punches
I love your patchwork card Helen – so pretty !
Love the way you used all the punches and the different greens together!
Love your card and the use of punches x
Lovely card Helen, I love Patchwork 🙂
Thank you for joining the Stampin’ for Christmas Blog hop xx
Great concepts for our punches with Christmas!