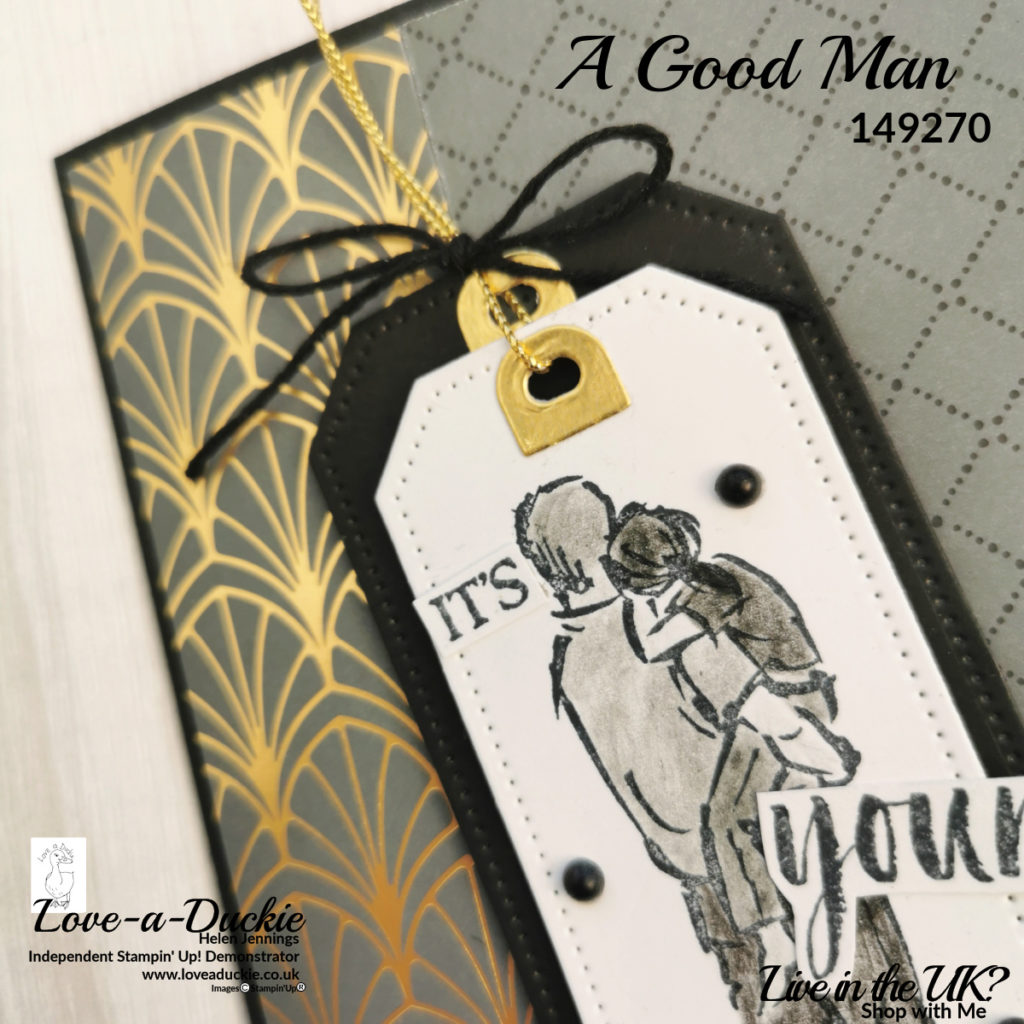
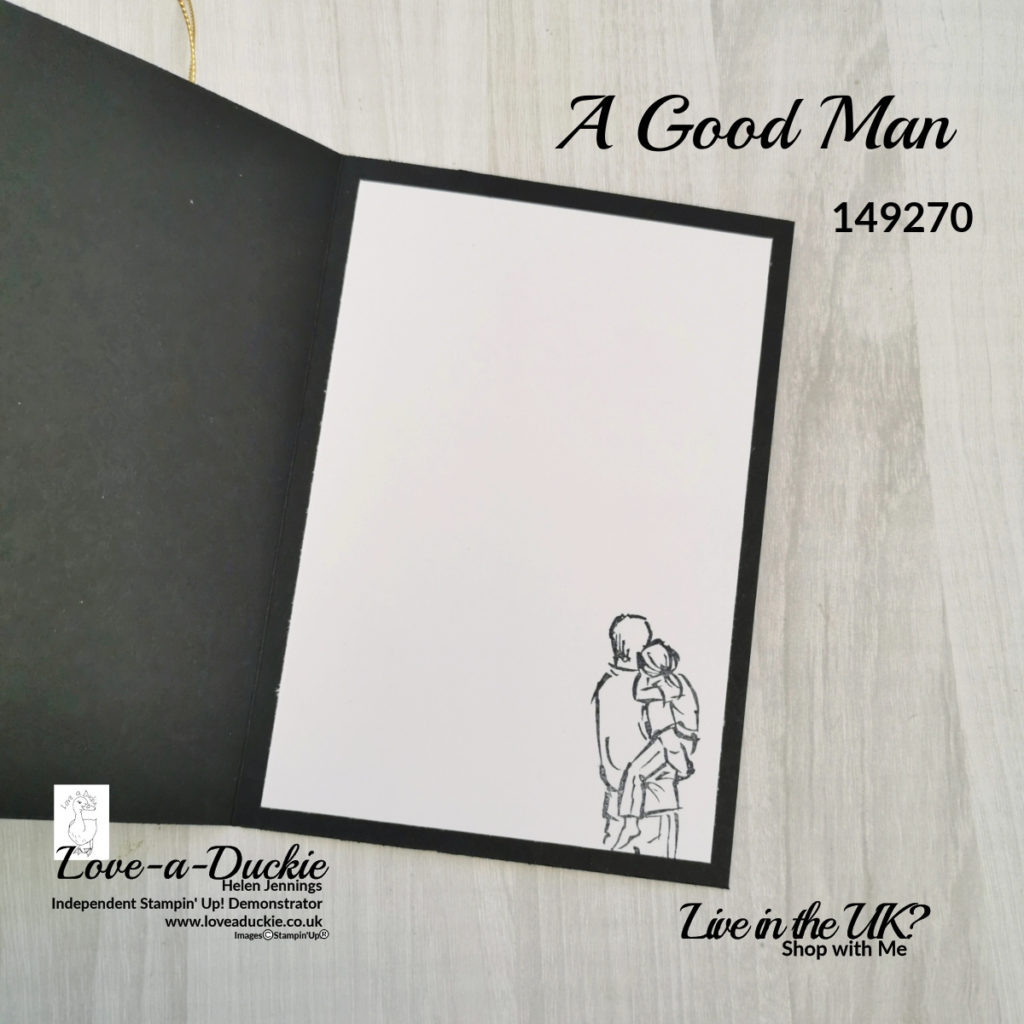
For this blog hop I have created a masculine birthday card,
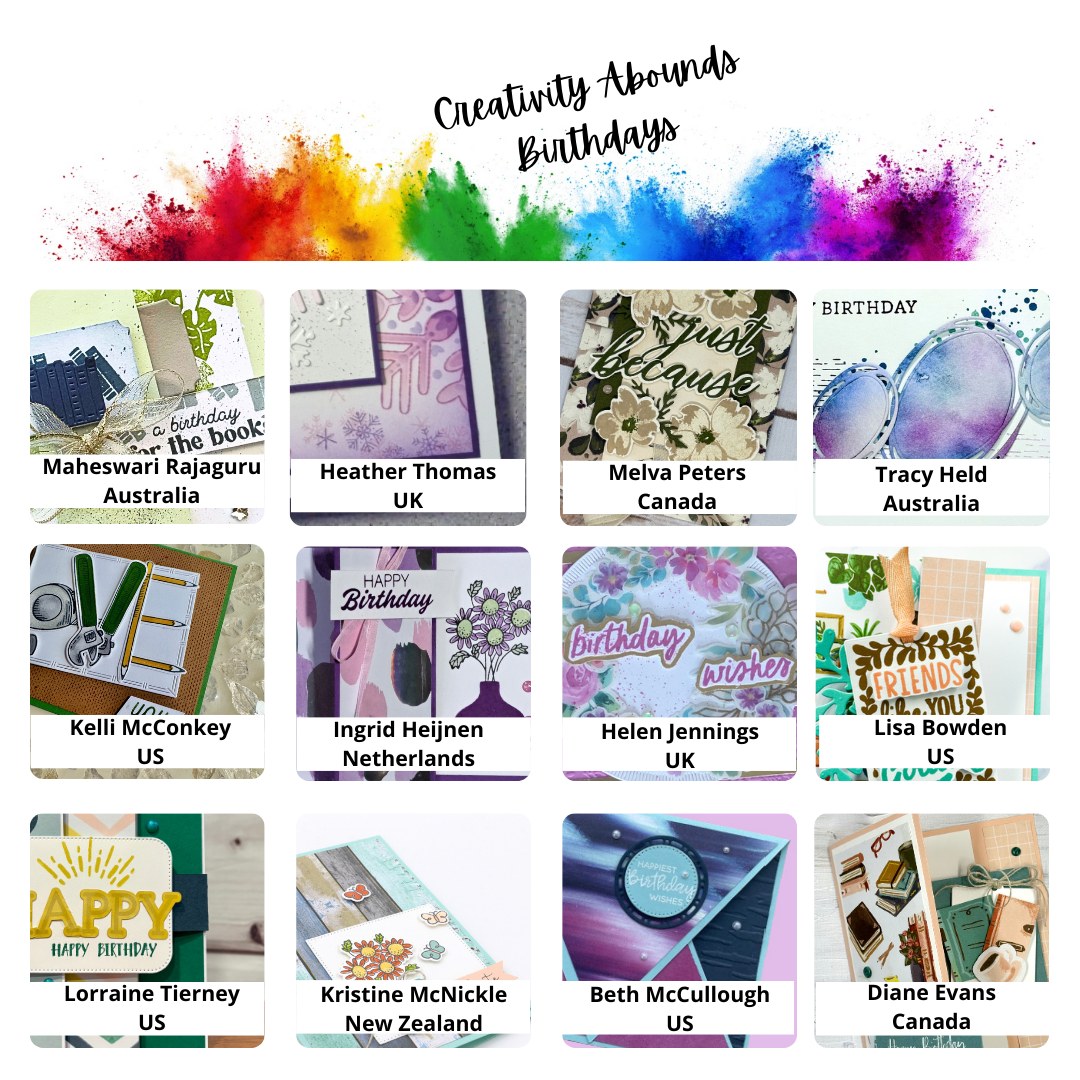
Each month, the team that brings you the Creative Stampers Tutorial Bundle also brings you these blog posts to give you a flavour of this month’s projects. We can’t show you the tutorial projects, because those are exclusive to those who earn or buy the bundle. However, I can give you a sneak peek of mine.
A Masculine Birthday Card
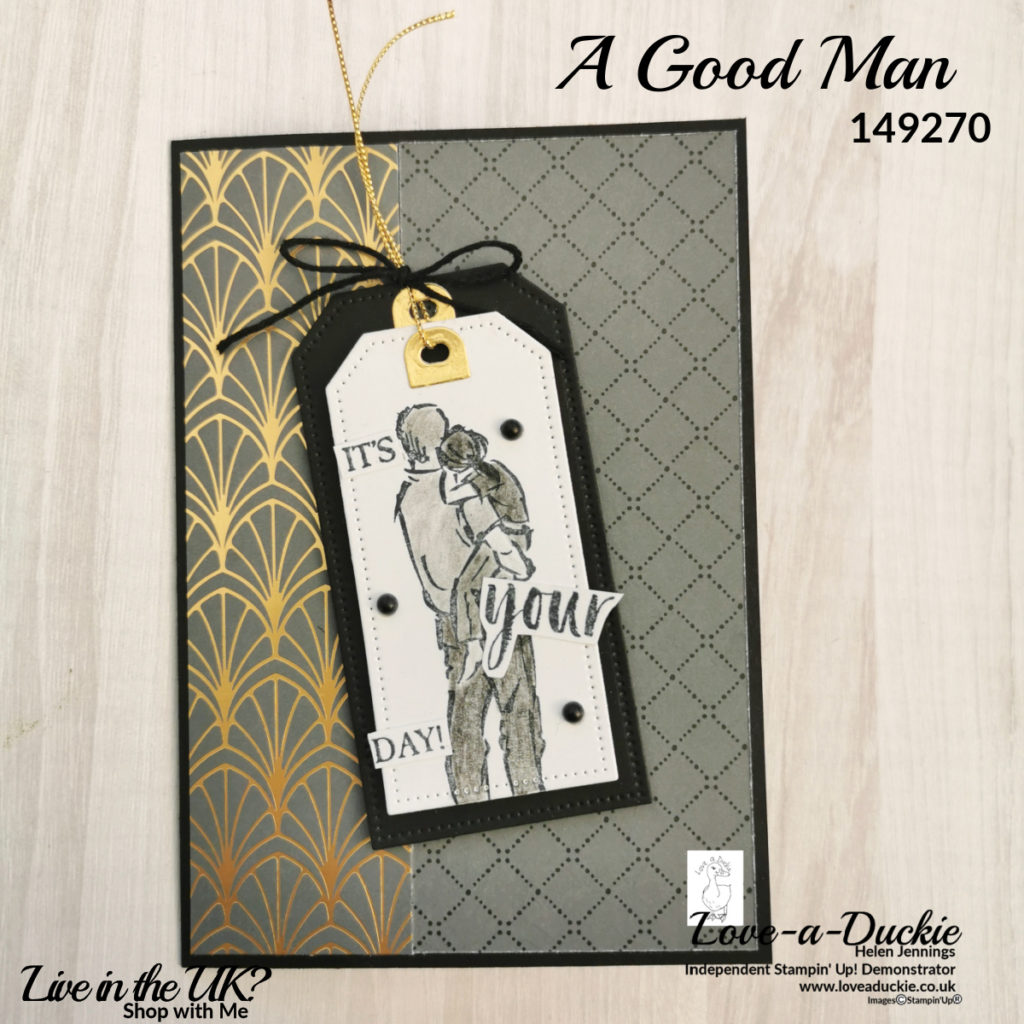
For my hop project, I have stayed with the same stamp set as I used in my tutorial – A Good Man, but combined it with some new products from the Annual catalogue which launched yesterday.
- Stamp Sets: A Good Man
- Tools: Tailor Made Tags; Mini Stampin’ Cut & Emboss Machine
- Paper/Card: Basic Black; Basic White; Gold Foil; Simply Elegant Speciality Designer Series Paper
- Ink & Pens: Memento, Watercolour Pencils
- Embellishments: Matte Black Dots; Baker’s Twine Essentials Pack; Simply Elegant Trim
- Adhesives: Multipurpose Liquid Adhesive; Stampin’ Dimensionals
| A4 Metric | ImperialLetter size | |
| Basic Black Card Base | 14.9cm x 21cm Scored at 10.5cm on the long side | 8 1/2″ x 5 1/2″ Scored at 4 1/4″ on the long side |
| DSP | 14.4cm x 10cm | 5 1/4″ x 4“ |
| Basic White | 13.9cm x 9.5cm | 5″ x 3 3/4″ |
Instructions
- Fold the card base along the score line. Cut a 1″/4cm strip from the DSP and flip it over. Stick the two pieces of DSP to the card front with the foiled piece showing on the smaller left hand side and the diamond pattern on the larger right hand side.
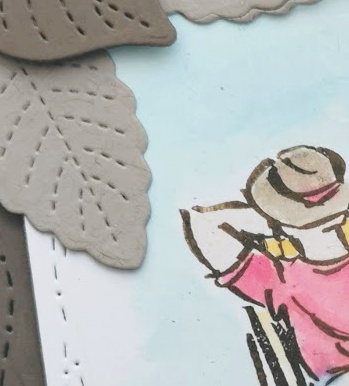
- Die cut the two tags, the largest one in Black and the 2nd largest in white. Cut the corresponding reinforcer pieces from gold foil.
- Stamp the image onto the white tag with Memento ink and colour in with the Basic Black and Basic gray watercolour pencil
- Stick the reinforcers in place on the two tags and stick the tags together with dimensionals. Thread the gold thread through both holes and then tie a bow around the thread with Black Baker’s twine. Add the tag to the card front with dimensionals.
- Stamp the greeting onto a small piece of Basic White cardstock and cut out the individual words. Stick these to the tag and finish with some Black matte Dots.
- Stamp the image onto the corner of the Basic White mat before sticking it to the inside of the card.
Let’s Hop
I hope you have enjoyed my project. Do leave a comment if you can, because it certainly makes my day. Then it is time to hop around all the other projects

How Can I Help?
I hope you found lots of inspiration for those tricky masculine cards. You will find the new Creative Stamper’s Tutorial available to purchase,along with others. Add them to your basket today and they will keep you busy for some time.
Stay safe and stay well
Helen xx
If you live in the UK, I would love you to choose me as your demonstrator.
- You can shop here or click on the images listed below.
- sign up for my newsletter to receive news and inspiration
- Find out more about joining my team to get a 20% discount on your craft supplies
- email me if I can be of any assistance.
- Make sure you use the current host code so I can thank you for your order.
- Anyone purchasing from me will receive a Tutorial Bundle as a Thank You.
