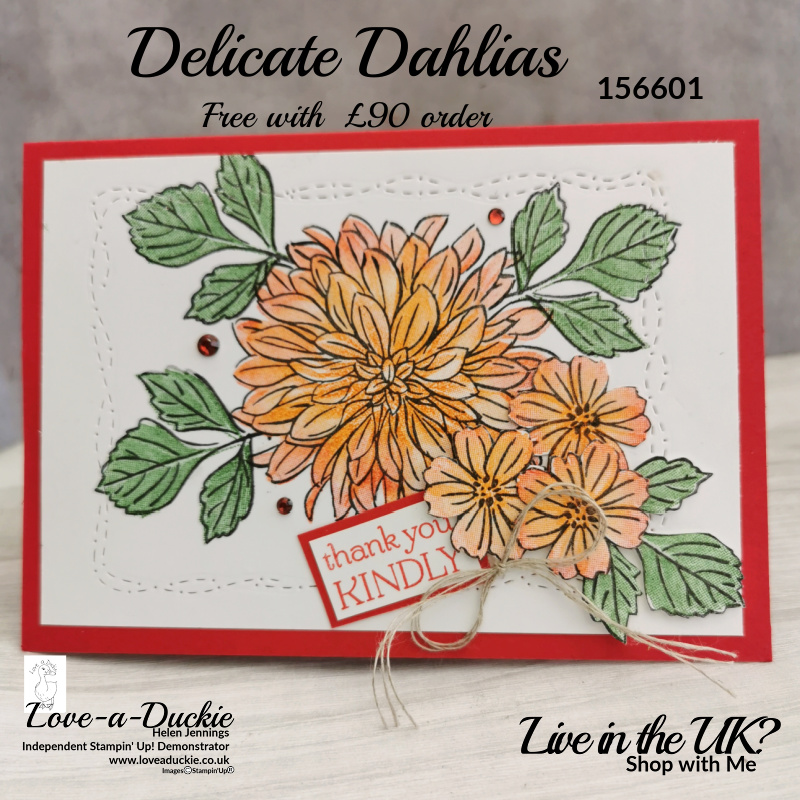
I have created this Floral Thank You card using one of the new Sale-a-Bration products that are now available.
On this Crafty Collaborations Blog Hop you are going to find lots of inspiration for using these fantastic money can’t buy items. They are only available as free gifts with qualifying orders.
My Floral Thank You Card
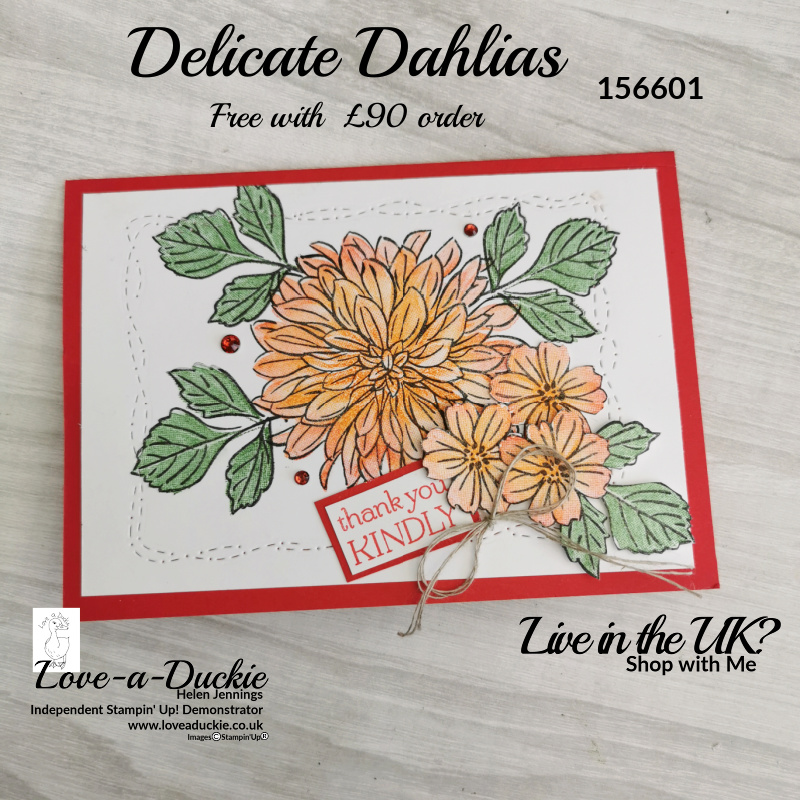
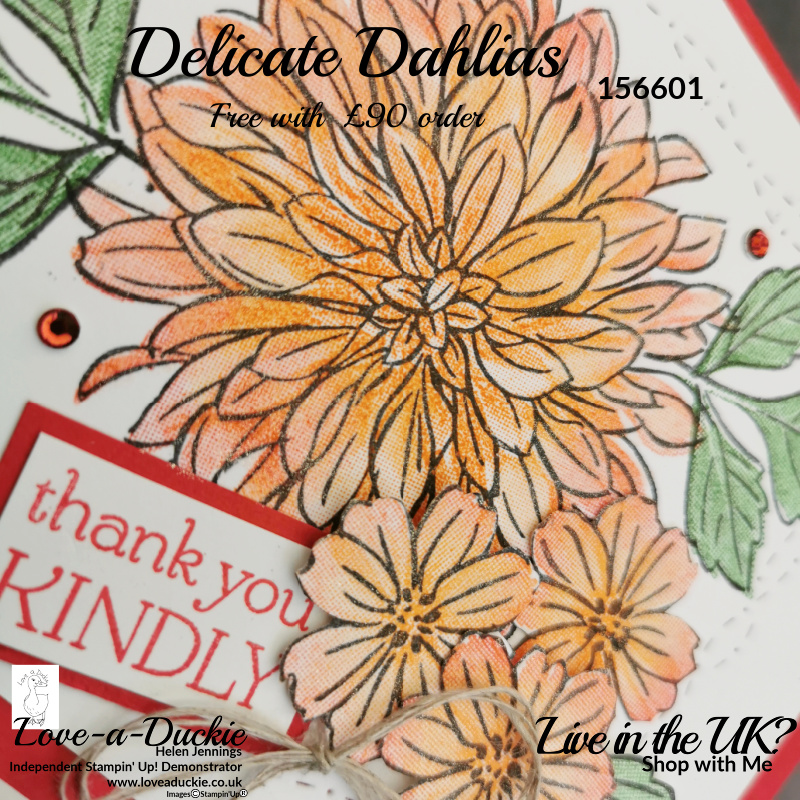
I’m loving this Delicate Dahlias stamp set. it is a two step, distinktive stamp set. You can choose to use the outline and infill stamps together, as I have here, or you can use them separately for other great techniques and effects.
Product ListStamp : Delicate Dahlias Photopolymer Stamp Set (English) [156601] £0.00
Ink : Tuxedo Black Memento Ink Pad [132708] £5.50 , Pumpkin Pie Classic Stampin' Pad [147086] £7.00 , Real Red Classic Stampin' Pad [147084] £7.00 , Garden Green Classic Stampin' Pad [147089] £7.00
Card Stock : Real Red A4 Card Stock [106578] £8.25 , Basic White A4 Cardstock [159228] £9.00
Tools & Adhesive : Sponge Daubers [133773] £4.75 , Clear Wink Of Stella Glitter Brush [141897] £7.50
Ribbon & Trim : Linen Thread [104199] £4.75
Accessory : Holiday Rhinestone Basic Jewels [150457] £5.50
Die Cut & Emboss : Stitched With Whimsy Dies [155314] £27.00
| A4 Metric | Imperial letter size | |
| Real Red Card Base | 14.9cm x 21cm Scored at 10.5cm on the long side | 8 1/2″ x 5 1/2″ Scored at 4 1/4″ on the long side |
| Basic White | 13.9cm x 9.5cm | 5″ x 3 3/4″ |
| Basic White Insert | 13.9cm x 9.5cm | 5″ x 3 3/4″ |
Instructions for Floral Thank You Card
- Fold the card along the score line.
- Run the basic White Layer through the Stampin’ Cut and Emboss machine with the Stitched with Whimsy Die.
- Stamp one large dahlia and three sets of leaves onto this stitched mat. Stamp another set of leaves and 3 small flowers onto a piece of Basic White.
- Add colour to the flowers with the infill stamp. ink up with Pumpkin Pie and then add some Real Red around the edges with a sponge dauber before lining up and stamping over the outline image. Repeat with the small flowers.
- Stamp the leaves in Garden Green.
- Paint over the top with Wink of Stella to give it some sparkle.
- Stamp the greeting onto a small piece of white card and back with a real red mat.
- Arrange the flowers and greeting on the stitched mat. Stick one small flower flat with multipurpose adhesive and raise the rest up with dimensionals. Stick to the card front
- Add some red rhinestones and a linen thread bow.
Let’s Hop
I hope you have enjoyed my project. Do leave a comment if you can, because it certainly makes my day. Then it is time to hop around all the other projects
How Can I Help?
I hope you have been inspired by this project and are creating you shopping list so you can add this free item to your basket.
Don’t hesitate to contact me if I can be of any help in your crafting journey
Stay safe and stay well
Helen xx
If you live in the UK, I would love you to choose me as your demonstrator.
- You can shop here or click on the images listed below.
- sign up for my newsletter to receive news and inspiration
- Find out more about joining my team to get a 20% discount on your craft supplies
- email me if I can be of any assistance.
- Make sure you use the current host code so I can thank you for your order.
- Anyone purchasing from me will receive a Tutorial Bundle as a Thank You.









So pretty!
Beautiful card! I love the stitching around the edge!
A beautiful card, love this stamp set 🙂
Lovely card
Love the colors and the use of the Stitched Whimsey dies.
Lovely card x
lovely card! So pretty
Love to see these dahlias used in a different colour combination. Your card is so pretty. Thanks for sharing
great idea to add the whimsy die
Lovely card! I love this set!
great card