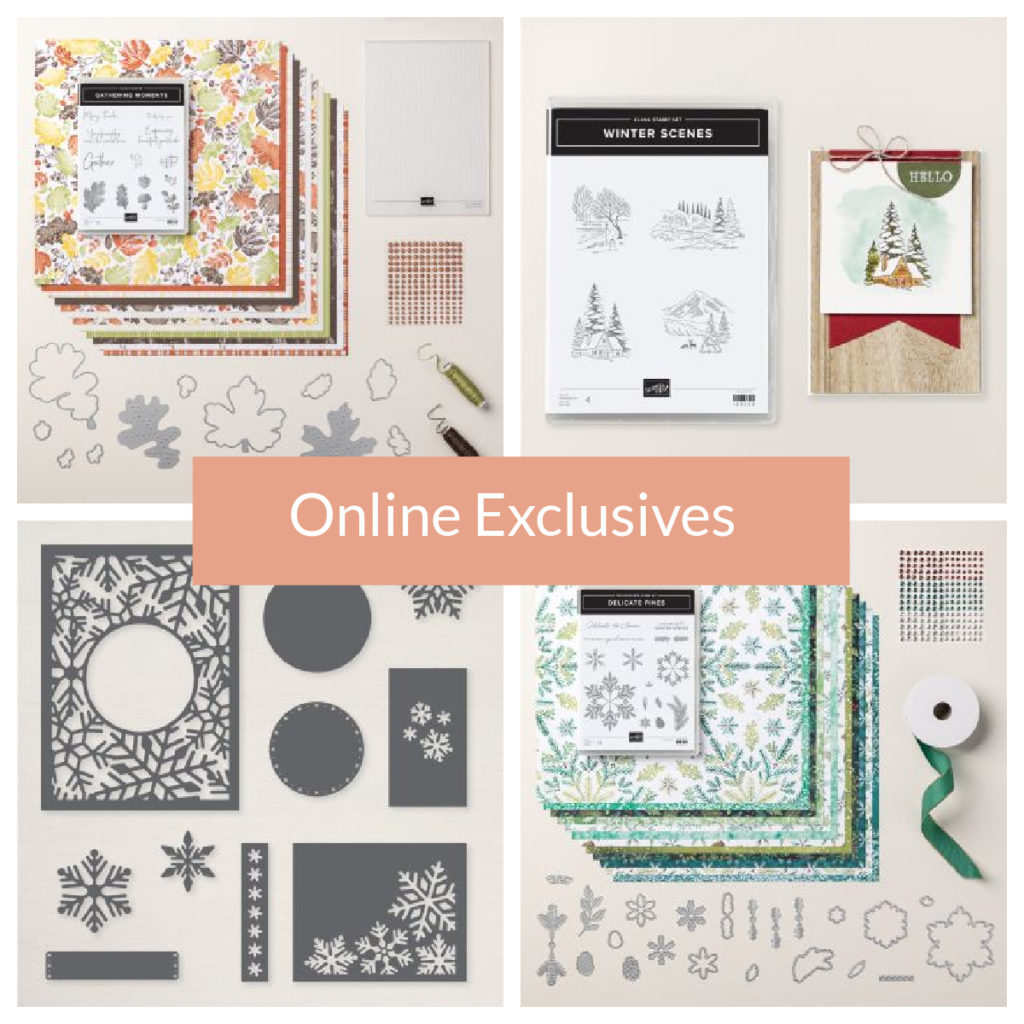
As part of World Cardmaking Day on Saturday I created a Mystery Stamping Card with the Harvest Meadow Suite. Of course, whilst all the clues were being published, nobody knew that my card had been created with those products. That is where the mystery comes in.
Supplies
The idea of a mystery stamping event is that you don’t get to see the card I’ve created until the end. To begin with you will only have supplies with instructions to follow. At the end you can then compare what we have created.
If you would like to have a go, here are the supplies you will need.
- 3 pieces of DSP (patterned paper), coordinating but different patterns. 14.4cm x 10cm; 14.4cm x 7.5cm and 14.4cm x 2cm.
- A piece of coordinating cardstock 21cm x 14.9cm
- A 21cm piece of coordinating ribbon.
- 2 layering labels, the smallest in white and the larger in a colour that coordinates with your paper – largest measuring approximately 9cm x 5cm
- Die cuts or punched elements that are long and thin
- A Stamp set for sentiment and small decorations.
- Coordinating ink.
- Some embellishments e.g rhinestones, gems, enamel dots.
- A Basic White insert measuring measuring 13.9cm x 7cm
During the event, the instructions were published at 15 minute intervals.
The Clues For A Mystery Stamping Card
Score your cardstock at 10.5cm and 18.5cm on the long side. Fold the card along the centre fold to create the basic card base and fold the last score line back on itself so that the front panel is now narrower than the back panel and has a fold back flap on the right hand side
Stick your three paper pieces in place. The 14.4cm x 10cm goes on the back panel, the 7.5cm x 14.4cm goes on the front panel and the 2cm x 14.4cm piece goes on the fold back panel.
Lay your length of ribbon down the front flap and fold the ends over to the back of the flap and secure in place with tape.Stick your front flap down with dimensional foam pads.
Die cut/punch your labels. Stamp your sentiment on your white label and add any additional stamped decoration you would like. Stick the two layers together and lay to one side.
Die cut/punch your decoration for your left hand front panel and stick in place
Stick the labels in place using dimensional foam pads on the left hand side and glue, tape or glue dots over the fold back section.
Add your embellishments. Add any stamped decoration you would like to your white insert and then stick to the inside flap.
Finished Card
Hopefully you now have a completed card. As I said at the beginning, my sample used the Harvest Meadow suite of products.
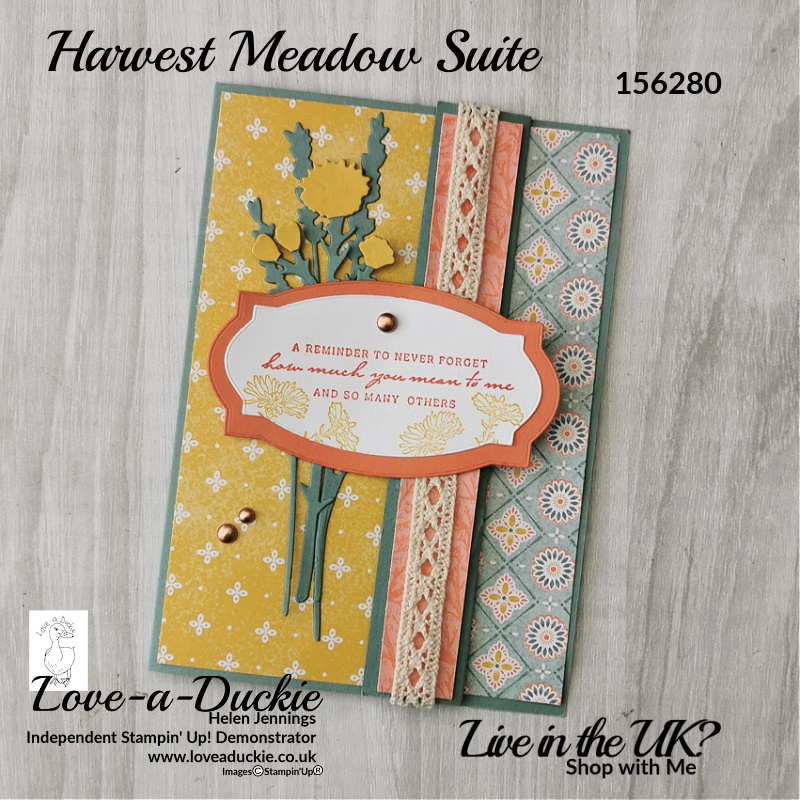
There are some lovely patterned papers in this suite and this style of card is great for showing them off.
How Can I Help?
If you have a go at creating a card with different products, I would love to see the finished result. It is the variety of cards that you can end up with that makes mystery stamping events so much fun.
If there is anything I can help you with, whether it is buying supplies, or more information about something you have read, don’t hesitate to get in contact.
Meanwhile stay safe and stay well
Helen xx
If you live in the UK, I would love you to choose me as your demonstrator.
- You can shop here or click on the images listed below.
- sign up for my newsletter to receive news and inspiration
- Find out more about joining my team to get a 20% discount on your craft supplies
- email me if I can be of any assistance.
- Make sure you use the current host code so I can thank you for your order.
- Anyone purchasing from me will receive a Tutorial Bundle as a Thank You.
