As we launch a new Festive Friday Challenge, I am sharing how to create a paper treat bag using Stampin’ Up’s Sweet Talk Designer Series Paper.
For this challenge we are celebrating National Eat What You Want Day which happens on May 11th. We have used this theme to create our Inspo List.
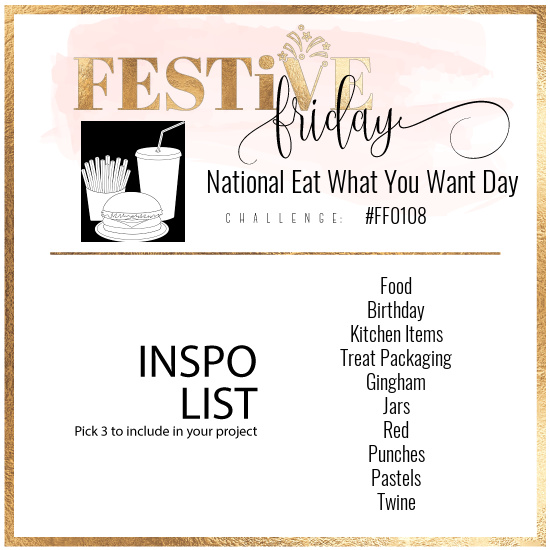
The Inspo List is 10 items you can choose from to create your project in our card making and paper crafting challenge. Incorporate THREE of the items in your project and link up! And guess what? Your project doesn’t have to be about the theme at all! The selected festivity is just a unique way to come up with a fun and interesting inspiration list!
My project used: Food, Treat Packaging, Jars, Red, Punches, Pastels and Twine
Create a Paper Treat Bag
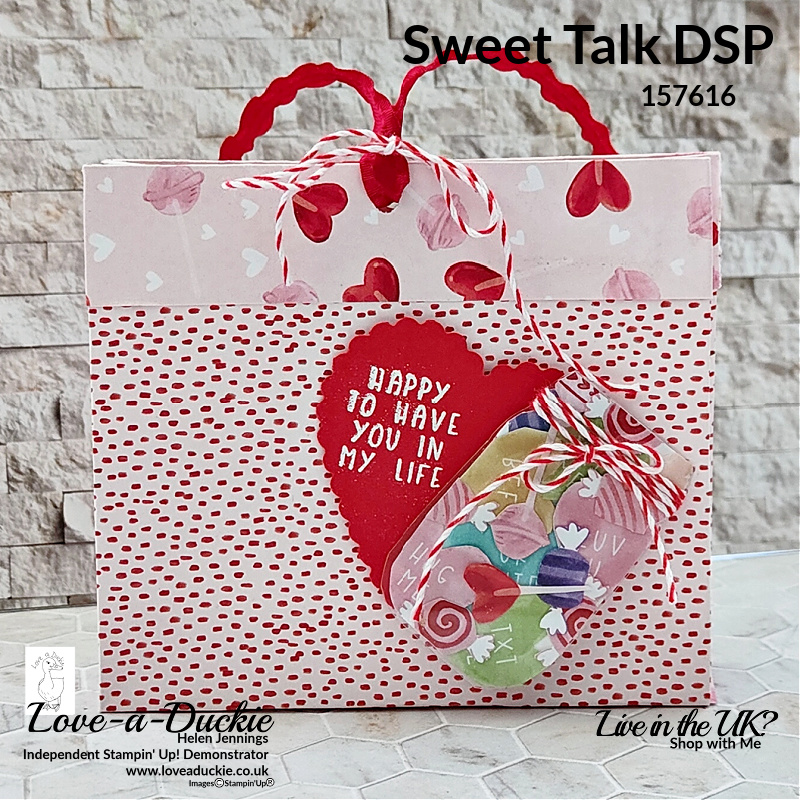
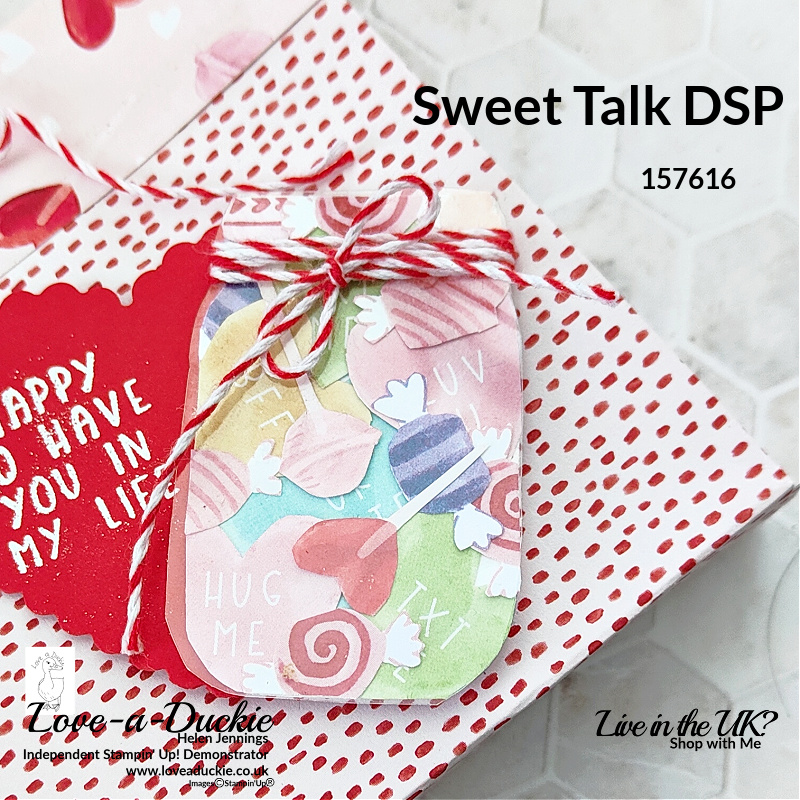
For my project I have created this treat bag which is decorated with a jar that is jam packed with fussy cut sweets. I’m sure lots of people will be dipping into the sweetie jar on May 11th.
Instructions
- The bag is made from a piece of 12″ x 6″ designer Series Paper. The paper is scored at 1″ and 5″ on the short side. On the long side it is then scored at 1″, 5 1/2″, 6 1/2″ and 11″.
- The top 1″ is folded down to create the border strip around the top.
- On the bottom strip, you need to cut 1″ up on all the score lines to meet the horizontal score line and then the small square on the right hand is is cut away completely.
- The bag is stuck together on the 1″ side strips and then the bottom flaps are folded up and stuck in place. The sides are pinched in to give the bag shape.
- The fussy cut sweets are stuck to a punched jar of Basic White card and then a piece of jar shaped window sheet is added on the top with glue dots on the section that will be covered by twine.
- Next, a length of twine is wrapped around the neck of the jar three times and then tied with a bow.
- The greeting is heat embossed in white onto a punched scalloped heart and then the heart and jar are attached to the front of the bag with dimensionals.
- A hole is punched in the top of the bag and some ruffled ribbon thread through. This is finally secured with a twine bow.
Let’s Hop
I hope you have enjoyed my project. Do leave a comment if you can, because it certainly makes my day. Then it is time to hop around all the other projects
For more inspiration, be sure to visit the rest of the Festive Friday Challenge Design team.
Helen Jennings – You are Here
How Can I Help?
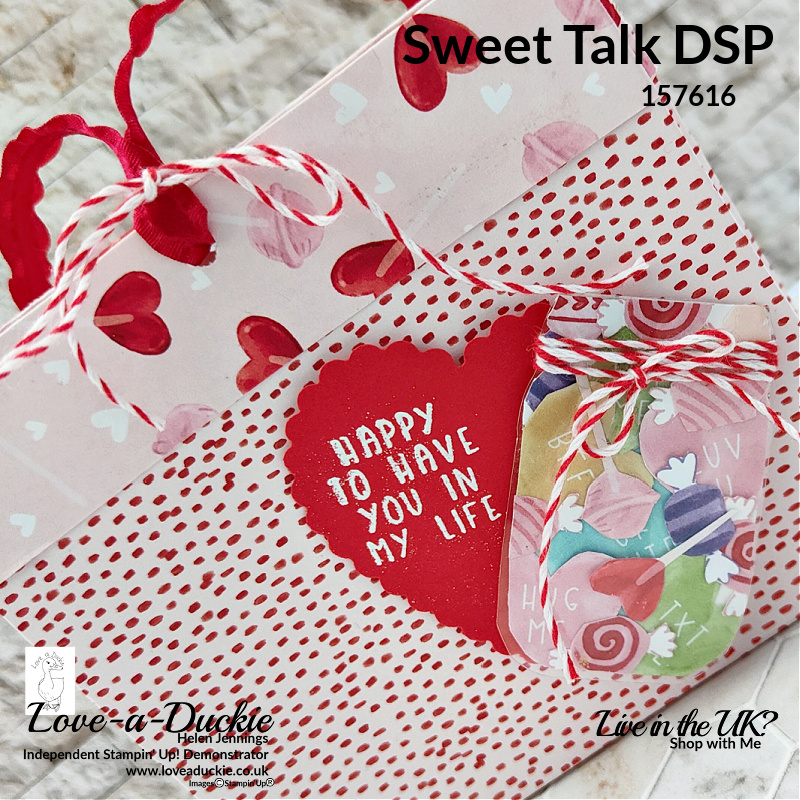
This simple little gift bags can be made from any design of paper and can also be sized up and down to fit the contents.
I hope you have been inspired to get involved with this new Festive Friday Challenge, because we can’t wait to see what you create.
Don’t hesitate to get in touch if I can help with your purchases, or if you have a crafty question.
Meanwhile stay safe and stay well
Helen xx
If you live in the UK, I would love you to choose me as your demonstrator.
- You can shop here or click on the images listed below.
- sign up for my newsletter to receive news and inspiration
- Find out more about joining my team to get a 20% discount on your craft supplies
- email me if I can be of any assistance.
- Make sure you use the current host code so I can thank you for your order.
- Anyone purchasing from me will receive a Tutorial Bundle as a Thank You.







Such a great project, and only a 1/2 sheet of DSP, plus shows off both sides of it. Anxious to give it a try!
Wow Helen, i love this . I am going to have to give this a try. It would be awesome to use for a swag bag or something
Hi Helen! This is such a cute/pretty bag and I love your idea of making the jar tags loaded with sweeties! Thank you for taking the time to post this and your instructions. I’m sure I’ll be looking for some papers in my stash to make one of this! Aloha!
This is so wonderful, Helen! I am so happy to have the instructions- going to try it out.
Adorable, Helen! The jar “filled” with conversation hearts is so cute. Thank you for the measurements and instructions. This looks like a fun one to make!
Helen, this is fabulous. I would LOVE to receive this. Thank you so much for providing the instructions, too. I love the heart filled jar and all those wonderful elements that you pulled together so beautifully
hugs
jaydee