For this month’s Casually Crafting Blog hop, I have created an In Color card by layering Designer Series Paper and adding a stamped image.

The idea behind this blog hop is to show that you can create beautiful cards even if you don’t have lots of equipment. These beautiful cards are great for crafters who are just starting out, but even avid crafters will love to try these designs.
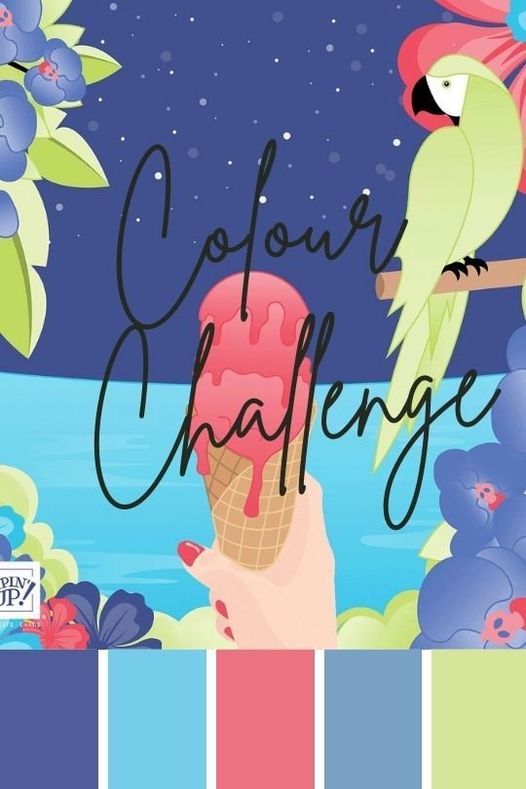
The theme this month is a Colour Challenge with the new In Colors. I may have stretched the rules slightly, as I have created a monochromatic card with just one of the colours. You could re-create the design in all 5 colours to create a set.
I have teamed the Orchid Oasis DSP with the Shaded Summer Stamp Set. This stamp set, along with coordinating dies, have returned to the product range after a period in retirement. It is a beautiful stamp set with some fabulous sentiments.
Layering Designer Series Paper
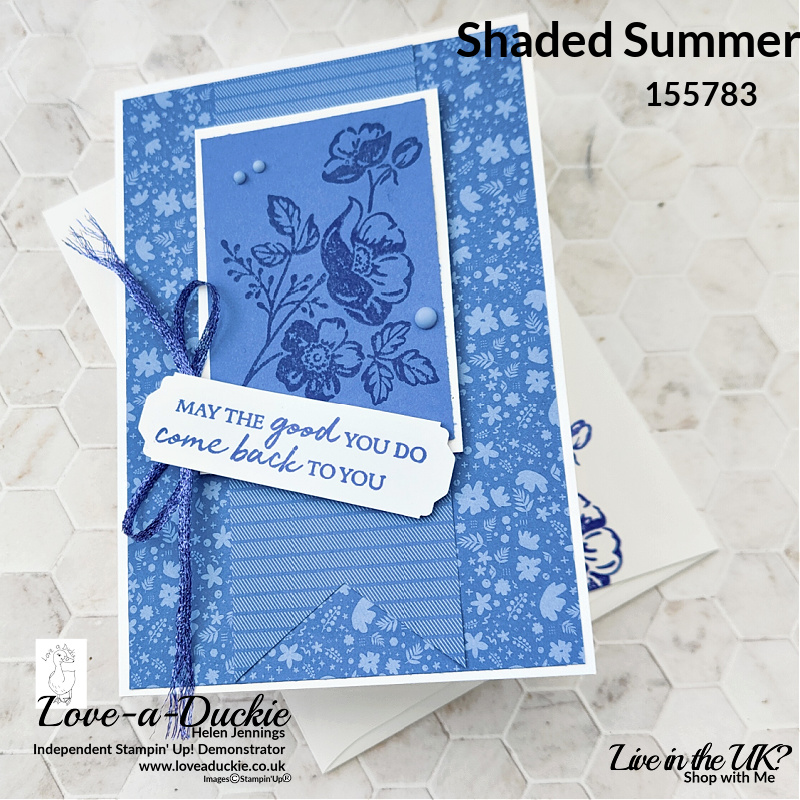
| A4 metric | Imperial letter Size | |
| Thick Basic White Card Base | 14.9cm x 21cm Scored at 10.5cm on the long side | 8 1/2″ x 5 1/2″ Scored at 4 1/4″ on the long side |
| DSP | 14.4cm x 10cm | 5 1/4″ x 4“ |
| DSP | 14.4cm x 5cm | 5 1/4″ x 2″ |
| Basic White | 6cm x 8.5cm | 2 3/8″ x 3 3/8″ |
| Orchid Oasis | 5.5cm x 8cm | 2 1/4″ x 3 1/4″ |
Instructions
- Fold the Thick Basic card along the score line to create the card base.
- Snip the end of the narrower piece of DSP to create a banner end. Stick the two DSP mats to the card base.
- Stamp the image from the Shaded Summer stamp set onto the Orchid oasis card in Orchis Oasis ink. Stick this mat to the Basic White mat. Add these to the card front with dimensionals.
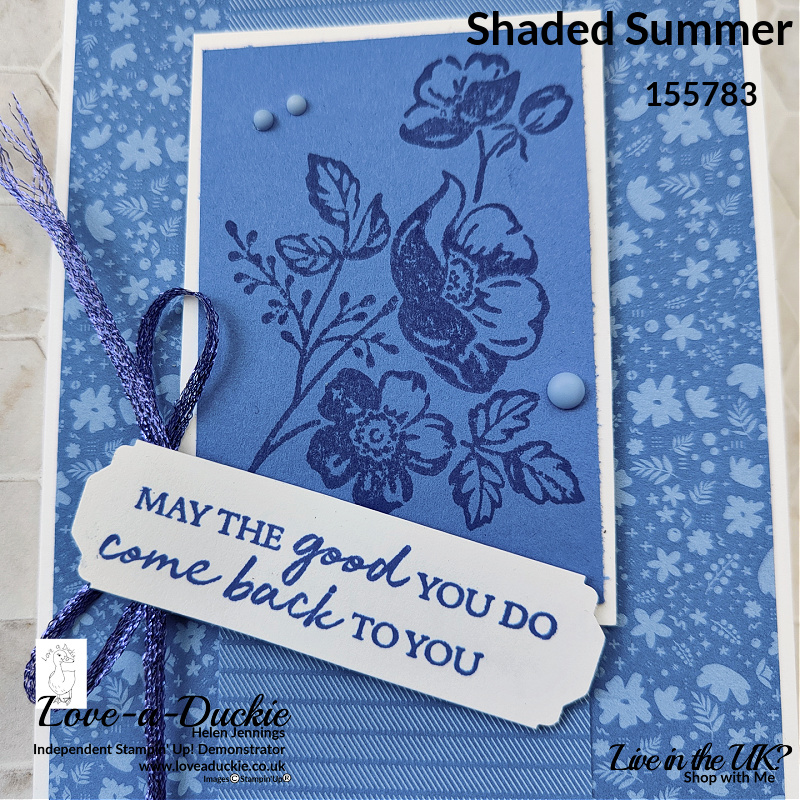
- Stamp the sentiment onto a strip of Basic White card with Orchid Oasis ink. Use the Lovely Labels Pick a Punch to shape the ends of this sentiment strip.
- Tie a bow with the Orchid Oasis Metallic Woven ribbon. Use a glue dot to attach to the underside of the sentiment strip. Stick the strip to the card front. I used a dimensional under the bottom right corner of the strip and a glue dot in the centre. Fray the ends of the ribbon.
- Embellish with some Orchid oasis Matte Decorative Dots
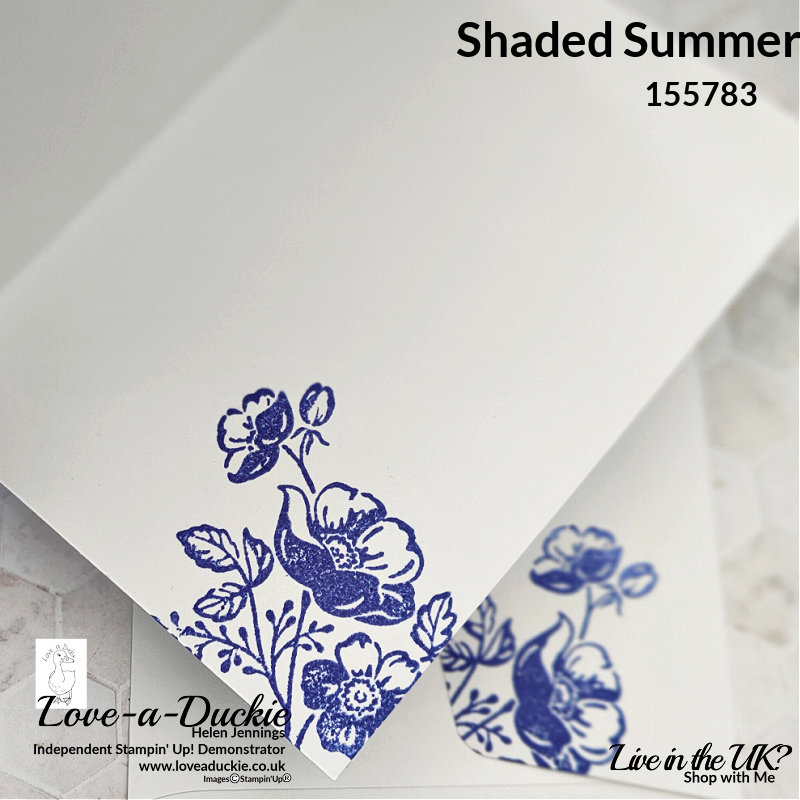
- Stamp the inside of the card with the floral image in Orchis Oasis ink. Similarly stamp the image on the envelope flap.
Let’s Hop

I hope you have enjoyed my project. Do leave a comment if you can, because it certainly makes my day. Then it is time to hop around all the other projects
How Can I Help?
I love this Orchid Oasis colour. It is such a pretty blue. The pretty patterns on the Designer Series paper, work so well with this simple floral stamped image.
I hope you enjoy all the In Color Projects in this hop. Don’t forget, that if you join the Stampin’ Up family before the end of May, you can receive a bonus In Color collection of products on top of your standard Starter Kit.
Don’t hesitate to get in touch if I can help with your purchases, or if you have a crafty question.
Meanwhile stay safe and stay well
Helen xx
If you live in the UK, I would love you to choose me as your demonstrator.
- You can shop here or click on the images listed below.
- sign up for my newsletter to receive news and inspiration
- Find out more about joining my team to get a 20% discount on your craft supplies
- email me if I can be of any assistance.
- Make sure you use the current host code so I can thank you for your order.
- Anyone purchasing from me will receive a Tutorial Bundle as a Thank You.





Such a pretty card Helen & the stamp set works perfectly with the new DSP designs TFS x
Hi, Helen!
This is such a pretty card! I just love the monochromatic paper design. Orchid Oasis is my favorite new in color. You have inspired me to try this idea. Thank you so much.
Beautiful card Helen!
Lovely card Helen, thank you for sharing! Ann
Hi Helen, I love all the details and use of DSP in your beautiful card!