Today I am sharing an article from the Blog Co-operative I am part of that was written by fellow Stampin’ Up! Demonstrator Robin Messenheimer on why CASEing is So Creative!
CASEing is So Creative!
I absolutely love designing my own greeting cards with Stampin’ Up! products. But, many of the cards that I make are based on ideas and designs from other stampers that I really like. Basing a design on that of another designer is often called “CASE-ing.” CASE is an acronym for Copy And Share with Everyone. In this article, I’d like to share with you some cards that I CASEd from page 32 of the current January-June 2022 Stampin’ Up! Mini Catalogue. They are using the Artfully Composed Suite.
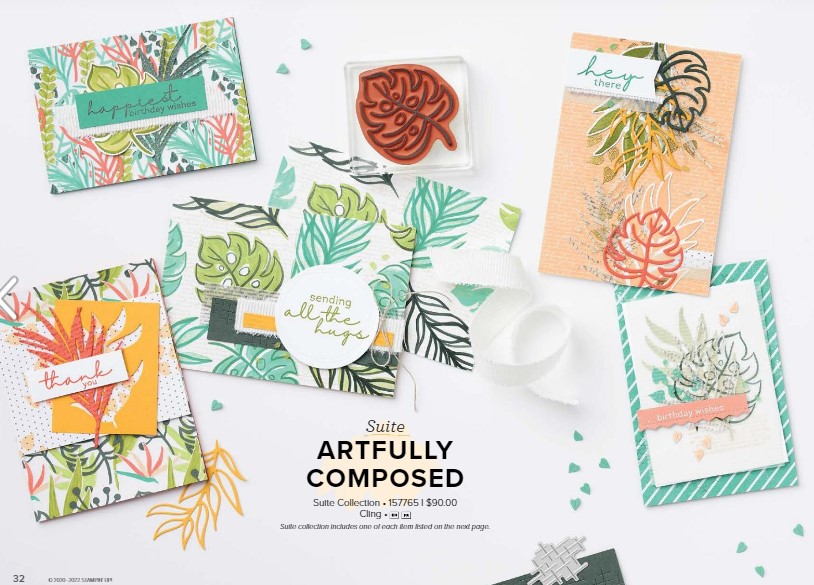
CASE-ing is different from copying everything about a card. In a CASE, we typically change some part of the design to make it our own. In the cards that I’m sharing today, I’ll demonstrate how I’ve changed one or more of the following: Colours, Layout, Card Size, Technique.
Card 1: Change to Colours and Layout
The first card that I made is based on the card in the lower left corner of page 32.
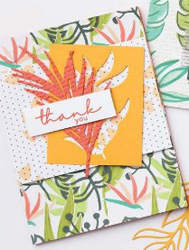
I really liked the basic layout of this card. But the colours did not speak to me. I wanted something bright and cheery for this Thank You Card.
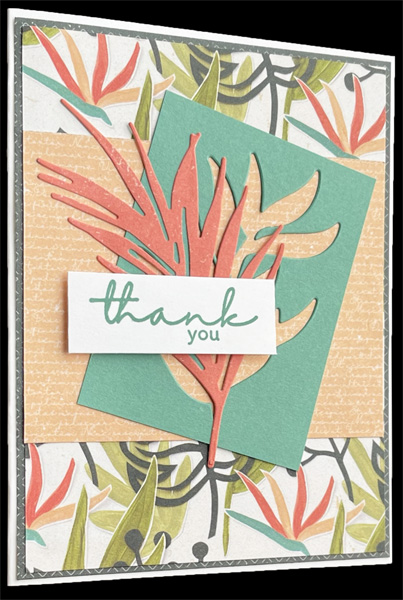
My version of the card keeps the Calypso Coral colour of the die-cut leaves, which is from the Artfully Composed Designer Series Paper (DSP) set. But for the middle layer, with the leaves die-cut out of it, I chose Just Jade Cardstock. For the background layer, I used another design from the DSP set, but switched from the black and white to the Pale Papaya print. Finally, I used Just Jade ink for the Thank You sentiment.
None of the cards on this page of the catalog have layered borders. I like layers, so I changed this card, as well as the other two, so that there is a border around the base layer and the Basic White card base shows around it.
Card 2: Change to Size and Technique
The original of this card is shown in the upper left corner of page 32.
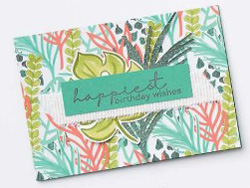
The big difference with this card is that it is a Note Card size. It’s 3-1/2” high by 5” wide. I guessed it was that size by looking at the shape of the card – a bit longer than a 4-1/4” x 5-1/2”/ 10.5cm x 14.9cm sized card would be. I used a bit of my high school algebra and figured out the actual size.
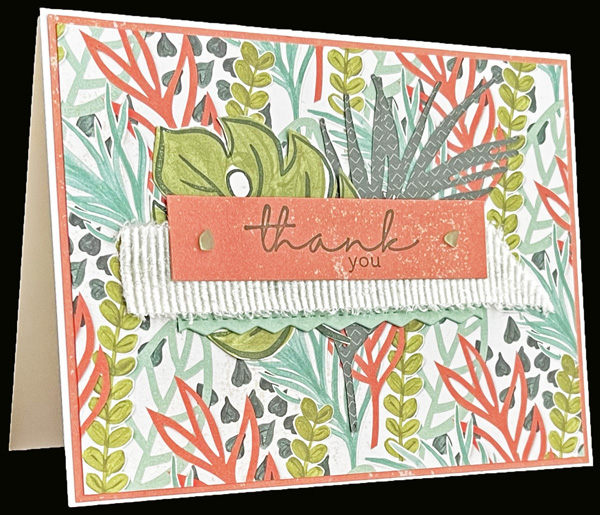
So, the first thing I did was change the card to a standard size. But I left the sentiment layer and the ribbon at about the same size as in the original. I needed a bit more height on the center section, so I added a small strip of Mint Macaron cardstock under the ribbon.
As far as the technique goes, there is one technique that I kept the same. I really liked how the die-cut palm leaf leaned towards the right side of the card. But that die in the Tropical Layers Die points to the left. To get it to turn to the right, I simply cut from the back of the DSP sheet that had the Evening Evergreen monochrome print on it. Bingo – leans to the right!
The technique that I added was just something I wanted to try. I liked the Monstera Leaf where it was, but I wanted to see if I could stamp a border onto a Monstera Leaf that was printed on one of the DSP sheets. It worked! I die-cut it and added it just as in the original, which had a stamped and die-cut leaf.
Card 3: Change to Size and Layout
The original is in the upper right corner of page 32.
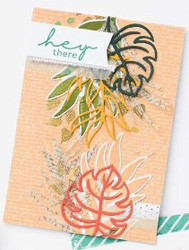
Once again, here is a card that’s different from my usual standard card. The original of this card is a 6” high by 4” wide card. My first instinct was just to change it to a standard size. But I thought all those lovely die-cut leaves were going to look a bit squished. I liked them spread out a bit. So why not make a Slimline card?
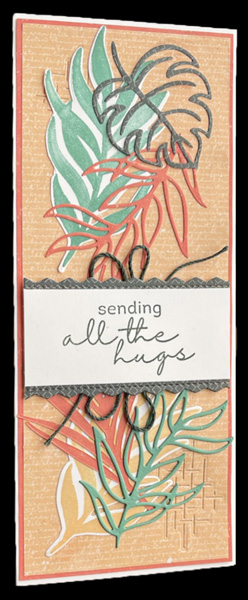
This card is 8-1/2” high by 3-1/2” wide and will fit into Stampin’ Up!’s Slimline Envelopes. I used some of the same die-cut elements as in the original card and added some that were new and some in new colors. With the length of the card extended, I moved the sentiment layer down to just below the middle of the card. Instead of using a snip of the ribbon, I die-cut two edge pieces above and below the sentiment. For a final touch, I added some of the Evening Evergreen twine from the Fan Baker’s Twine, also in the Mini Catalogue.
The original card used accent pieces of DSP at the bottom. Instead of that, I used one of the texture dies from the Tropical Layers dies in the upper left and lower right corners of the card.
Try CASEing!
If you see a project that you like but you’d just like to change a bit, go for it! Your own creativity will shine in whatever changes you’d like to make.
Don’t hesitate to get in touch if I can help with your purchases, or if you have a crafty question.
Meanwhile stay safe and stay well
Helen xx
If you live in the UK, I would love you to choose me as your demonstrator.
- You can shop here or click on the images listed below.
- sign up for my newsletter to receive news and inspiration
- Find out more about joining my team to get a 20% discount on your craft supplies
- email me if I can be of any assistance.
- Make sure you use the current host code so I can thank you for your order.
- Anyone purchasing from me will receive a Tutorial Bundle as a Thank You.
