I enjoyed all the creative possibilities of creating arrangements of flowers on cards with the Petal Park Stamp Set and Coordinating Petal Park Builder Punch from Stampin’ Up on a recent Live.
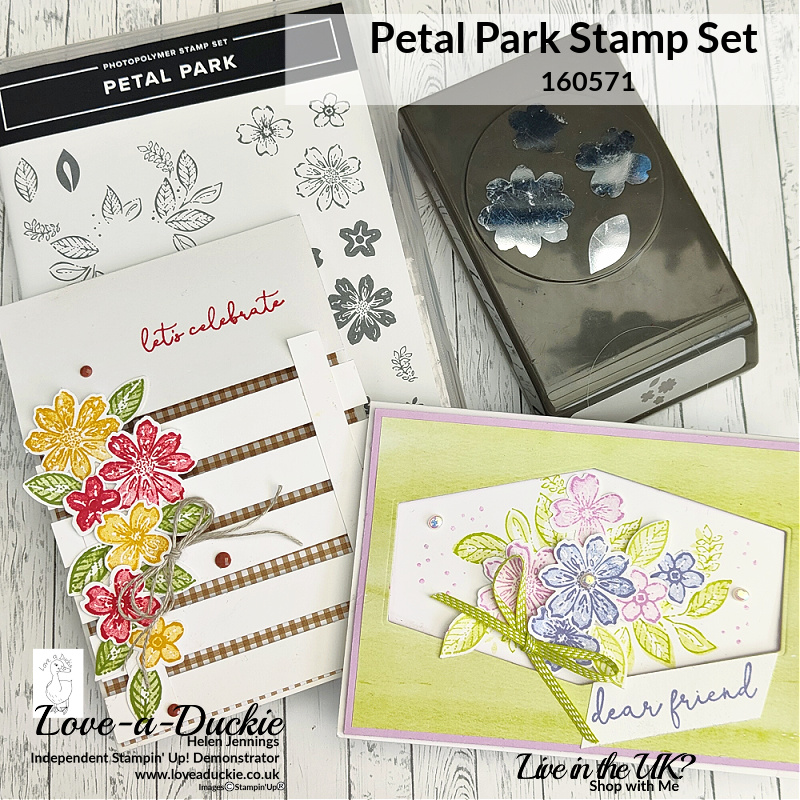
This photopolymer stamp uses two step stamping to create beautiful flowers and leaves. The coordinating punch allows you to quickly and easily create a handful of elements that you can build up either with or without the other images in the stamp set.
You can see a full list of the products I have used at the end of the post, including links to my online shop.
Creating Arrangements of Flowers on Cards
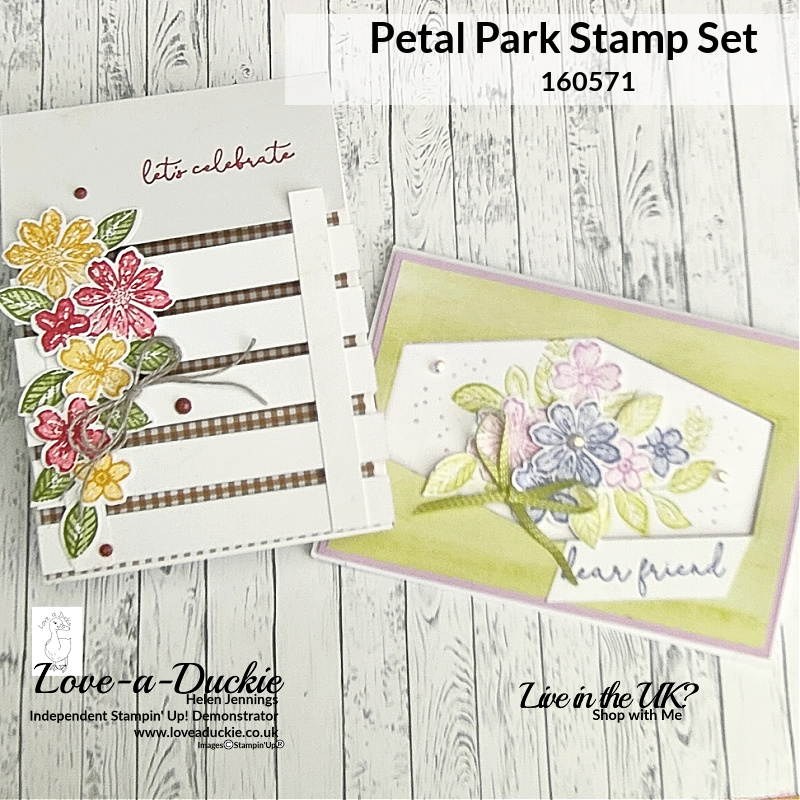
Both of these cards demonstrate the impact these small flowers can have on a project.
Aperture Card
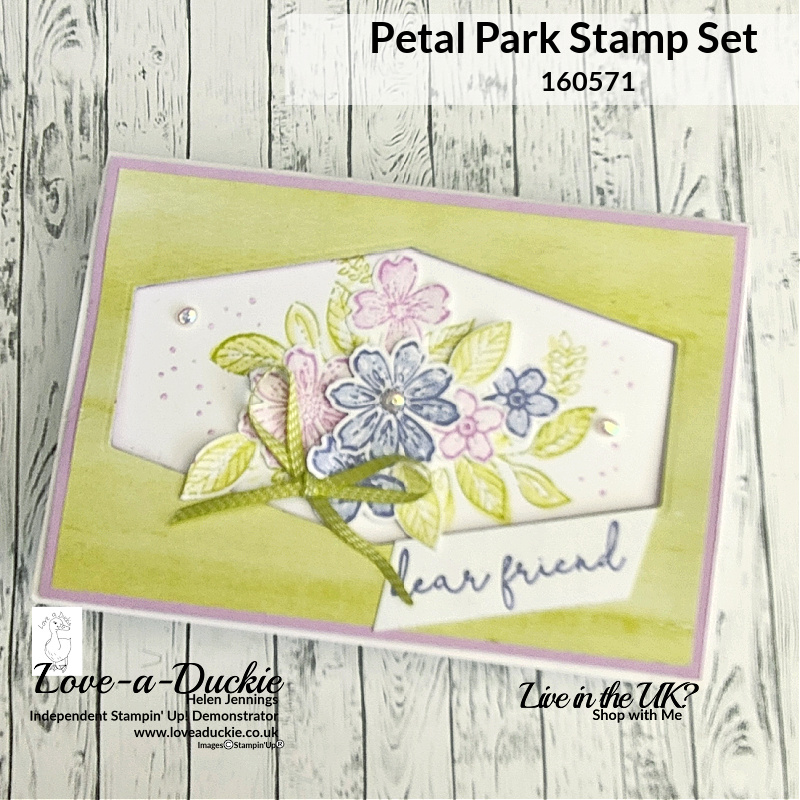
For this first card, some Designer Series Paper from the Bright & Beautiful pack was added to a mat of Fresh Freesia cardstock. An aperture was then cut into it with the Nested Essentials die.
Foliage was stamped onto a white card base and then the aperture mat was added over the top with dimensionals. Stamped and punched flowers were added with a mixture of Multipurpose Glue and Dimensionals to build up the arrangement in the aperture
Lattice Split Card
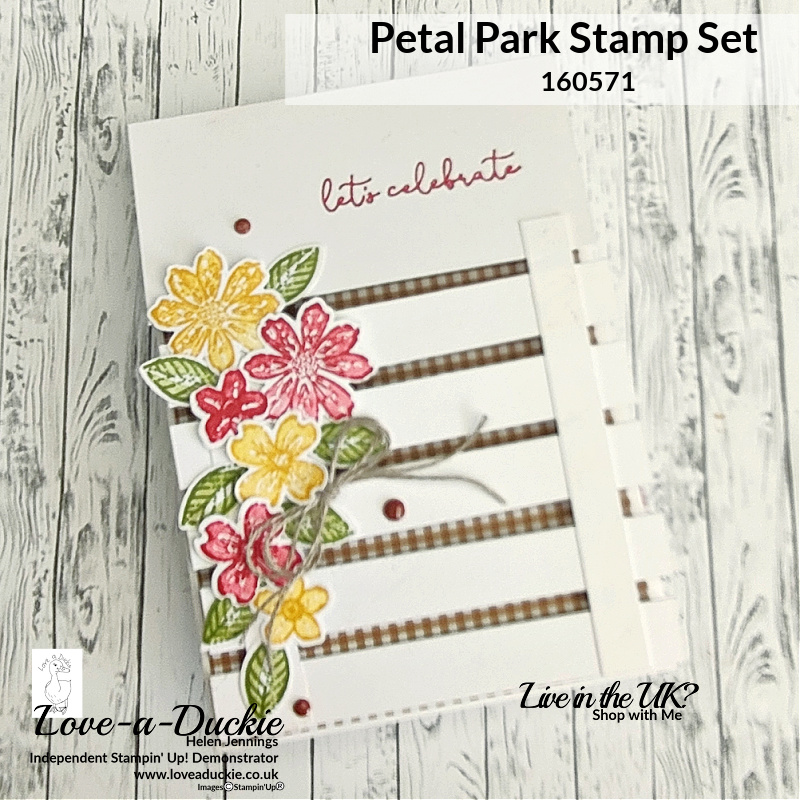
This second card was a fancy fold Lattice Split Card. This eye-catching style of card lends itself perfectly to floral arrangements.
I watched a tutorial by Brandy Cox using this style of card and was inspired to have a go. I needed to convert the sizes to fit metric cardstock, so here is the metric version:
- Take a piece of Thick Basic White measuring 29.7cm x 10.5cm and score at 14.9cm on the long side. Fold along the score line to create the card base.
- Cut a 9.5cm piece from the front panel of the card. Slice this cut off piece into five 1.5cm strips. Cut the remaining 2cm wide strip in half to create two 1cm strips.
Brandi’s Imperial sizes are :
- Cut a 4-1/4″ x 11″ piece of Basic White cardstock and score at 5-1/2″. This is the card base.
- Cut off 3-1/4″ from the bottom of the front panel. From this piece, cut five 1/2″ x 4-1/4″ strips. The remaining strip will be slightly wider. Cut this piece in half to create two thinner strips that will be used to secure the other five lattice strips.
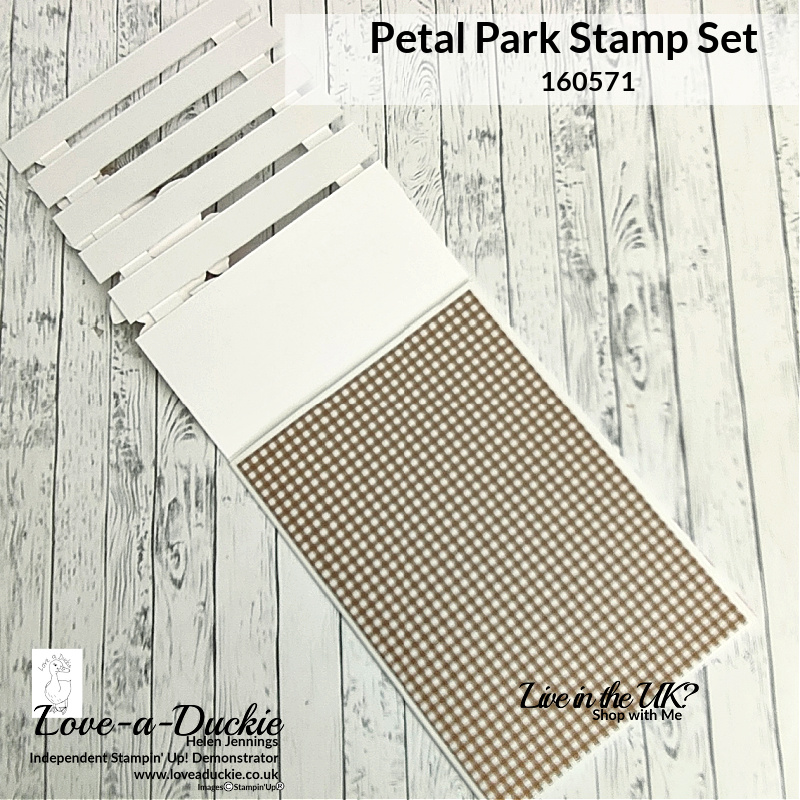
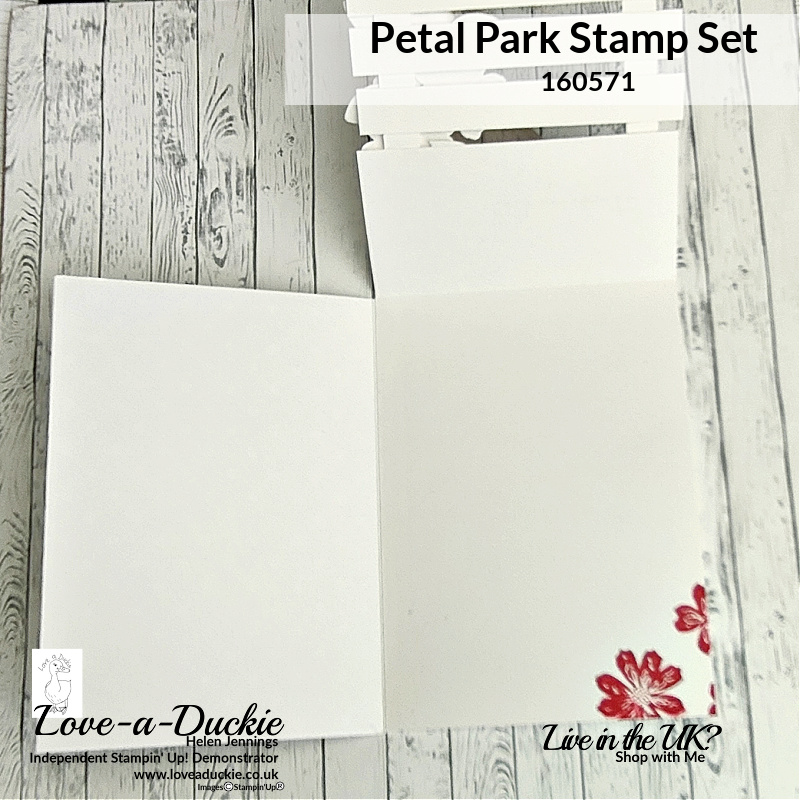
For the inside flap I cut a 14.8cm x 11.5cm piece of Basic White and scored at 1cm along the 11.5cm side. In Imperial this would need to be 5 7/16″ x 4 3/4″ scored at 1/2″ along the 4 3/4″ side. This flap is then attached to the back of the tent fold card base.
The DSP comes from the Glorious Gingham 6″ x 6″ paper pack.
Watch the Video
You can see both these cards being created on this recording of my Live.
How Can I Help
I hope I have given you some inspiration if you have these products. If you don’t have them yet, I’m sure you are going to want them.
Don’t hesitate to get in touch if I can help with your purchases, or if you have a crafty question.
Meanwhile stay safe and stay well
Helen xx
If you live in the UK, I would love you to choose me as your demonstrator.
- You can shop here or click on the images listed below.
- sign up for my newsletter to receive news and inspiration
- Find out more about joining my team to get a 20% discount on your craft supplies
- email me if I can be of any assistance.
- Make sure you use the current host code so I can thank you for your order.
- Anyone purchasing from me will receive a Tutorial Bundle as a Thank You.



Love your cards! Beautifull!