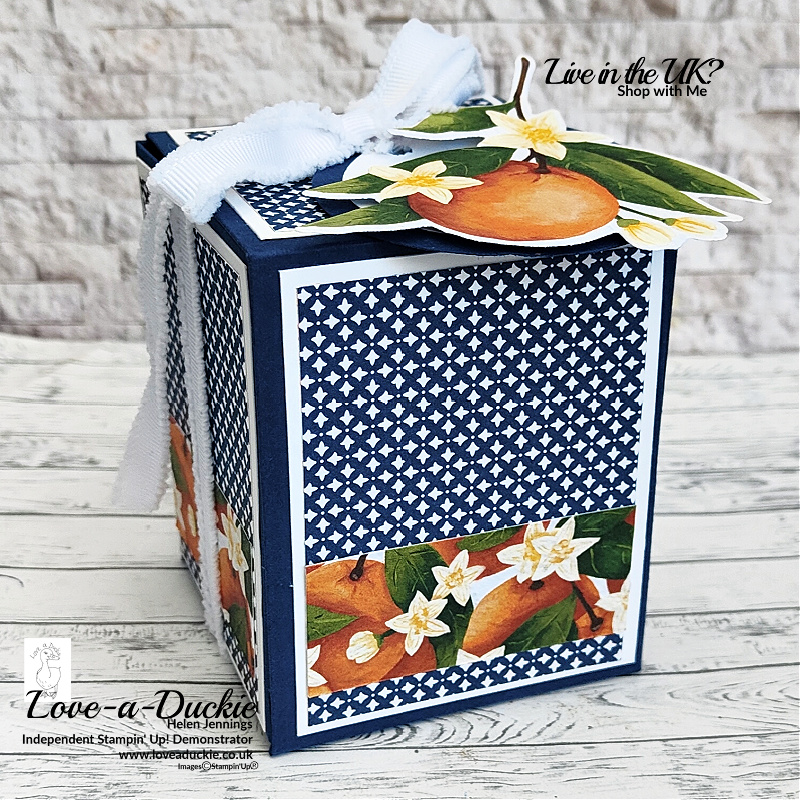
On today’s blog post I am going to share how to create a box to hold a small jar of jam.
Stamp Around UK Video Hop

On the 1st of each month a Video Hop launces over on You Tube featuring a selection of UK Demonstrators. I am delighted to be a part of this talented team.
This month the theme is 3D
You can see a full list of the products I have used at the end of the post, including links to my online shop.
Create A Box To Hold A Small Jar Of Jam
Start with 2 pieces of cardstock measuring 19cm x 18cm ( 7 3/8″ x 7″) Treat both pieces of cardstock the same to make 2 identical pieces.
With the 19cm (7 3/8″) side at the top, score the card at 1cm, 8cm and 17cm (3/8″ 3 1/8″, 6 5/8″).
Turn the cardstock 90 degrees and with the 1cm (3/8″) channel at the top score at 7cm and 16cm. (2 3/4″, 6 1/4″).
Turn the card so that the 1cm channel is on the left -hand side. Line the top of the card at the 9cm (3 1/2″) mark and cut down from the top to the 2nd score line.
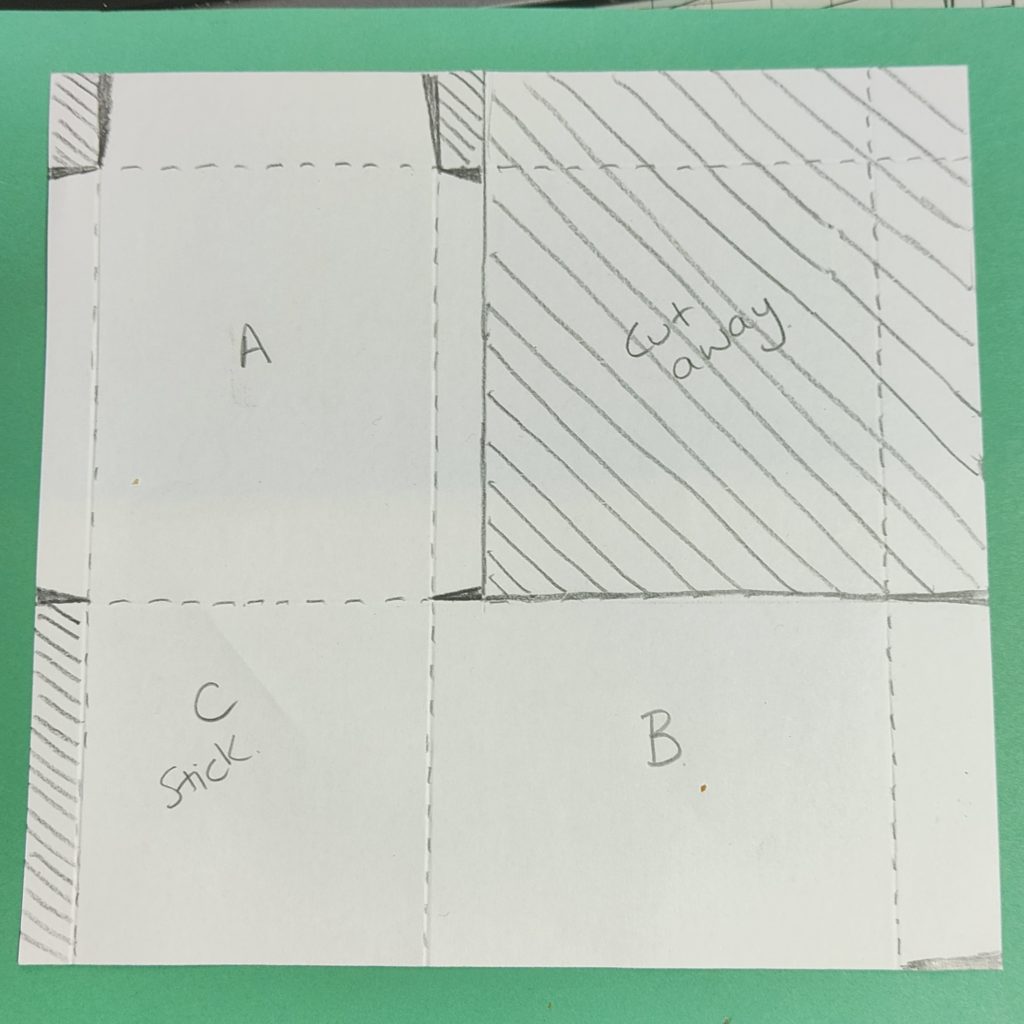
Using the picture as a guide, cut along the solid lines and cut away the shaded areas.
Stick the two pieces of card together on section C, with the two A sections opposite each other and the two B sections opposite each other. Add adhesive to the side tabs and stick the sides of the box together. Add adhesive to the four tabs at the top of the box and secure them down on the inside to strengthen the top of the box.
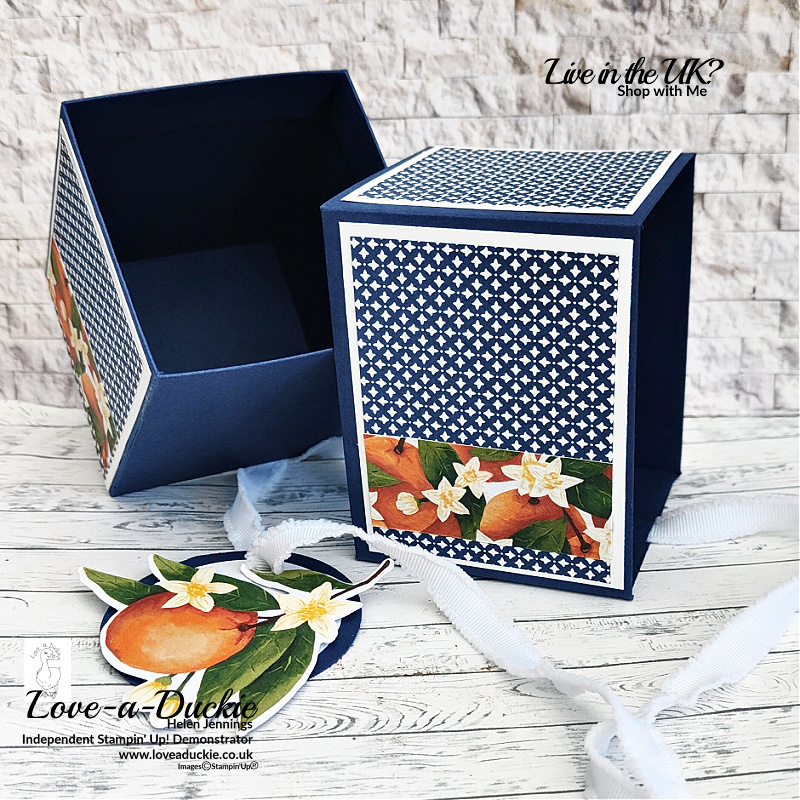
Outer Sleeve
To create the outer sleeve for the box, take a piece of card that is 14.2cm x 27.6cm ( 10 11/16″ x 2 13/16″). With the 27.6cm (10 11/16″)at the top, score at 1cm, 10.2cm, 17.4cm and 26.6cm (3/8″, 3 15/16″, 6 3/4″, 10 5/16″).
With the 14.2cm at the top, score at 3.5cm (1 3/8″) and then turn 180 degrees and score again at 3.5cm.( 1 3/8″)
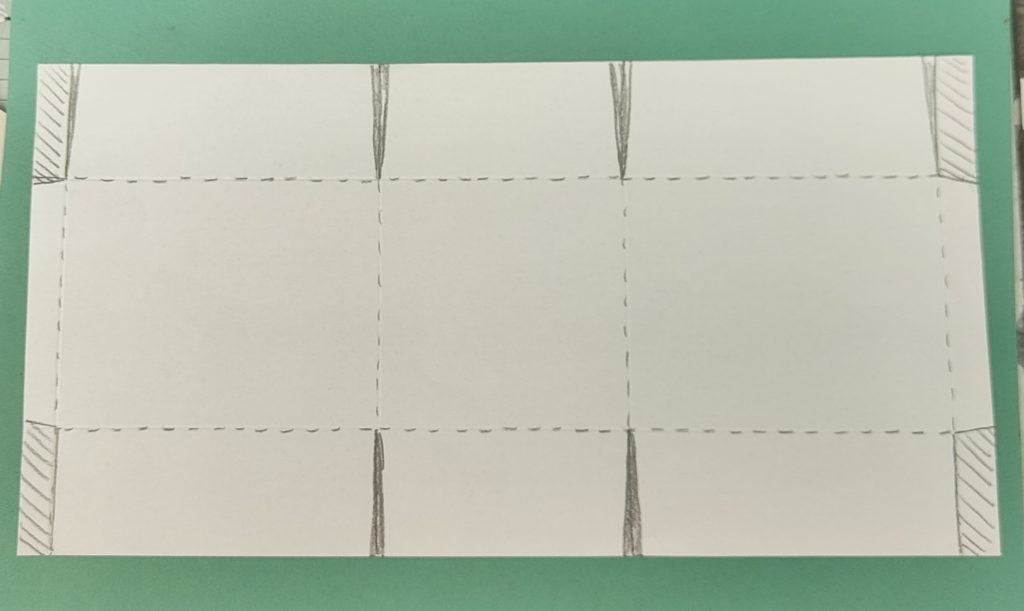
Using the picture as a guide, cut along the solid lines and cut away the shaded areas.
Add adhesive to all of the side tabs and fold them in to reinforce the outer sleeve.
Take two pieces of 7cm x7cm (2 3/4″) cardstock. Fold the outer sleeve around and stick one of the squares to the tabs at the bottom of the sleeve, so that the tabs are on the bottom of the square.
Cut a 75cm (30″) piece of ribbon. I used the white frayed ribbon. Find the centre and stick it the bottom of the square. Make sure it is positioned so that when the ribbon is tied it will prevent the box from slipping out of the sleeve. Stick the second square over the top of the first to cover the tabs and the ribbon.
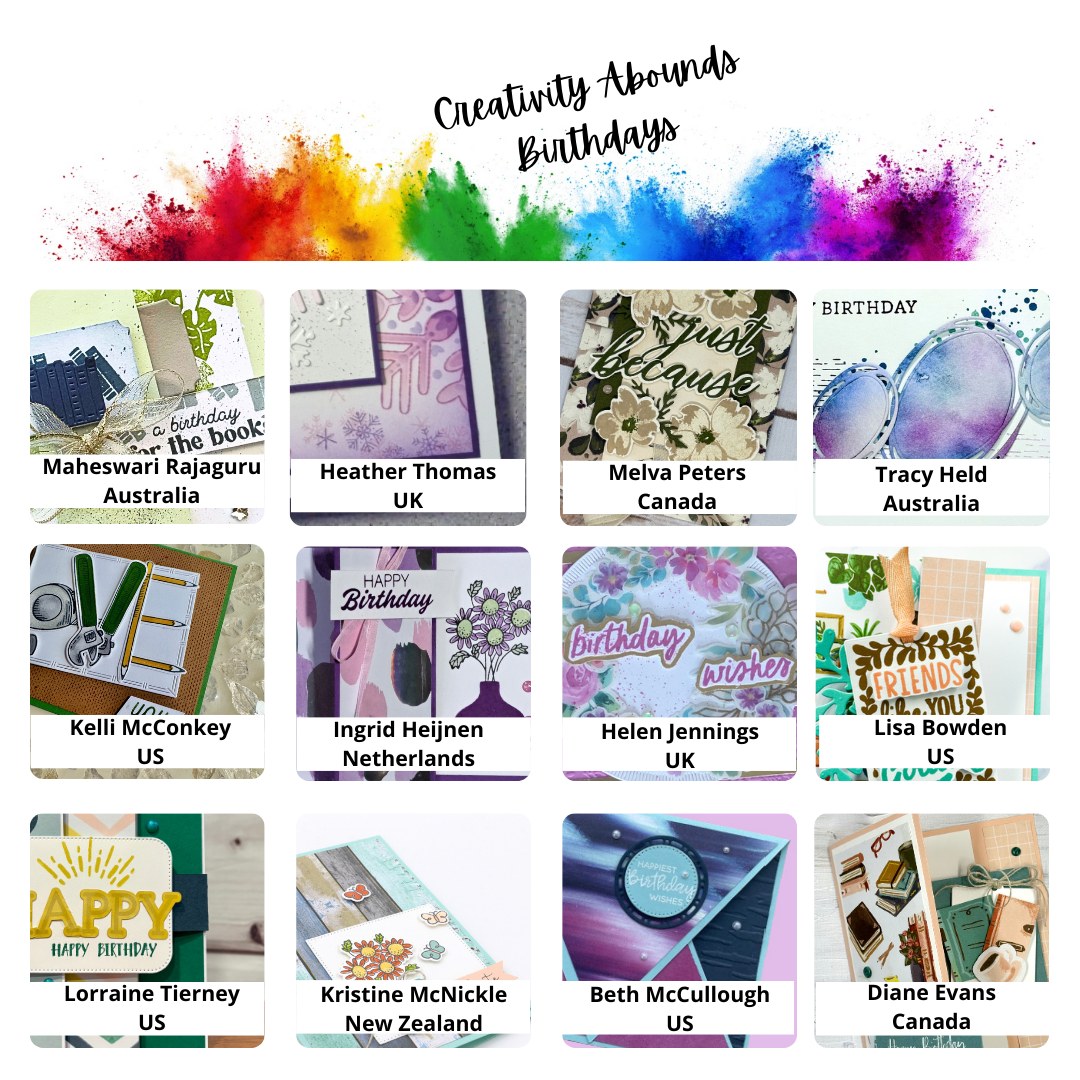
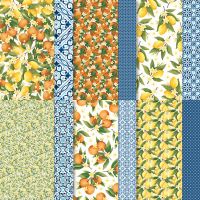
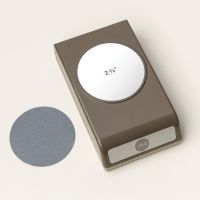
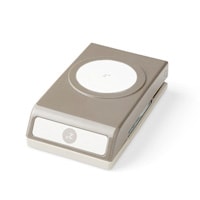
Create a tag to go on the top of the box. I used a 2 3/8″ punch and a 2″ punch to create the circles, which I then stock together. I punched a hole in the circles before I added the orange and blossom that I die cut from the Mediterranean Blooms designer Series paper.
Slide the box inside the outer sleeve. Thread the ribbon through the tag and then tie a bow.
Video
You can watch me creating this card on this video as part of the Stamp Around UK Video Hop, and don’t forget to hop around and see all the other videos.
How Can I Help?

Don’t hesitate to get in touch if I can help with your purchases, or if you have a crafty question.
Meanwhile stay safe and stay well
Helen xx
If you live in the UK, I would love you to choose me as your demonstrator.
- You can shop here or click on the images listed below.
- sign up for my newsletter to receive news and inspiration
- Find out more about joining my team to get a 20% discount on your craft supplies
- email me if I can be of any assistance.
- Make sure you use the current host code so I can thank you for your order.
- Anyone purchasing from me will receive a Tutorial Bundle as a Thank You.
