I love creating with card kits just as they are, but sometimes it is fun to give them a creative tweak.
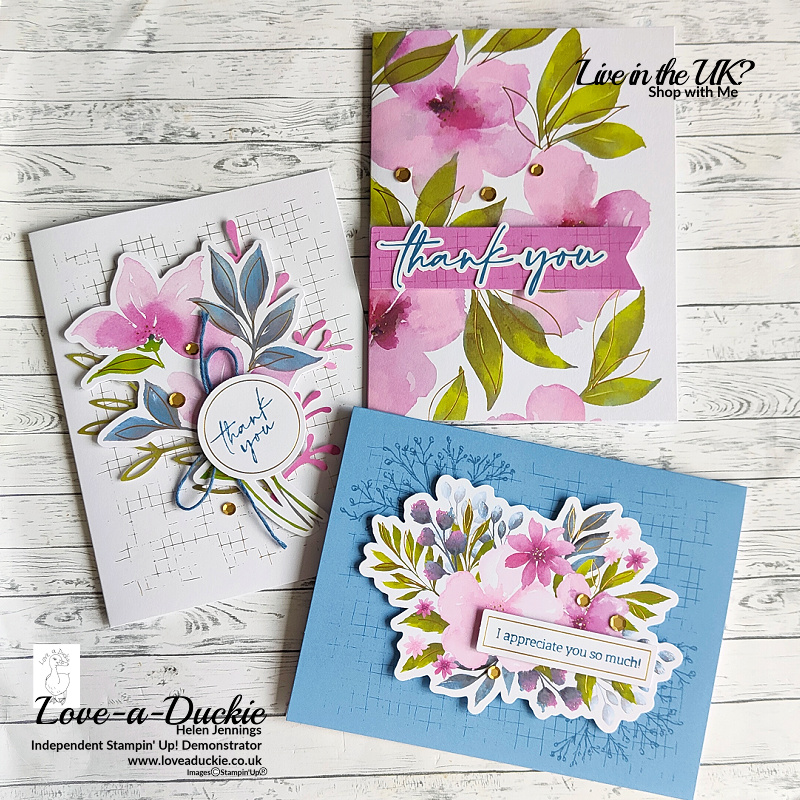
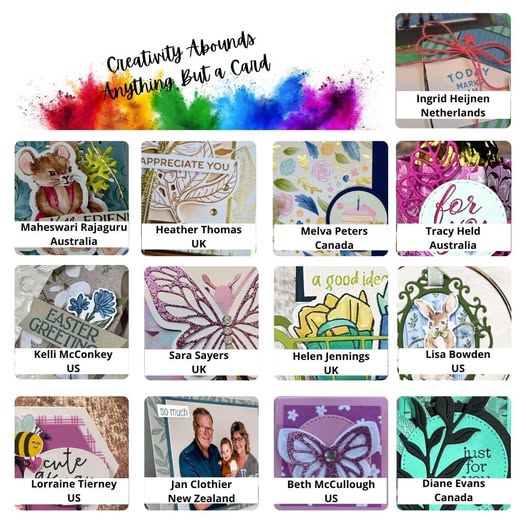
For this latest Stamping With Friends blog hop we are showcasing kits from the Kits Collection. We are following the instructions to create one card/project and then creating an altered one.
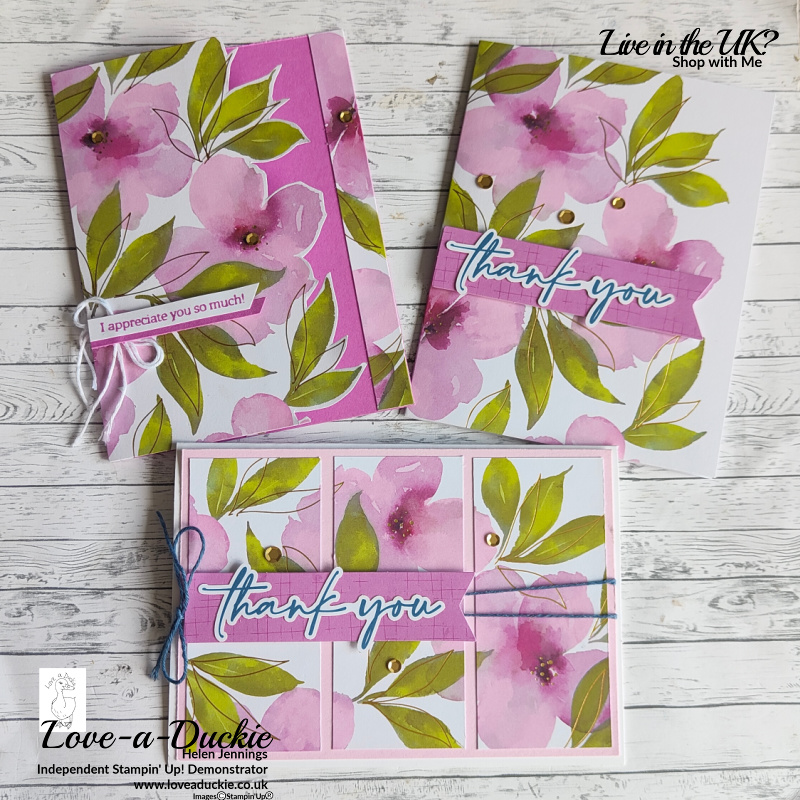
I couldn’t resist making one of each design from the beautiful Garden of Thanks Kit. This kit has a beautiful colour palette and it contains both a stamp set and some die cut sentiments.
This great all inclusive kits are not only a beautiful crafting experience for yourself, but they also make brilliant gifts.
Creating With Card Kits
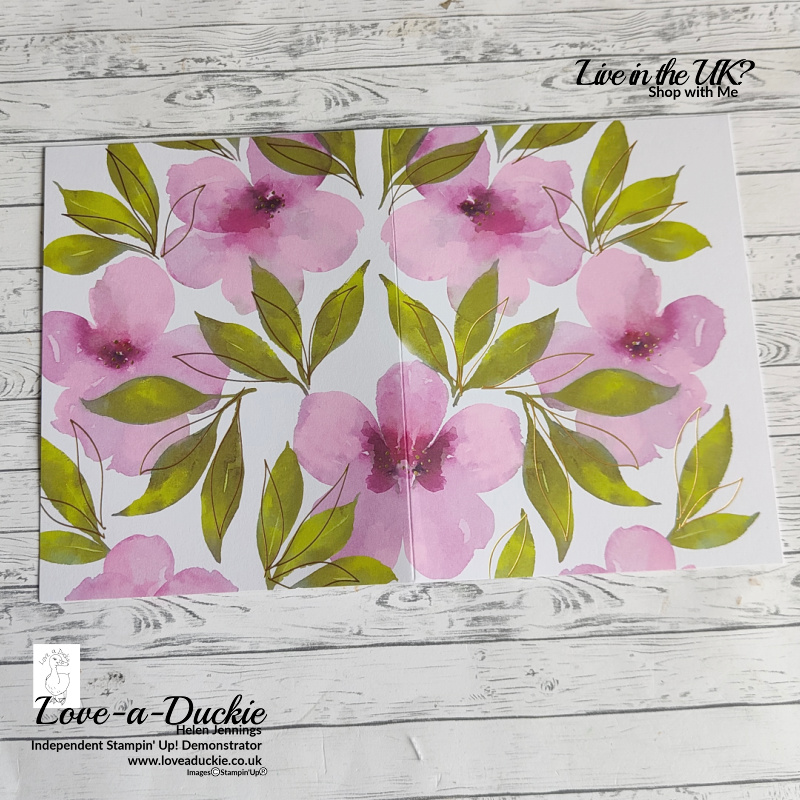
When deciding how to create an alternative project, this card base was an obvious choice. By adding in some extra cardstock, it meant I could create two alternative cards simply by cutting the card base in half.
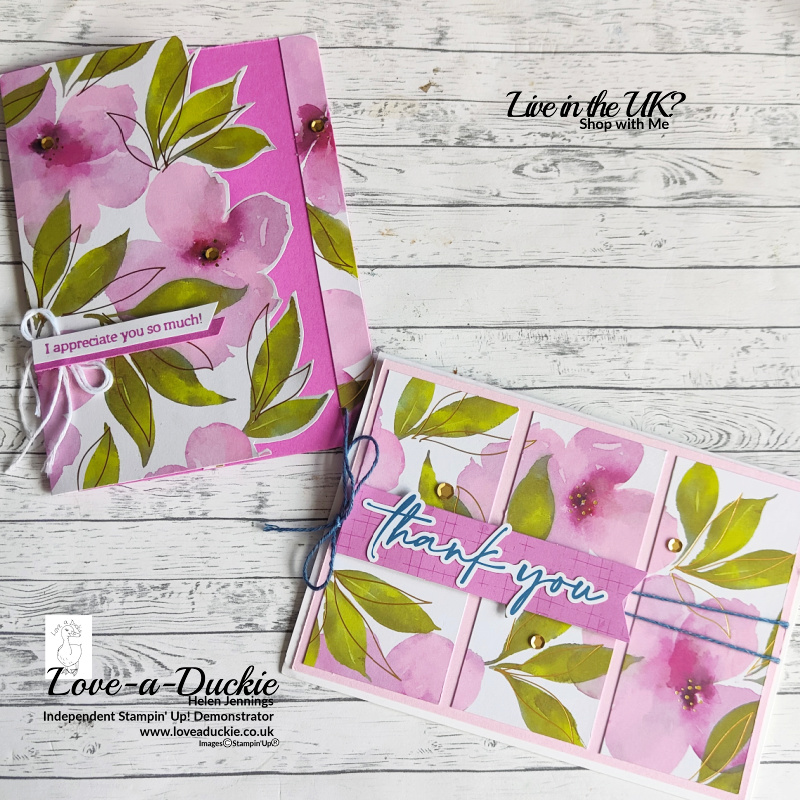
For the first card, I used my paper snips and fussy cut along the outline of the flowers and leaves. I created a card base from a piece of Petunia Pop cardstock measuring 5 1/2″ x 6 1/2″, scored at 2 1/4″ (14cm x 16.5cm, scored at 6cm) with the long side at the top. This card base will then fit the envelope provided. A 1/2″ /1.3cm strip was cut from the side of the fussy cut card and another 1/2″ inch strip from the remaining back piece of the original card base.
The fussy cut piece was stuck to the flap on the card base and one of the strips were stuck down the right edge. The other strip was cut in 1/2 lengthwise and stuck either side of a 1 1/2″ x 5 1/4″ (4cm x 13.5cm) piece of Basic White on the inside of the card. This gives you somewhere to write your greeting.
The sentiment was stamped onto some Basic White card with Petunia Pop ink. A strip of Petunia Pop card was added underneath it and a double bow of white thread added o the left edge, before adding it all to the card base with dimensionals. A few of the gold sequins from the kit were then added as a finishing touch.
And Another Card
For the second card I created a standard card base to fit a standard envelope – 5 1/2″ x 8 1/2″or 14.9cm x 21cm. The remaining original card base was cut up into strips and added to a Pretty in Pink mat. Some of the Pretty Peacock twine from the kit was wrapped around the mat and tied with a bow. I used the die cut banner and sentiment from the kit on this card and added it with dimensionals. Of course it wouldn’t be complete without some of those gold sequins.
Let’s Hop
I hope you have enjoyed my project. Do leave a comment if you can, because it certainly makes my day. Then it is time to hop around all the other projects
How Can I Help?
However you decide to use this kit, the results are beautiful.
Don’t hesitate to get in touch if I can help with your purchases, or if you have a crafty question.
Meanwhile stay safe and stay well
Helen xx
If you live in the UK, I would love you to choose me as your demonstrator.
- You can shop here or click on the images listed below.
- sign up for my newsletter to receive news and inspiration
- Find out more about joining my team to get a 20% discount on your craft supplies
- email me if I can be of any assistance.
- Make sure you use the current host code so I can thank you for your order.
- Anyone purchasing from me will receive a Tutorial Bundle as a Thank You.





Such a pretty kit Helen, love these cards x
Gorgeous kit and gorgeous cards!!
Gorgeous cards, Helen