In today’s blog post I will be sharing how I have been creating embellishments for a scrapbook page.
This is a monthly blog hop that is brought to you by the Crafty Collaborations Community and its focus is purely on memory keeping projects, whether that is scrapbook pages , Memory and More pocket pages, or memory books.
This is an area I want to develop, both personally and in my business. So share my journey with me as I go from a relative novice scrapbooker and learn techniques, embrace new ideas and explore the expanding range of products that Stampin’ Up will be introducing over the coming months.
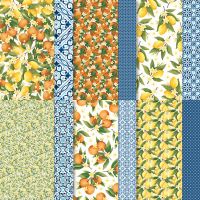
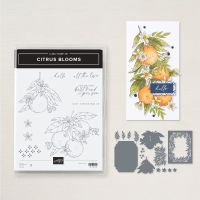
To create my page I used papers, stamps and dies from the Mediterranean Blooms Suite. Although this suite is bursting from citrus fruit images , my page doesn’t have an orange or lemon in sight!
You can see a full list of the products I have used at the end of the post, including links to my online shop.
Creating Embellishments for A Scrapbook Page
The idea for this page came from some paper I had left over after prepping for a Bingo Night. Because my kits go out in the post, I can’t use stamped images on the projects, so Designer Series Paper plays a big role in my designing and preparation.
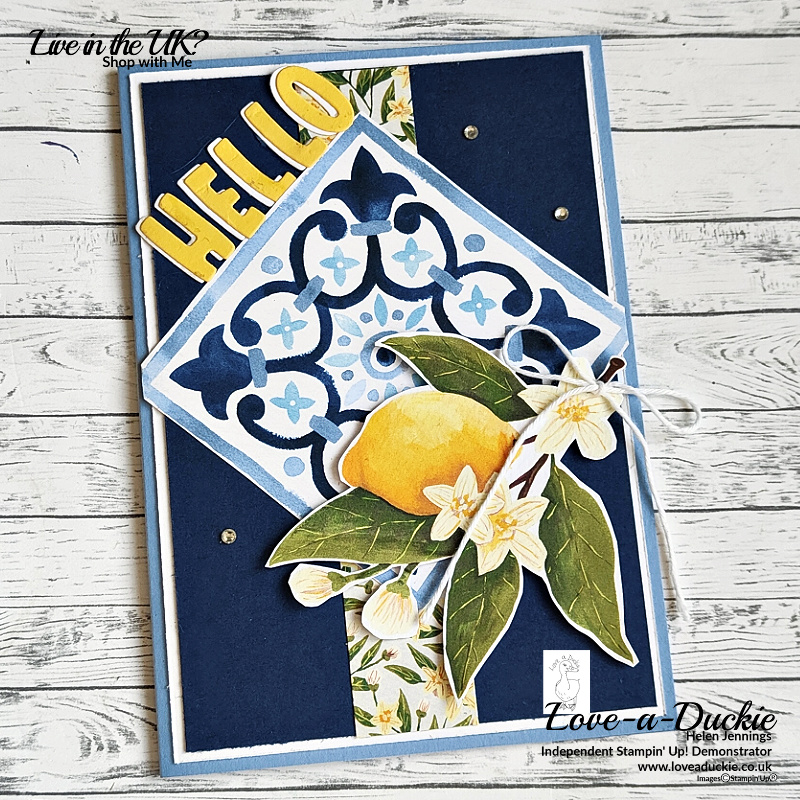
One of the projects this time used a medallion mat from one of the sheets of Mediterranean Blooms Designer Series Paper.
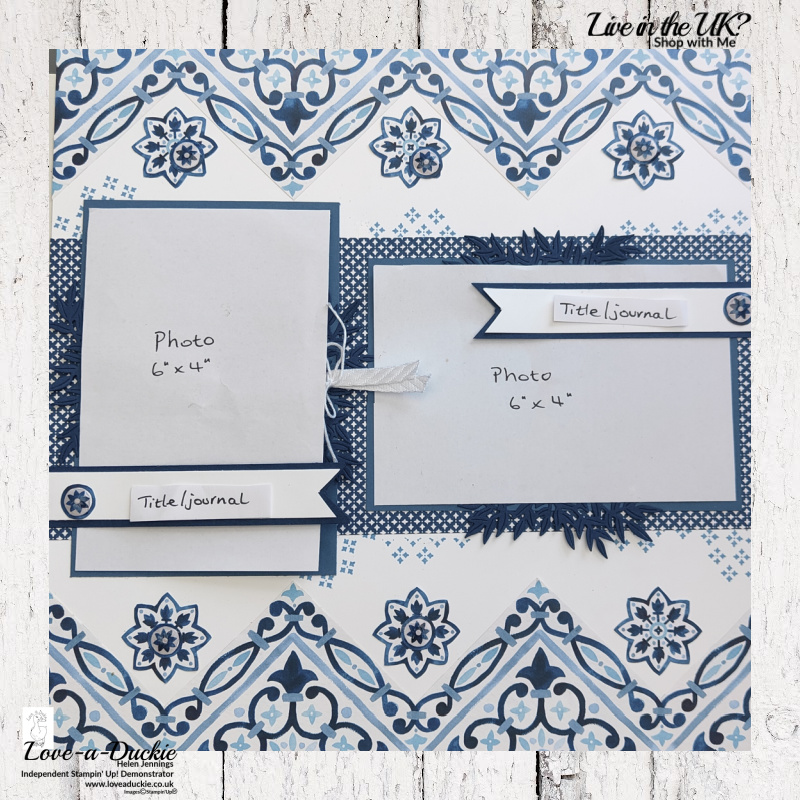
Once I had finished cutting out all the mats, I was left with these large zig-zag borders of Designer Series Paper and so I used them on the top and bottom of the Basic White scrapbook page.
The Paper Embellishments.
To further decorate the page, I picked other elements from the Designer Series paper to cut out – an eight -pointed medallion and a small circle.
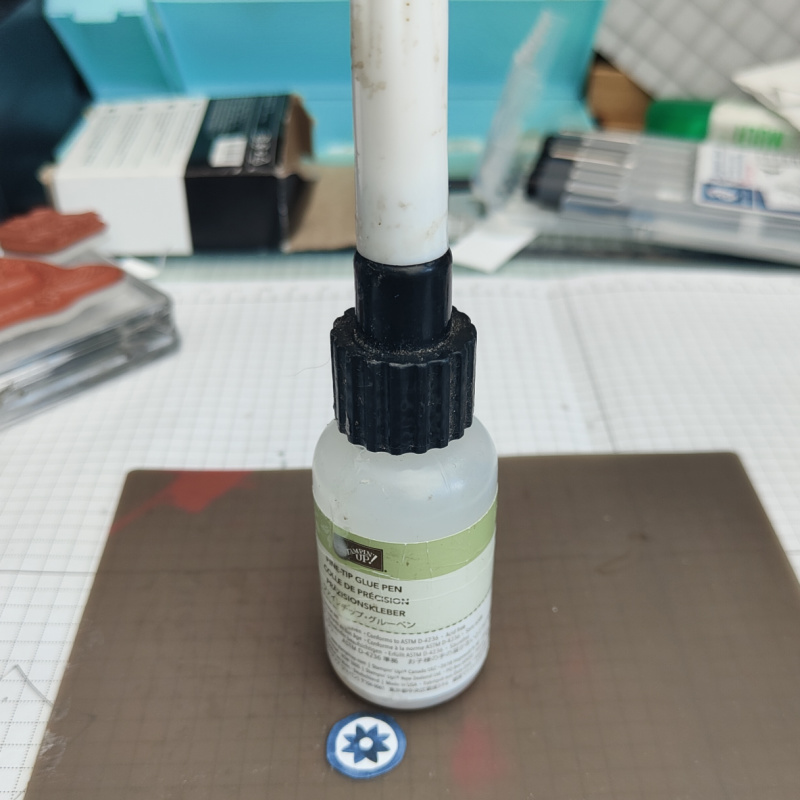
To give the circles the feel of an epoxy embellishment, I lay them on my silicone mat and flooded the top with fine-tip glue. i then left them to dry and harden.
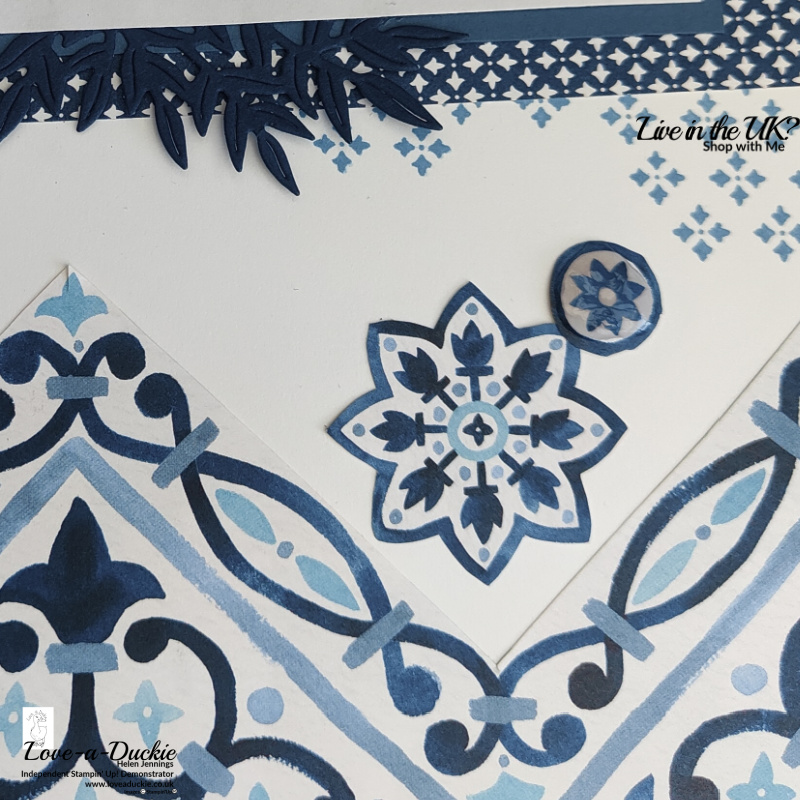
Having stuck the larger medallions in between the zig-zags of the border pieces, I then added the circle embellishments to the centre of each medallion.
Photo Mats
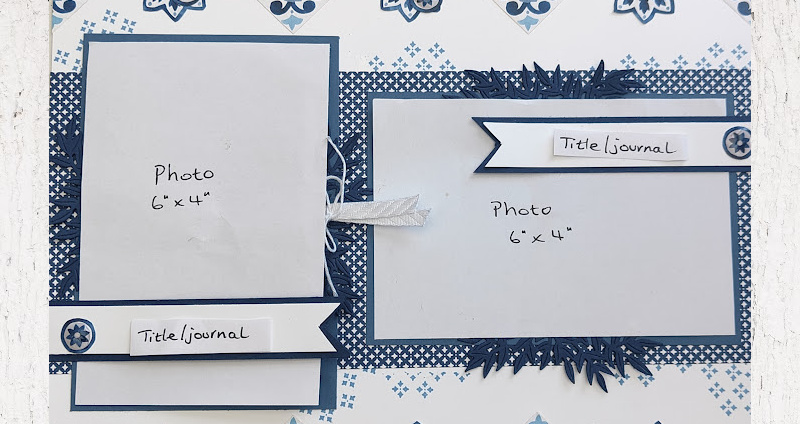
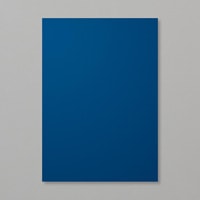
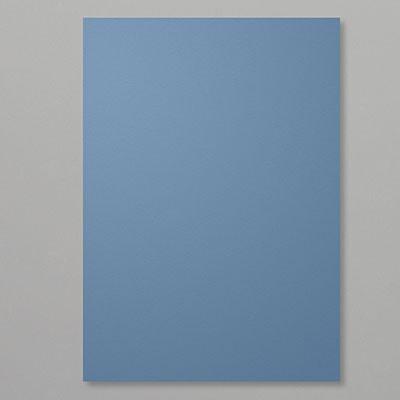
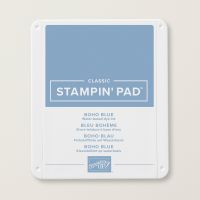
To create a focus for the photo mats, I cut a 12″ x 5″ strip of paper to stick across the centre of the page. The two Misty Moonlight mats for the photographs both measure 6 1/4″ x 4 1/4″. Before sticking these in place, I stamped some of the dotty image from the Citrus Blooms stamp set in Boho Blue ink along the top and bottom of where the paper and photo mats would sit.
The die cut Night of Navy leaves from the same bundle were cut in half and stuck to the Misty Moonlight mat.
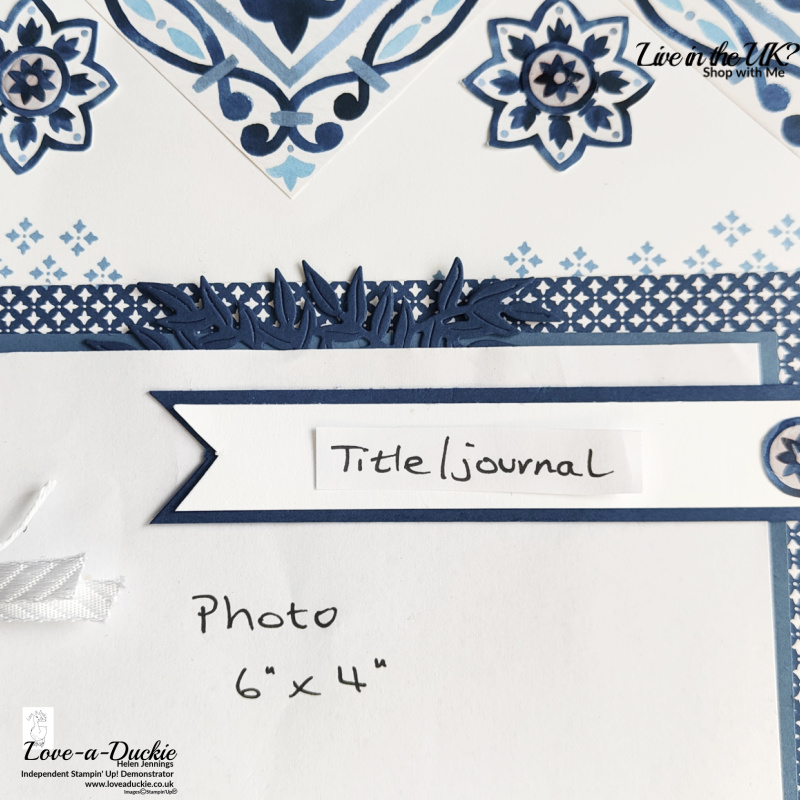
To create space for a title and/or journaling, two Night of Navy banner pieces have been added. They are glued on at the sides of the page, but are not attached to the photo mat. Both of these banner pieces also have one of the circular paper embellishments.
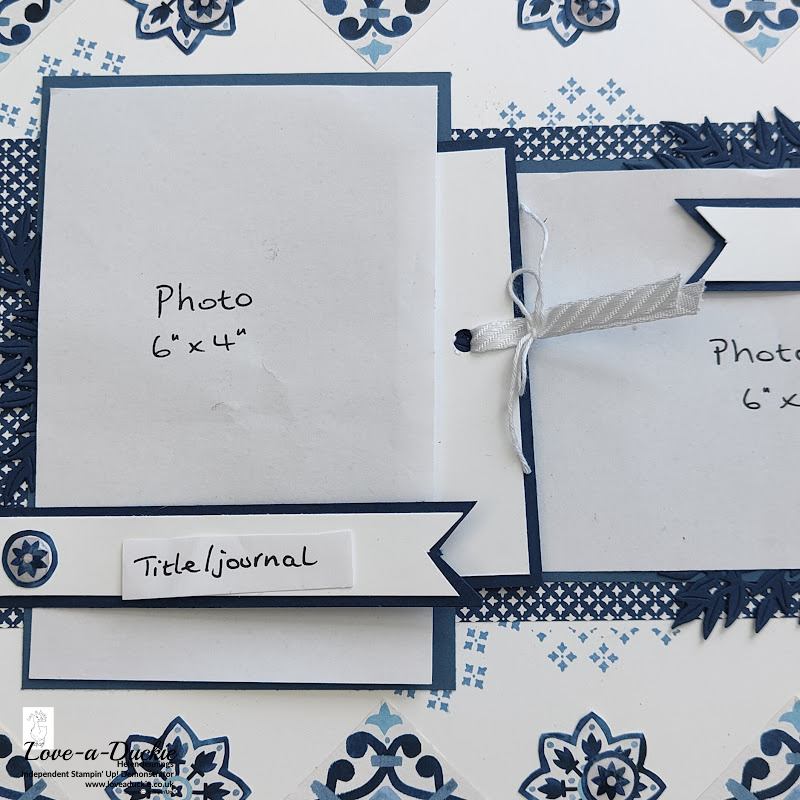
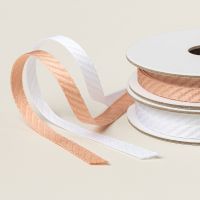
The portrait mat also has a pocket of card stuck on three sides, to create a pocket for a journaling mat. This has a hole punched in it and ribbon added so it can easily be pulled out. I have temporarily added paper photo mats to the page with glue dots. Once I have decided on my photos I can also decide if the photos themselves require any embellishing. I can head pack to my paper pack to cut out any elements I need.
Let’s Hop
I hope you have enjoyed my project. Do leave a comment if you can, because it certainly makes my day. Then it is time to hop around all the other projects
How Can I Help?
From September I am going to be adding a Scrapbook Kit online class to my monthly schedule, so if you are in the UK and would like to join us, check back for details soon, or message me
Don’t hesitate to get in touch if I can help with your purchases, or if you have a crafty question.
Meanwhile stay safe and stay well
Helen xx
If you live in the UK, I would love you to choose me as your demonstrator.
- You can shop here or click on the images listed below.
- sign up for my newsletter to receive news and inspiration
- Find out more about joining my team to get a 20% discount on your craft supplies
- email me if I can be of any assistance.
- Make sure you use the current host code so I can thank you for your order.
- Anyone purchasing from me will receive a Tutorial Bundle as a Thank You.
