Kylies International Blog Highlights
A great little card using the Basket of Blooms stamp set is featured in today’s blog post.

I haven’t joined in with the Blog highlights for a couple of months, so I was determined to join in this month. It is always great to see all the inspiration in this monthly line up of creativity.
As always you are encouraged to visit all the participants blogs, to hopefully leave them an encouraging comment and then to vote for your top 5. I hope mine makes the grade for you.
My Basket of Blooms Project
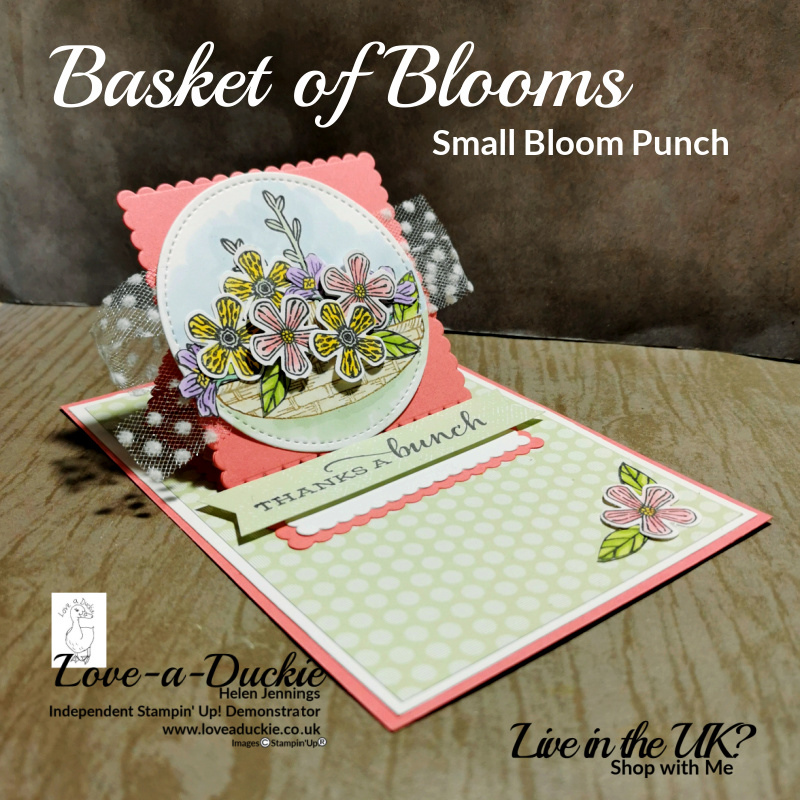
I love this style of card with a mini easel on a flat base. To make my Basket of Blooms thank you card, I created a mini Easel from the largest scalloped square in the layering squares dies. If you’ve never done this before, you need to fold a piece of cardstock in half and then place the die, so that one of the cutting edges overlaps the edge of the fold
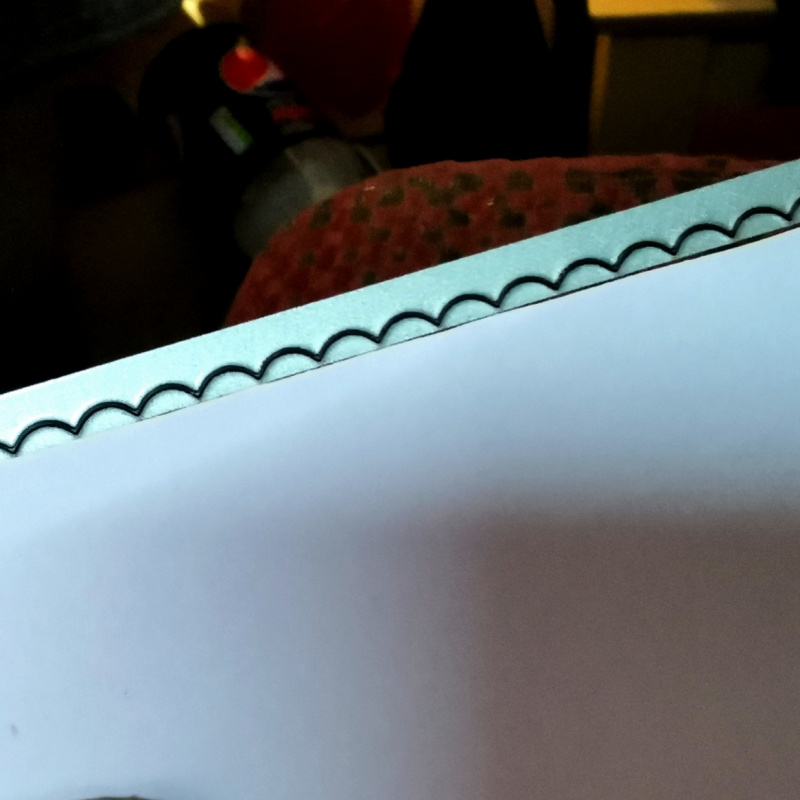
To create the easel, fold the front panel in half and then cut another scalloped square to create the front facing panel. You can create easel cards in this way with many of your shaped dies.
Decorating the Card
To decorate my easel card, I used a stamp set that was having its first outing. On a stitched circle, I stamped the basket in soft suede and dragged the colour out with a blender pen. Using a mask I had created from a post it note, I then stamped foliage in the basket in Memento and coloured with Stampin’ Blends. Using the light Seaside Spray Stampin’ Blend, I coloured around the edge of the basket and foliage to create the sky and used dark Soft Sea Foam under the basket.
The flowers (3 of each of the designs) were also stamped in memento and coloured with Stampin’ Blends, along with four more small leaves. The three Highland Heather flowers were fussy cut and the Flirty Flamingo and Mango Melody flowers were punched out with the coordinating small blooms punch. Now for some flower arranging, using dimensionals to give some of the flowers height. One of the Flirty Flamingo flowers and two leaves are put aside for the base of the card.
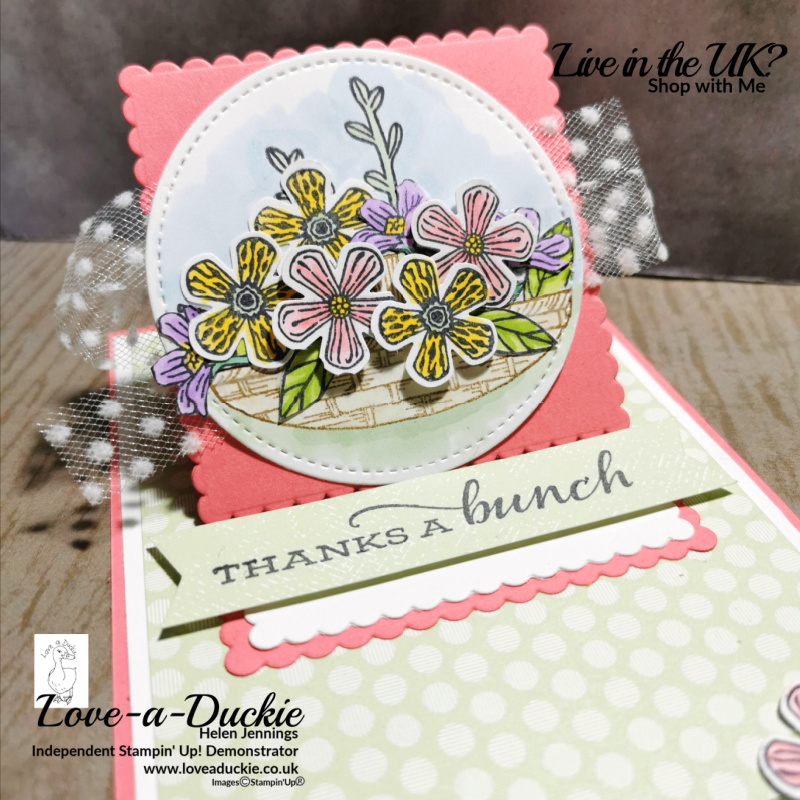
I added a swirl of spotted tulle ribbon behind the stitched circle before attaching it to the easel front. For the base of the easel, I cut the 2nd largest scalloped square in Whisper White.
The Card Base
For the base of the card, I cut a piece of Flirty Flamingo measuring 10.5cm x 14.9cm. To this, I added a Whisper White mat measuring 14.4cm x 10cm and a mat of spotty Soft Sea Foam Designer Series Paper measuring 13.9cm x 9.5cm. The easel was stuck in place on the card base and I added the reserved flower and leaves.
For the sentiment, I used the “Thanks a Bunch” from the “Celebrate Sunflowers” stamp set and stamped it onto a strip of the reverse side of the Soft Sea Foam paper. I created banner ends with the Banners Pick a Punch. The sentiment strip was then added with dimensionals and this creates the stopper for the easel card.
Browse and Vote
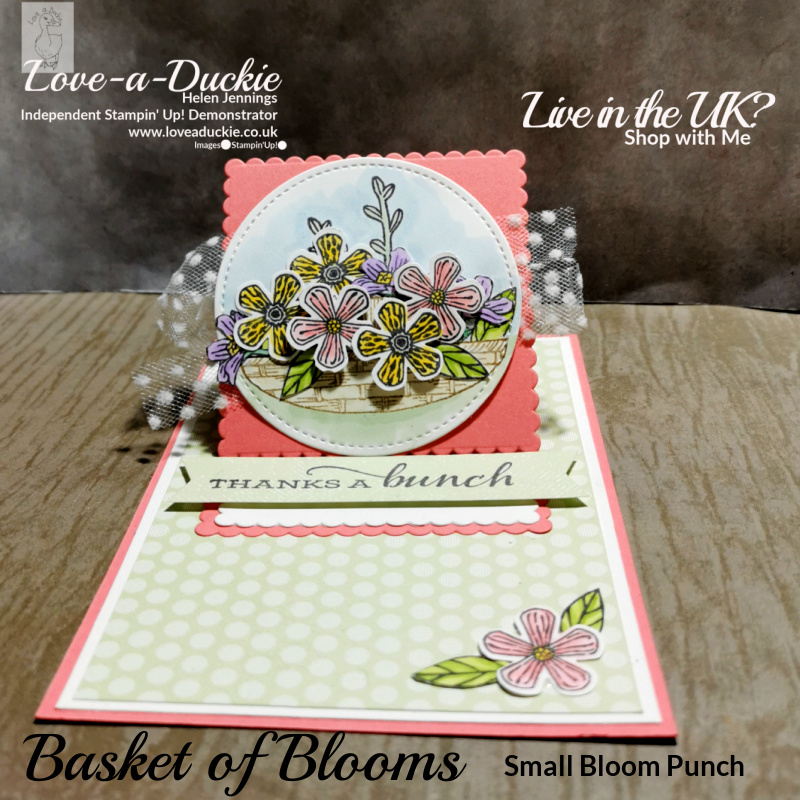
I am very pleased with the finished Basket of Blooms card and I’m now off to browse the rest of the projects. I hope you will join me.

Make sure you head over and see all the projects this month and cast your vote.
Basket of Blooms Supplies
I hope you have found lots of inspiration here and I would love to hear what you think and also to see any projects you have been inspired to create.
Stay safe and stay well.
If you live in the UK, I would love you to choose me as your demonstrator.
- You can shop here or click on the images listed below.
- sign up for my newsletter to receive news and inspiration
- Find out more about joining my team to get a 20% discount on your craft supplies
- email me if I can be of any assistance.
- Make sure you use the current host code so I can thank you for your order.
- Anyone purchasing from me will receive a Tutorial Bundle as a Thank You.
Product List






Oh this card is so, so sweet! Thanks Helen for being part of my International Highlights this month! All the best with the voting.
Thank you Kylie
Beautiful card, love the colours and the flowers, fabulous idea, many thanks for sharing, good luck with the voting 🙂
Thank you Anne
Such a beautiful card to go with that sentiment. Thanks for sharing
Thank you Rachael