I enjoyed all the creative possibilities of creating cards with the Timeless Christmas Suite from Stampin’ Up on a recent Live.
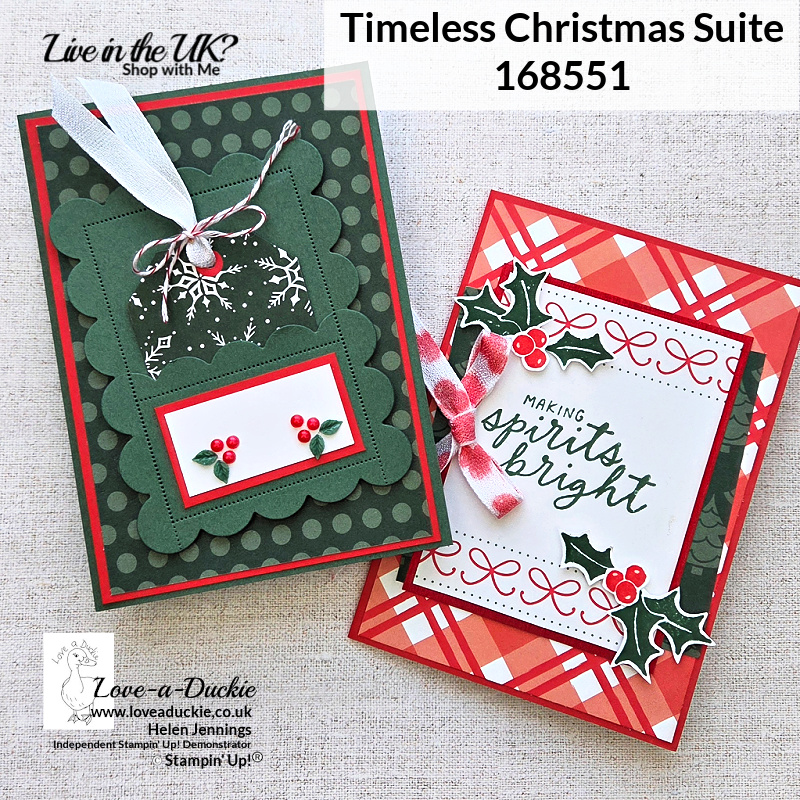
Welcome to Helen’s Highlights, my monthly opportunity to take a closer look at a Stampin’ Up! product and share some creative inspiration.
For October, I’m showcasing the beautiful Timeless Christmas Suite Collection, and for our first Live from the Lilypad, I’ve been playing with some traditional Christmas colours, gorgeous patterned papers and clever little techniques.
This suite features a wonderfully festive combination of Poppy Parade, Peaceful Pine and Pecan Pie, with beautiful brushed metallic foil, textured white ribbon and some rather lovely holly berry embellishments.
For today’s two projects, I particularly wanted to concentrate on one sheet of the Timeless Christmas Designer Series Paper – the one featuring lots of lovely printed labels, mats and tags.
These pieces are perfect for creating beautiful projects without needing lots of complicated cutting or stamping. But, of course, you know me – I couldn’t resist adding a few extra touches!
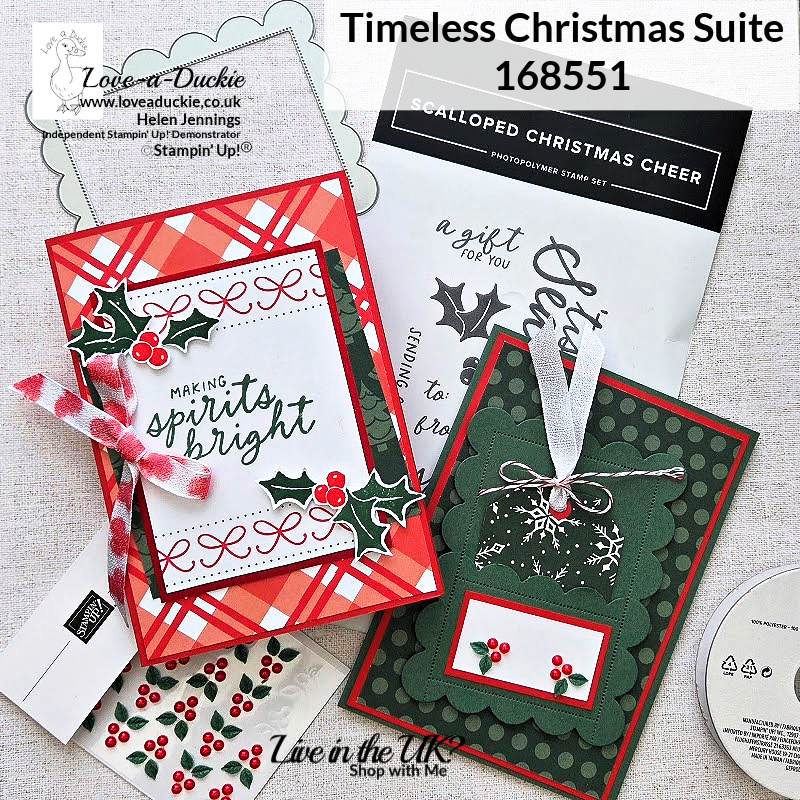
Card 1 – Making Spirits Bright
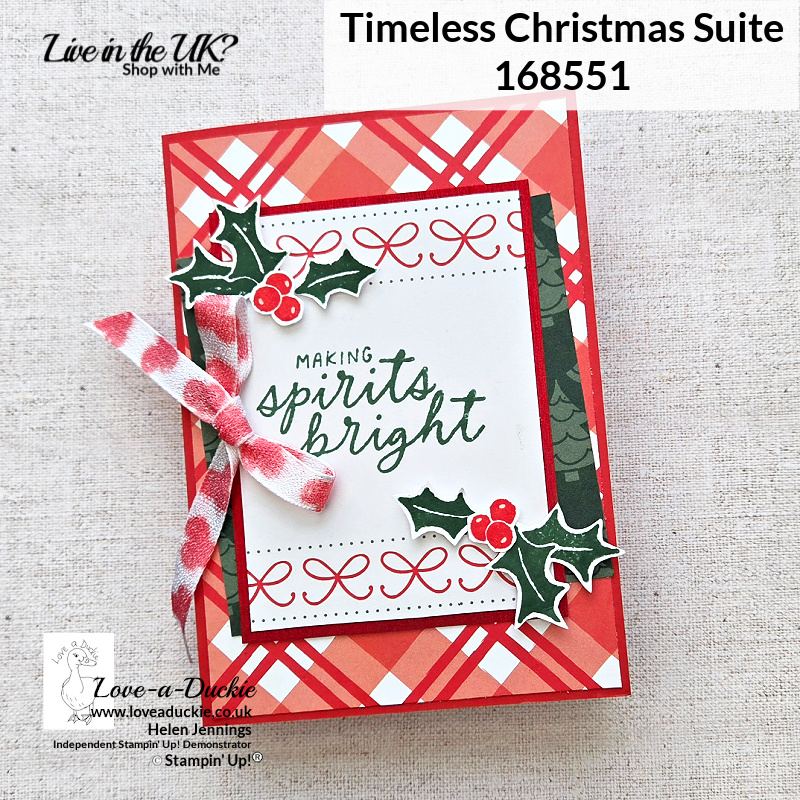
My first card features a traditional red and green colour combination, with a Poppy Parade card base and a bold red patterned background.
I chose two decorative panels from the Designer Series Paper – one featuring a Christmas tree pattern and another with a lovely printed bow border.
I layered the panels together, adding a narrow border of red brushed metallic foil behind the front panel to give the card a little extra Christmas sparkle.
Top Tip: Don’t waste that beautiful metallic cardstock hiding behind your layers! I used my Paper Trimmer to cut away the centre, leaving just a frame. The piece I removed can be saved for another project.
The greeting, Making Spirits Bright, comes from the Scalloped Christmas Cheer Stamp Set and was stamped in Peaceful Pine.
I also stamped some holly leaves in Peaceful Pine and berries in Poppy Parade, then cut them out and arranged them around the sentiment.
And the ribbon? Well, that started life as plain white textured ribbon!
Rather than leaving it white, I used the berry stamp and Poppy Parade ink to create my own decorative ribbon. A lovely way to customise your ribbon and make it coordinate perfectly with your project.
A little Wink of Stella on the berries added the finishing sparkle.
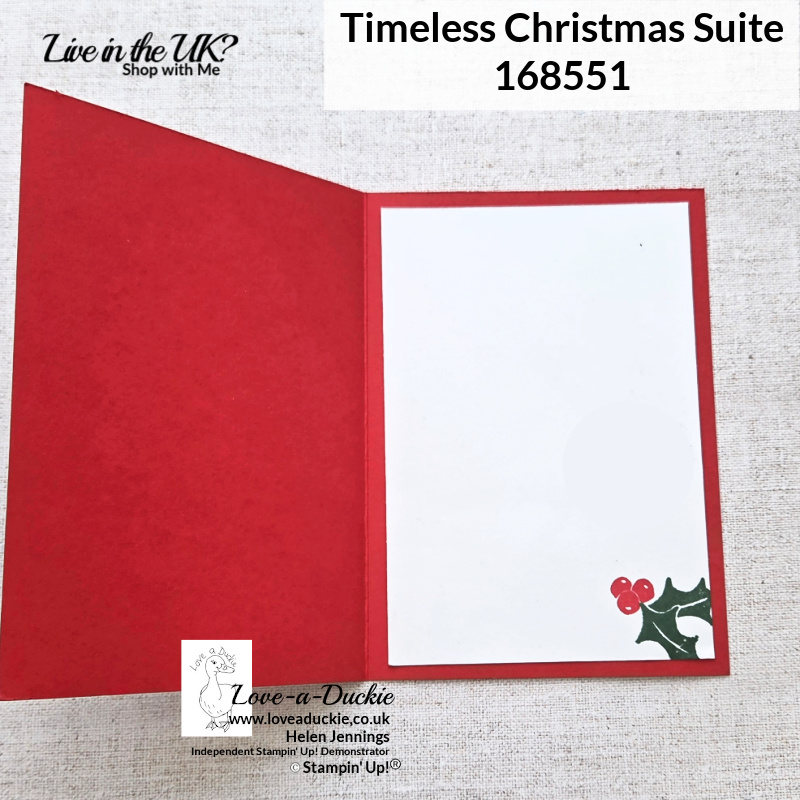
I decorated the inside of the card with some additional stamped holly too.
Card 2 – A Pocket Full of Christmas Cheer
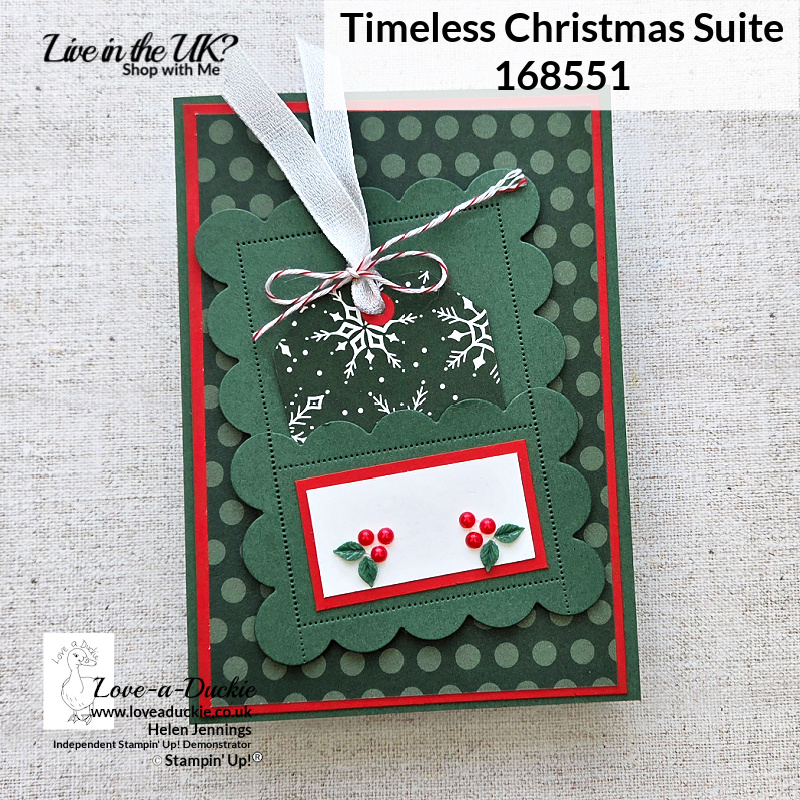
For my second card, I wanted to explore the Scalloped Christmas Cheer Dies and create something a little different.
I started with a Peaceful Pine card base, adding a Poppy Parade mat and some lovely green spotted Designer Series Paper.
The main feature is a scalloped pocket created using the second-largest die from the bundle.
I cut two identical scalloped rectangles, then used the die a second time to shorten one of them, giving it a scalloped edge at the top.
By adhering the shorter piece to the larger one along the sides, I created a pocket that could hold a removable Christmas tag.
I used one of the printed tags from the Designer Series Paper, adding some white textured ribbon and red-and-white twine.
The little label on the pocket is decorated with the Adhesive-Backed Christmas Berries, which are such a pretty finishing touch.
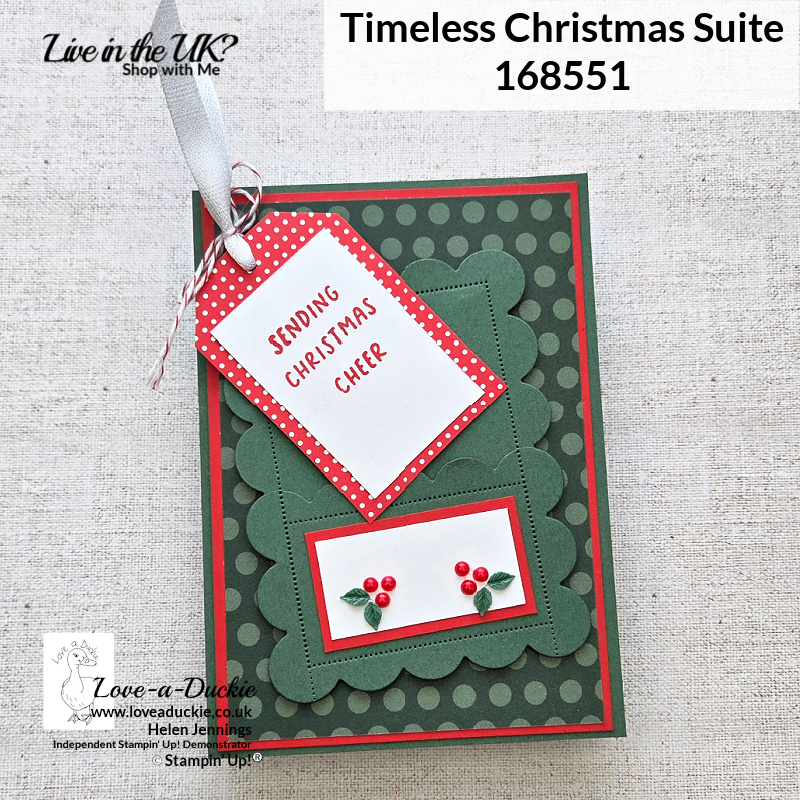
On the reverse of the tag, I stamped Sending Christmas Cheer in Poppy Parade.
Rather than stamping the words in one long line, I used masking tape to ink and stamp each word separately, arranging the greeting to fit my smaller panel.
It’s such a useful technique when your sentiment is the right wording but not quite the right shape!
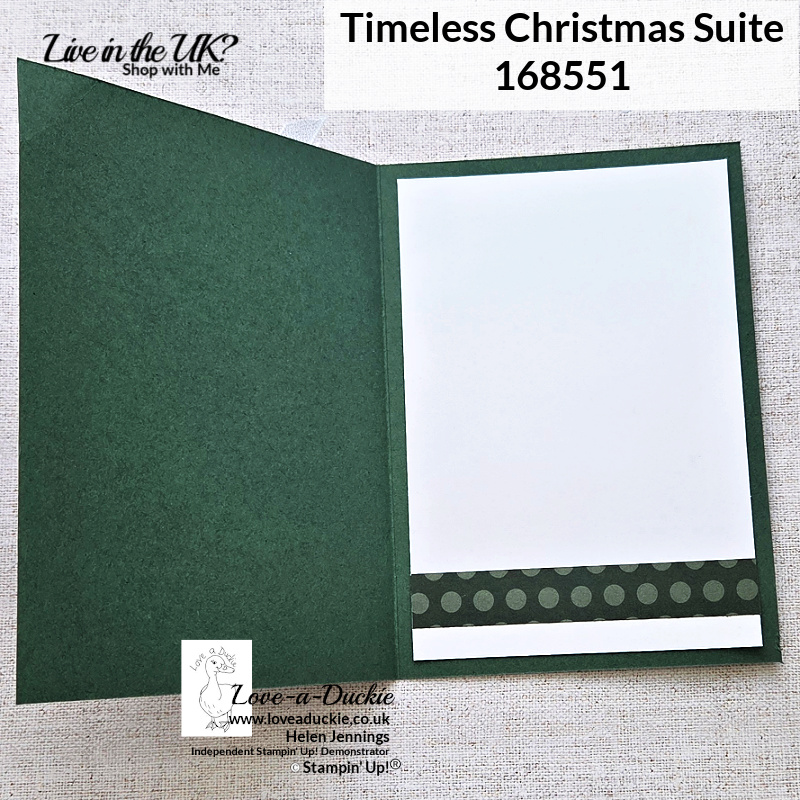
Finally, I added a coordinating strip of Designer Series Paper to the inside of the card.
Watch the Video
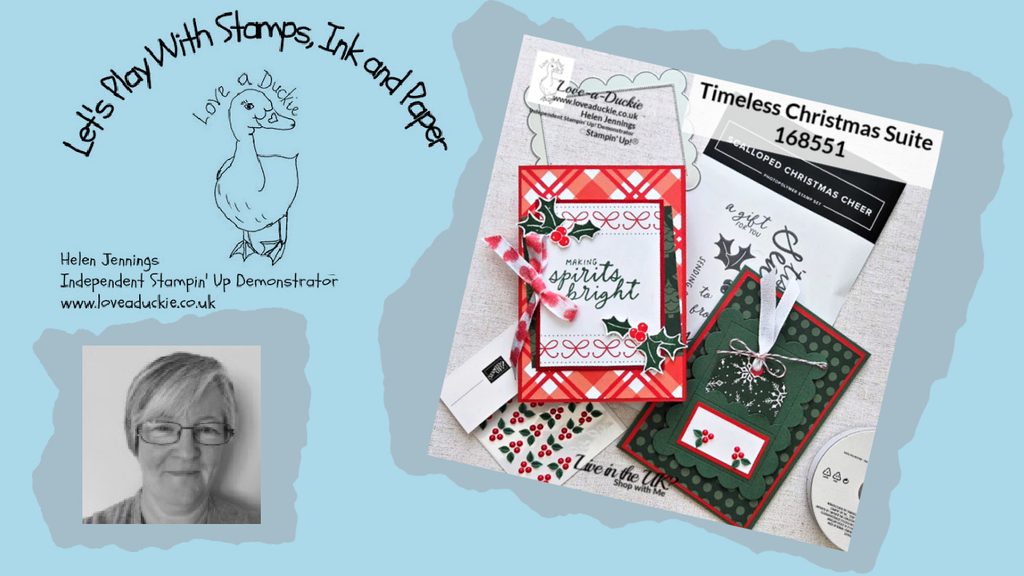
You can see both these cards being created on this recording of my Live.
How Can I Help
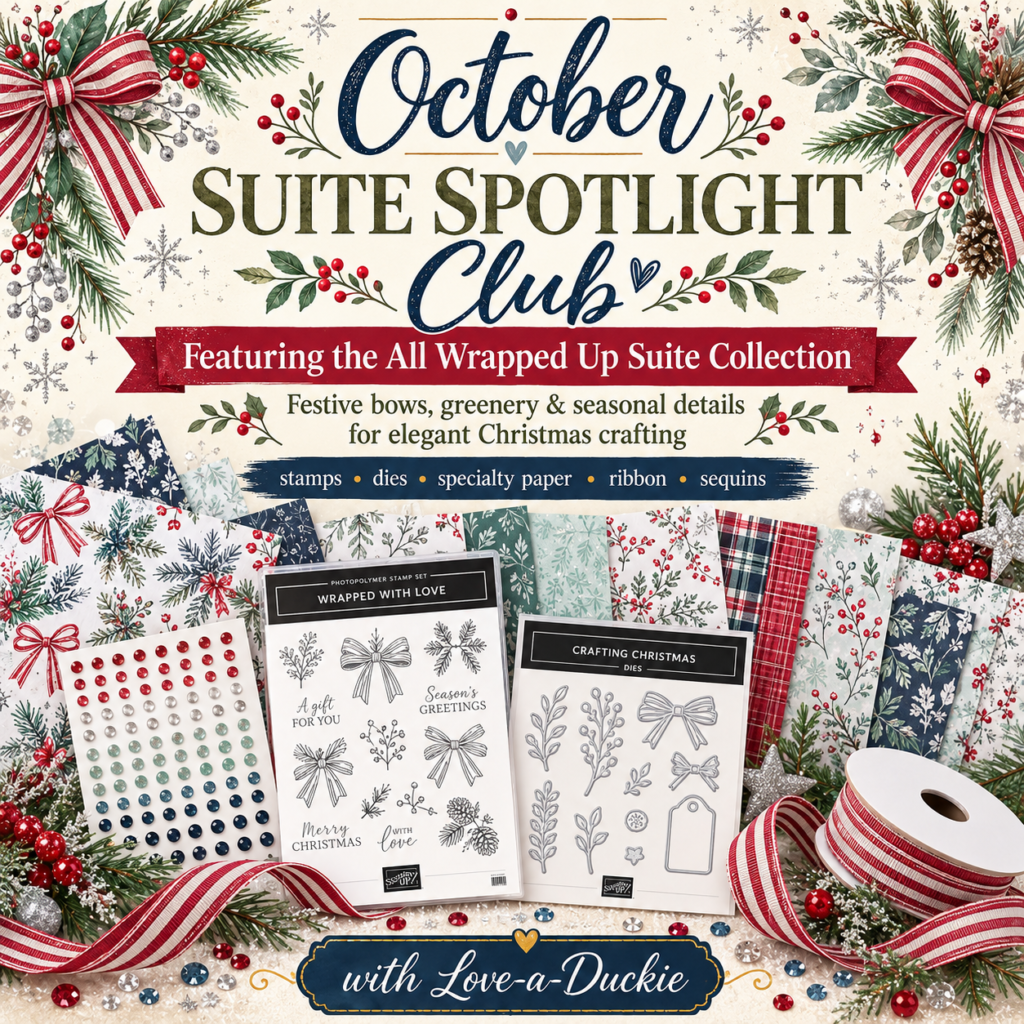
I’ll be back on Wednesday 28 October at 1pm (UK time) for another Live from the Lilypad, featuring two more projects using the Timeless Christmas Suite.
We’ll be exploring some more possibilities with the stamps, dies and patterned papers, including a shaped scalloped card.
At the end of October, I’ll be bringing all four projects together in a PDF tutorial, complete with photographs, step-by-step instructions and measurements in both metric and US imperial sizes.
The tutorial will be free for customers who purchase the Timeless Christmas Suite from me during October, and for members of my Love-a-Ducklings team. It will also be available to purchase separately through my website.
If you’d like to find out more, take a look at my Helen’s Highlights page.
Don’t hesitate to get in touch if I can help with your purchases, or if you have a crafty question.
Meanwhile stay safe and stay well
Helen xx
If you live in the UK, I would love you to choose me as your demonstrator.
- You can shop here or click on the images listed below.
- sign up for my newsletter to receive news and inspiration
- Find out more about joining my team to get a 15% discount on your craft supplies
- email me if I can be of any assistance.



![Scalloped Christmas Cheer Bundle (English) [ 168545 ]](https://assets1.tamsnetwork.com/images/EC042017NF/168545s.jpg "Scalloped Christmas Cheer Bundle (English) [ 168545 ]")
![Timeless Christmas 12" X 12" (30.5 X 30.5 Cm) Designer Series Paper [ 168537 ]](https://assets1.tamsnetwork.com/images/EC042017NF/168537s.jpg "Timeless Christmas 12\" X 12\" (30.5 X 30.5 Cm) Designer Series Paper [ 168537 ]")
![Timeless Metallic 12" X 12" (30.5 X 30.5 Cm) Specialty Paper [ 168548 ]](https://assets1.tamsnetwork.com/images/EC042017NF/168548s.jpg "Timeless Metallic 12\" X 12\" (30.5 X 30.5 Cm) Specialty Paper [ 168548 ]")
![Adhesive Backed Christmas Berries [ 168549 ]](https://assets1.tamsnetwork.com/images/EC042017NF/168549s.jpg "Adhesive Backed Christmas Berries [ 168549 ]")
![White 3/8" (1 Cm) Textured Ribbon [ 168550 ]](https://assets1.tamsnetwork.com/images/EC042017NF/168550s.jpg "White 3/8\" (1 Cm) Textured Ribbon [ 168550 ]")
![Peaceful Pine A4 Cardstock [ 167692 ]](https://assets1.tamsnetwork.com/images/EC042017NF/167692s.jpg "Peaceful Pine A4 Cardstock [ 167692 ]")
![Poppy Parade A4 Cardstock [ 121694 ]](https://assets1.tamsnetwork.com/images/EC042017NF/121694s.jpg "Poppy Parade A4 Cardstock [ 121694 ]")
![Basic White A4 Cardstock [ 166781 ]](https://assets1.tamsnetwork.com/images/EC042017NF/166781s.jpg "Basic White A4 Cardstock [ 166781 ]")
![Peaceful Pine Classic Stampin Pad [ 167679 ]](https://assets1.tamsnetwork.com/images/EC042017NF/167679s.jpg "Peaceful Pine Classic Stampin Pad [ 167679 ]")
![Poppy Parade Classic Stampin' Pad [ 147050 ]](https://assets1.tamsnetwork.com/images/EC042017NF/147050s.jpg "Poppy Parade Classic Stampin' Pad [ 147050 ]")
![Real Red & White Baker's Twine [ 164051 ]](https://assets1.tamsnetwork.com/images/EC042017NF/164051s.jpg "Real Red & White Baker's Twine [ 164051 ]")