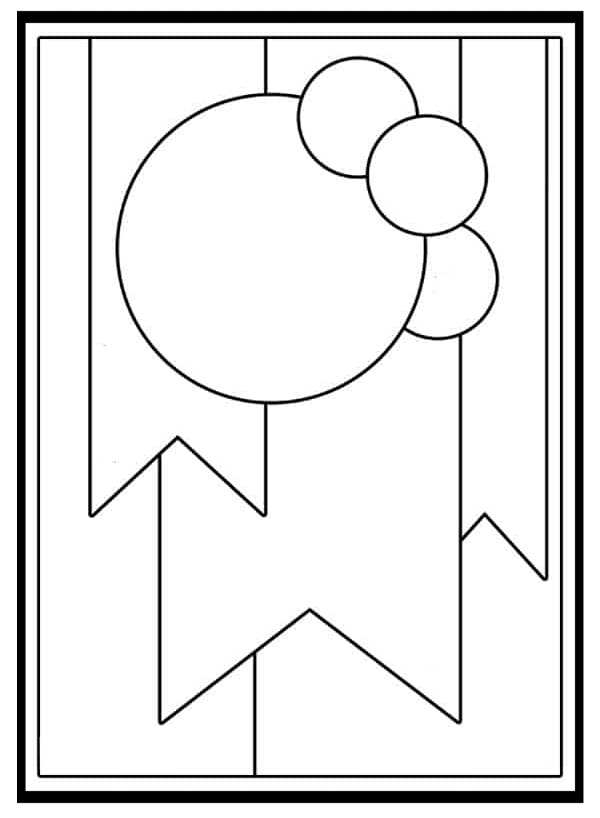
What happens when you take one card sketch, turn it around and let your creativity take over?
You end up with two completely different Christmas cards!
Hello, crafty friends!
It was a decidedly wet and chilly Wednesday here in Northamptonshire, so what better way to spend an afternoon than tucked away in my craft room, playing with pretty papers, stamps and dies?
For this week’s Live from the Lilypad, I thought we’d do something a little different. Rather than concentrating on one particular stamp set or product suite, I decided to have a play with a card sketch.
And the wonderful thing about sketches is that they really are just a starting point. There are no rules saying that you must follow every line, use exactly the same shapes or even keep the sketch the right way up!
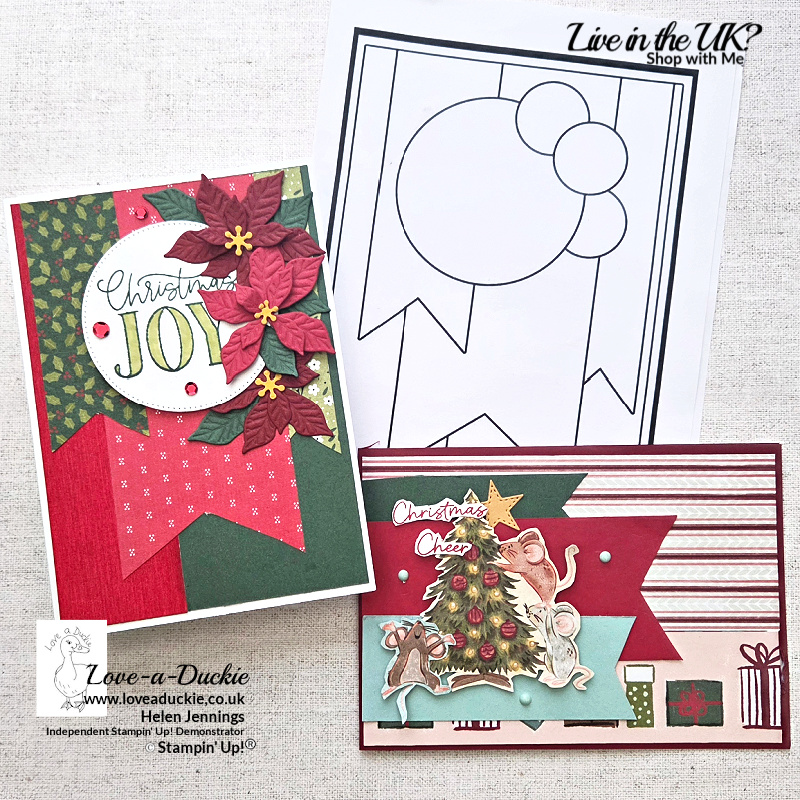
I created two Christmas cards using the same basic layout, but with very different results.
What is a card sketch?
If you’ve never used a card sketch before, think of it as a little map for your card design.
It might suggest where to position patterned papers, a greeting or a focal image, but how you interpret those elements is entirely up to you.
For my two cards, I started with a sketch featuring contrasting background panels, three overlapping banners and some circular elements.
For the first card, I followed the sketch in its original orientation. For the second, I turned it sideways!
Let’s have a closer look.
Card One – Christmas Joy with Pretty Poinsettias
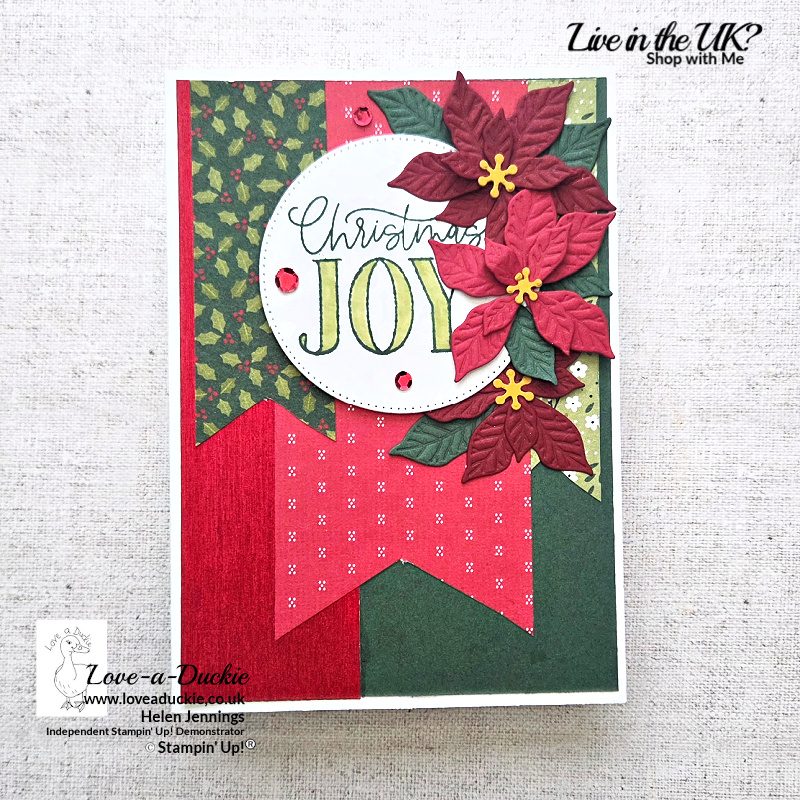
For my first card, I reached for the gorgeous Pretty Poinsettia Bundle.
I wanted something quite traditional, with rich reds, deep greens and a little sparkle.
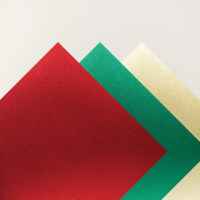
I started with a Thick Basic White card base and created the split background using Peaceful Pine cardstock and the beautiful brushed red paper from the Timeless Metallic Specialty Paper pack.
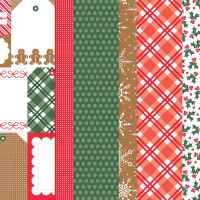
The banners were cut from the A Stitched Season Designer Series Paper, using a mixture of festive patterns.
Rather than copying the circles on the sketch exactly, I replaced them with three beautiful die-cut poinsettias.
I cut two in Cherry Cobbler and one in Real Red, bringing together the different shades of red in my patterned papers.
One of my favourite details is the embossing on those poinsettias. After die-cutting the flowers, I used the Stampin’ Up! Impressions Plate to add all that lovely texture to the petals.
It’s amazing how much difference that extra detail makes!
For the greeting, I stamped Christmas Joy in Peaceful Pine onto a Basic White stitched circle, colouring the large lettering with Light Old Olive.
I then arranged the poinsettias around the greeting, tucking in embossed Peaceful Pine leaves and adding Crushed Curry flower centres.
A few red sequins completed the design.
The result is quite a traditional Christmas card, with plenty of texture and dimension.
Measurements
For my UK card:
- Thick Basic White card base: 21 × 14.85 cm, scored at 10.5 cm
- Peaceful Pine background panel: 6 × 14.4 cm
- Red Timeless Metallic background panel: 4 × 14.4 cm
- Main patterned banner: approximately 6 × 13 cm
- Narrower patterned banners: approximately 2.5 × 10 cm and 3 × 8.5 cm
These are the approximate measurements used during the Live. The wonderful thing about a sketch is that you can adjust the proportions to suit your card.
For US crafters:
- Thick Basic White card base: 8½” × 5½” card base, scored at 4¼”,
- Peaceful Pine background panel :2 1/2″ x 5 1/4″
- Red Timeless Metallic background panel: 1 1/2″ x 5 1/4″
- Main patterned banner: approximately 2 1/4″ x 4 3/4″
- Narrower patterned banners: approximately 1″ × 3 3/4″ and 1 1/4″ x 3″
Card Two – Christmas Cheer with A Little Christmas
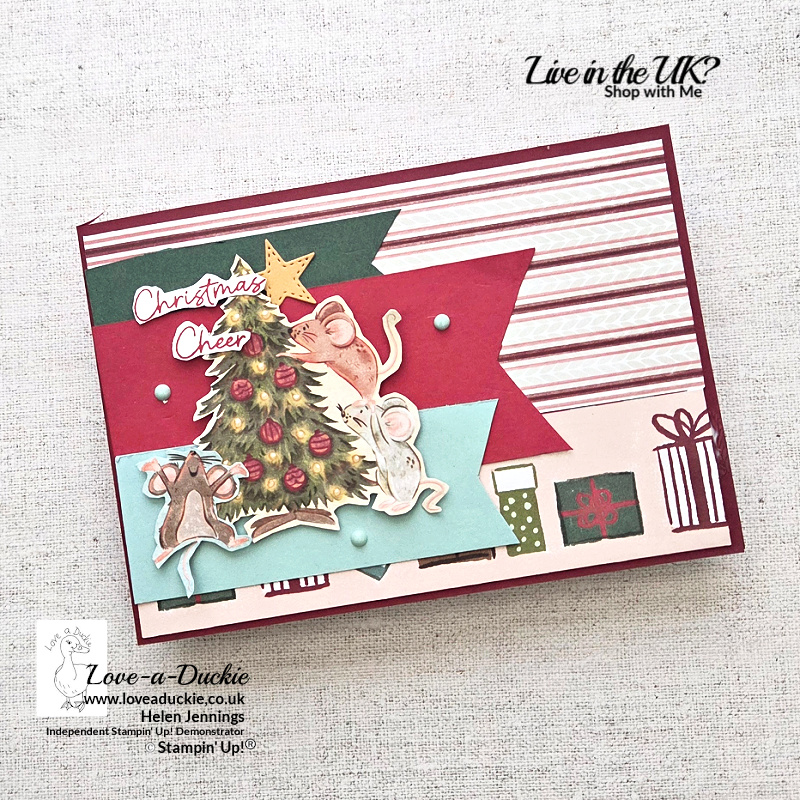
For my second card, I decided to turn the sketch sideways.
And what a difference that made!
This time, I reached for the adorable A Little Christmas Designer Series Paper, with its delightful little mice getting ready for Christmas.
I started with a Cherry Cobbler card base and used two different sections of the Designer Series Paper for the background.
The striped paper creates the upper section, while a strip featuring Christmas presents sits along the bottom.
Rather than patterned paper banners, I used plain cardstock in coordinating colours, including Cherry Cobbler, Peaceful Pine and Pool Party.
Keeping the banners fairly simple allowed the adorable mice to take centre stage.
Now, you know I enjoy a little fussy cutting!
I cut out the mice decorating their Christmas tree, along with another little mouse, and arranged them across the banners.
Because the banners were plain cardstock, the images stood out beautifully without needing an additional background label.
The sentiment came from the Woodland Wishes stamp set. I stamped the greeting in Real Red and fussy cut the words Christmas Cheer, separating them from the rest of the stamped sentiment.
I also wanted a little star for the top of the tree.
There are some lovely new star dies available, but I hadn’t yet got my hands on them, so I rummaged through my supplies and found an older stitched star die.
A little Golden Glow cardstock, and we had our star!
I finished the card with a scattering of Pool Party embellishments.
And there we have it — a second Christmas card using exactly the same sketch, but with a completely different feel.
The same sketch, two very different cards!
I think this is one of the things I love most about using card sketches.
They give you a starting point without limiting your creativity.
You can:
- Turn the sketch around or upside down.
- Replace circles with flowers, stamped images or other shapes.
- Use patterned paper for some elements and plain cardstock for others.
- Make your banners longer, shorter, wider or narrower.
- Use whatever products you already have in your craft stash.
There’s no need to follow every detail precisely.
And there’s certainly no crafty police coming to arrest you if you decide to do something different!
Introducing The Stash Bash!
This sort of crafting is exactly what I have in mind for my new online crafty club, The Stash Bash, which is starting in November.
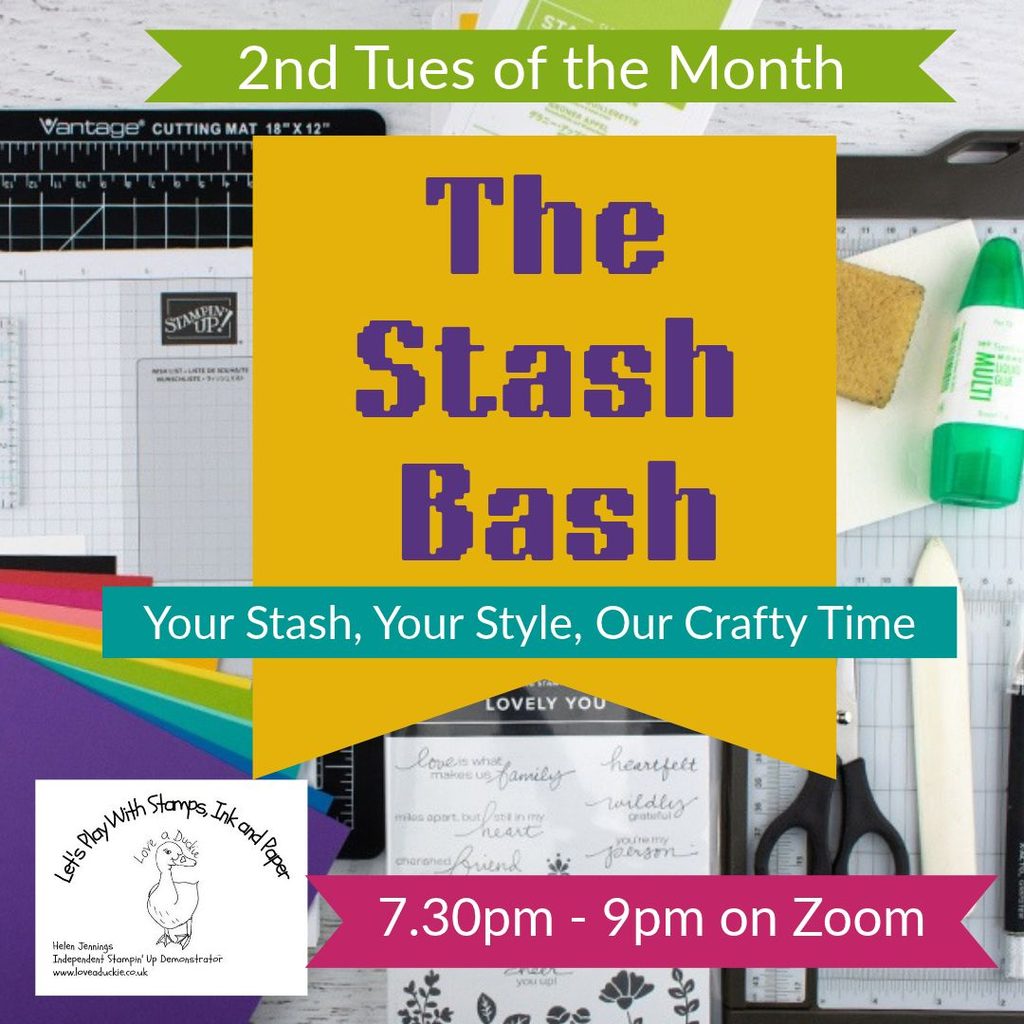
It’s going to be a relaxed, friendly evening on Zoom where we can craft together, chat and make better use of all those lovely supplies we’ve collected.
There won’t be a particular product suite that you need to purchase.
Instead, we’ll use sketches, layouts and other ideas to inspire our projects, with an opportunity to make a fancy-fold card too.
Whether your supplies have been sitting on your shelf for two weeks or two years, they’re welcome!
The Stash Bash will be £7.50 per session, and I shared information about it on an earlier blog post.
Watch the Video
If you’d like to see both cards come together, including how I cut the banners, embossed the poinsettias and arranged those cheeky little mice, you can watch the full replay of Live from the Lilypad – 21 October 2026.
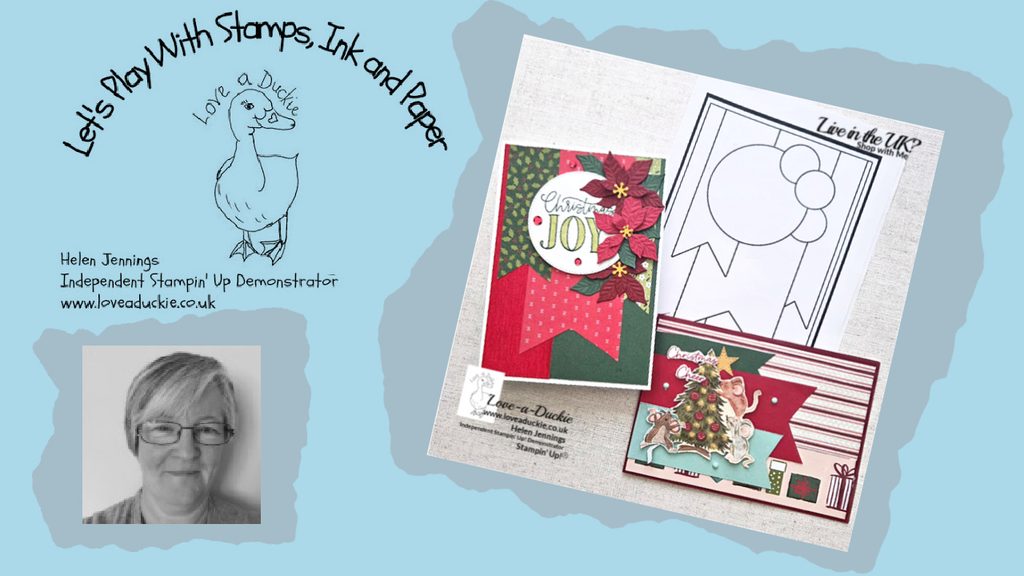
You’ll also find a few extra crafty tips along the way, including how I clean my paper trimmer and change the cutting blade.
How Can I Help
Why not find a card sketch, dig into your craft supplies and see what you can create?
You could even try making two cards from the same sketch, changing just the colours, products or orientation.
I’d love to see what you come up with!
Don’t hesitate to get in touch if I can help with your purchases, or if you have a crafty question.
Meanwhile stay safe and stay well
Helen xx
If you live in the UK, I would love you to choose me as your demonstrator.
- You can shop here or click on the images listed below.
- sign up for my newsletter to receive news and inspiration
- Find out more about joining my team to get a 15% discount on your craft supplies
- email me if I can be of any assistance.