There are various collective nouns you can use for butterflies, but “flutter” is by far my favourite. I was in need of a flutter of butterflies for a project we are creating in today’s Technique Class. The participants will all be creating floating die cards (or in this case, floating punches!)
This was a job for my trusty Stamparatus. If you want to save time and get the most economical use from your cardstock, this is the way to go.
Stamparatus Top Tip
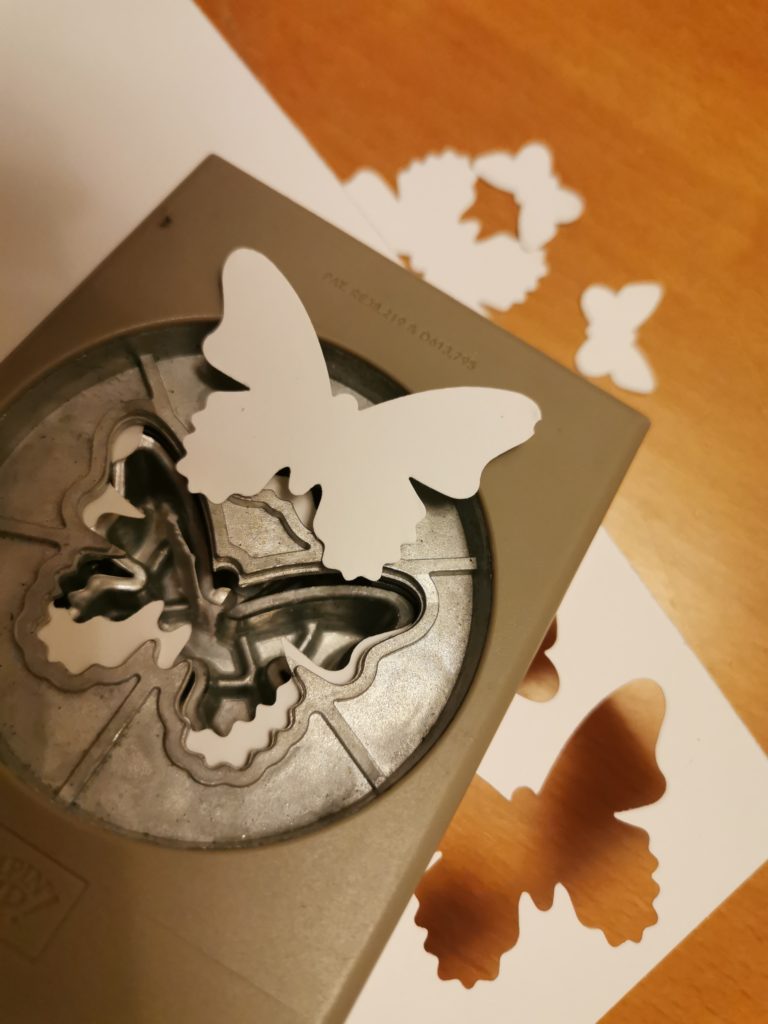
First you need to punch (or die cut) your shapes from your card. If you are not lining up stamped images, you can squeeze far more cut-outs from a piece of card.
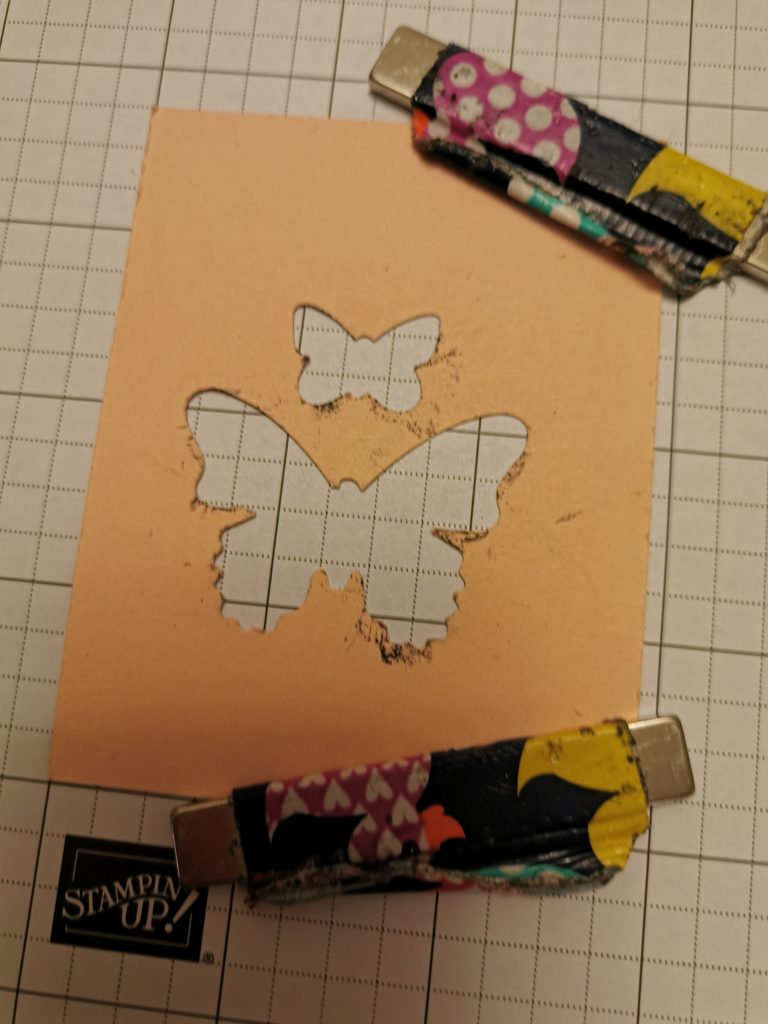
Next you need your template. I just create mine by punching the shape(s) in a piece of spare cardstock and I then keep these tucked in my Stamparatus bag to use multiple times. Anchor your template down with the magnets so it doesn’t move.
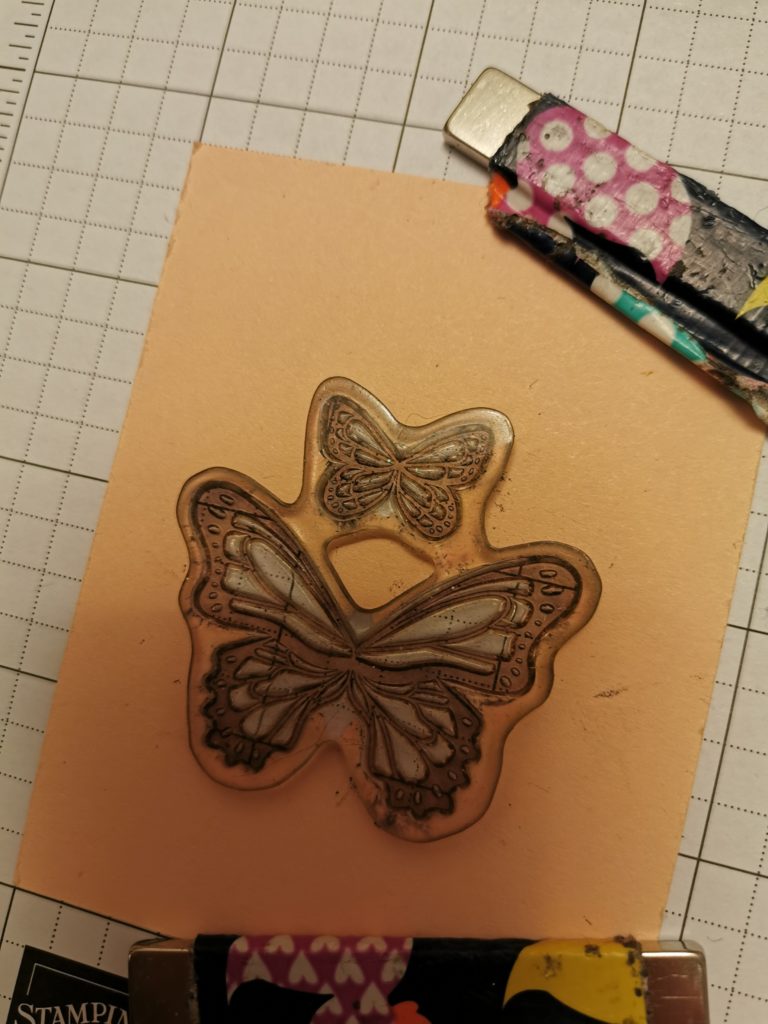
Line your stamps up in the holes in the template. The butterfly ones from this “Butterfly Gala” stamp set are nice and easy, because the two images come joined on one stamp. Close the lid of the Stamparatus to pick the stamps up. They are now beautifully aligned with the holes in your template.
Ready to Stamp
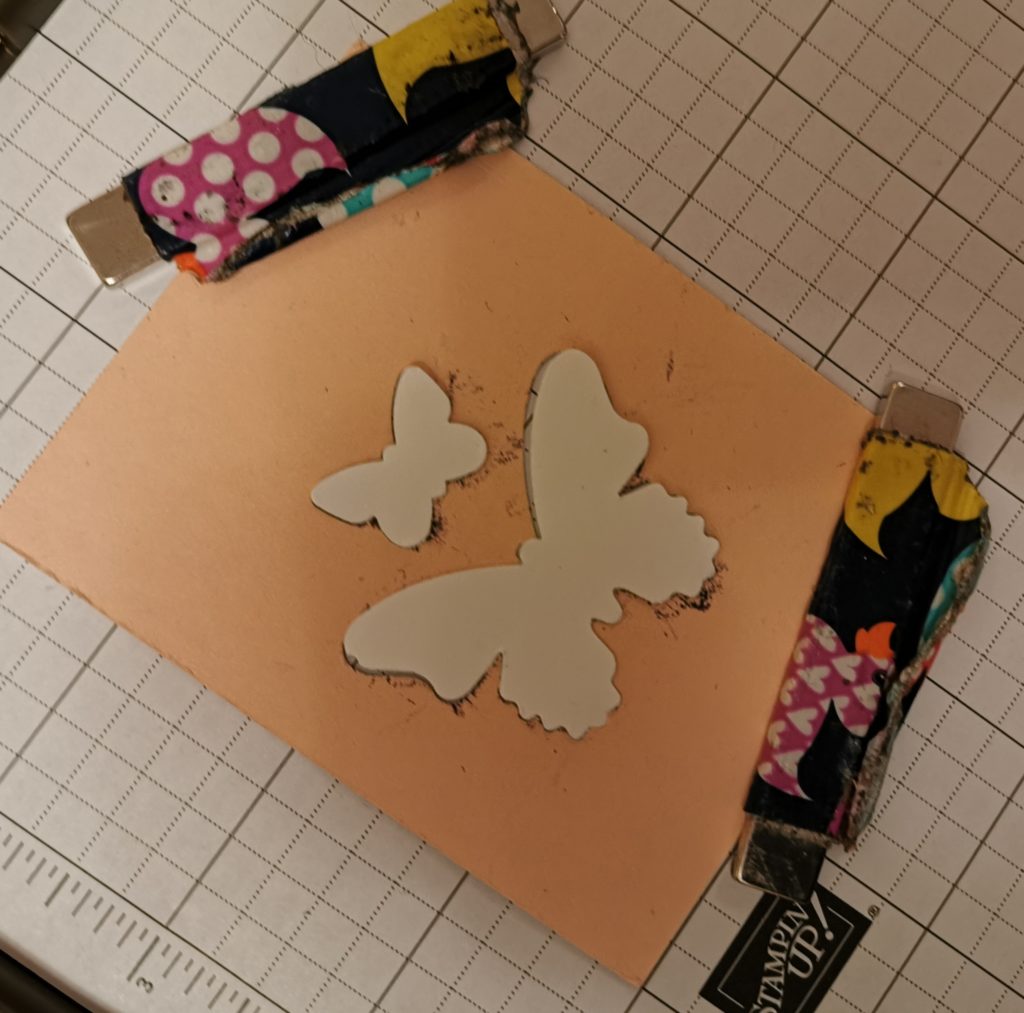
Put a pair of your blank punched butterflies in the holes in your template. Simply ink your stamp up and press down.
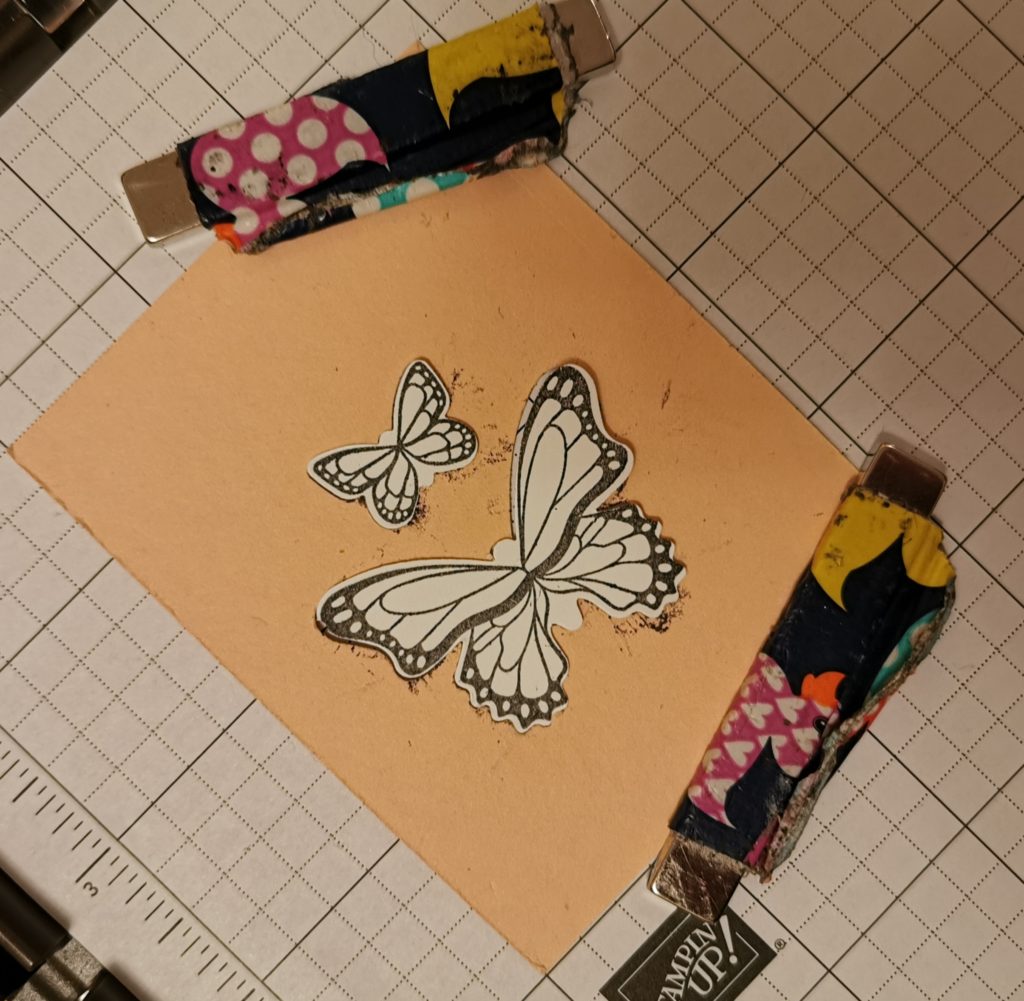
Repeat until your flutter of butterflies is all stamped and ready for you to colour. It is amazing how quickly you can do this once you are in your rhythm. Much quicker than trying to line up multiple stamped images in your punch.
Just Add Colour
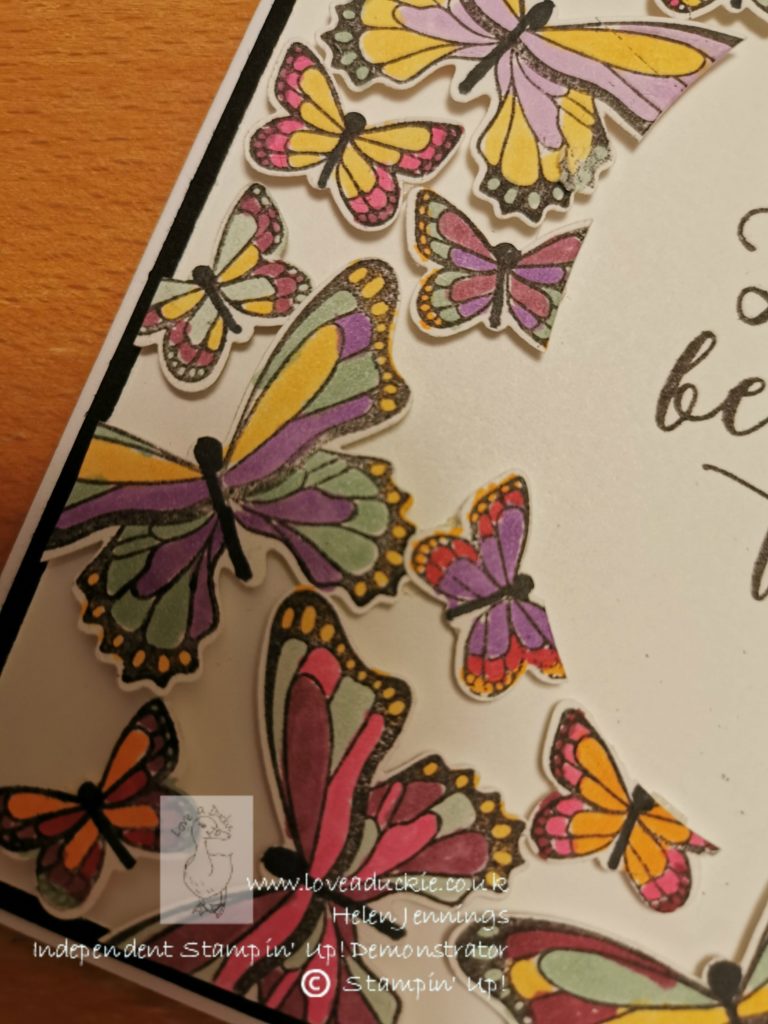
Now you can put your feet up in front of the telly, while you colour in all those butterflies with your gorgeous Stampin’ Blends.
Supplies
Product List
Check back soon to see the finished cards. In the meantime, have fun creating multiple images with your Stamparatus. And if you haven’t got one yet – what are you waiting for?
Helen xx
