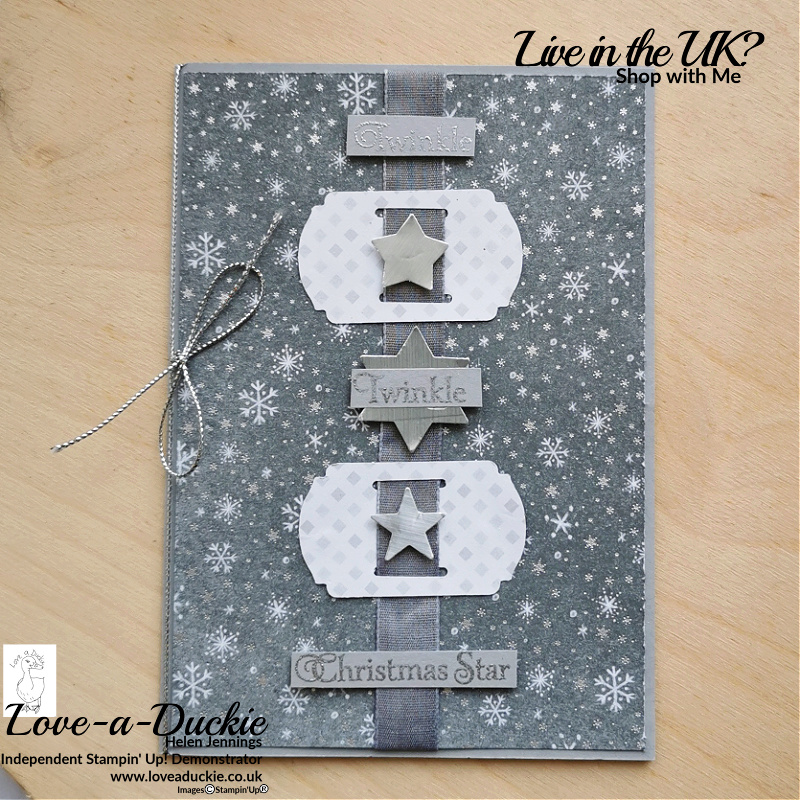
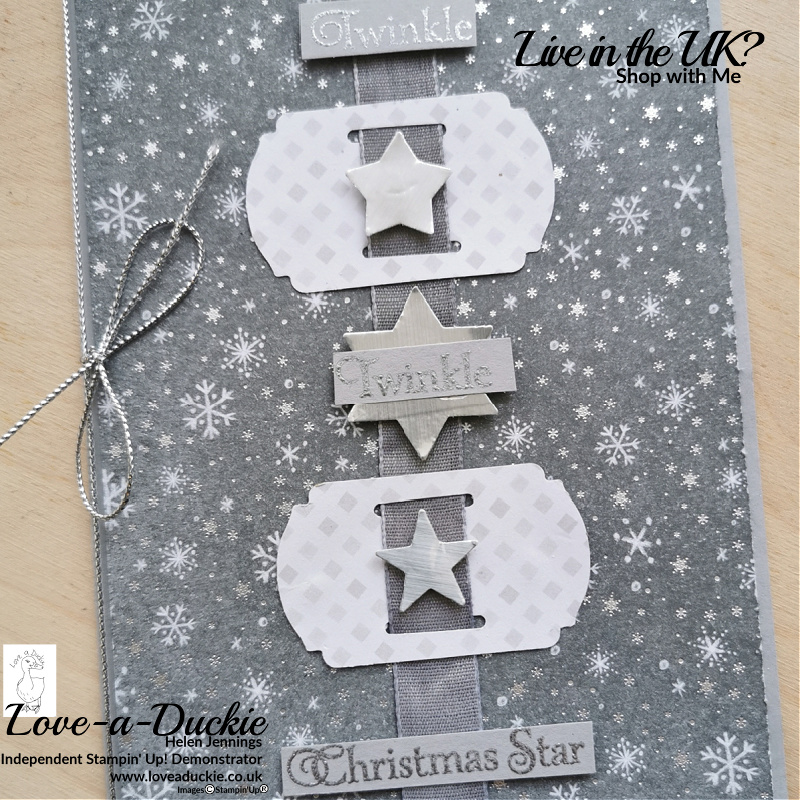
For this month’s Casually Crafting Blog hop, I have designed .a simple Christmas Card.

The idea behind this blog hop is to show that you can create beautiful cards even if you don’t have lots of equipment. These beautiful cards are great for crafters who are just starting out, but even avid crafters will love to try these designs.
A Simple Christmas Card

This month we have a sketch challenge. We use the sketch above as a springboard for our creativity. When you take part in sketch challenges you can change the shape of elements and even the orientation of the project. However, with my card I have kept it quite simple. It has, however, got some heat embossing on it. the magic of watching that dull powder heat up and turn shiny was the thing that first got me hooked in cardmaking.
You will find a list of the products I used at the end of this post, including lists to my online store.
| A4 metric | Imperial letter Size | |
| Smoky Slate Card Base | 14.9cm x 21cm Scored at 10.5cm on the long side | 8 1/2″ x 5 1/2″ Scored at 4 1/4″ on the long side |
| DSP | 14.4cm x 10cm | 5 1/4″ x 4“ |
| DSP | For punched labels | For punched labels |
| Silver Foil | For punched stars | For punched stars |
| Smoky Slate | For Sentiment | For Sentiment |
| Basic White insert | 13.9cm x 9.5cm | 5″ x 3 3/4″ |
Instructions
- Fold the card along the score line to create the card base.
- Take the “Label Me Fancy” punch and punch the shapes from DSP. Add the slot section to the two long sides so you can thread the ribbon through.
- Take a piece of Basic White ribbon and colour it with the Dark Smoky Slate Stampin’ Blend. Thread the ribbon through the labels. Wrap this ribbon down the centre front of the Designer Series Paper. Stick the ribbon down on the back of the DSP, before attaching the paper to the card base.
- Secure the labels in place with glue dots.
- Stamp the sentiment onto the Smoky Slate card with Versamark ink. Then, using the heat tool, emboss the sentiment with silver embossing powder. Cut the sentiment into strips.
- Using the Starlit Punch, punch some stars from silver foil. Stick the sentiment and stars down the centre of the card.
- Tie a length of silver thread around the spine of the card.
- Stick the Basic White mat to the inside of the card with liquid adhesive.
Let’s Hop

I hope you have enjoyed my project. Do leave a comment if you can, because it certainly makes my day. Then it is time to hop around all the other projects
How Can I Help?
I hope you have got a list of projects you are going to try after hopping around all these lovely demonstrators.
Don’t hesitate to contact me if I can be of any help with your purchases, or if you have a crafty questions.
Meanwhile, stay safe and stay well.
Helen xx
If you live in the UK, I would love you to choose me as your demonstrator.
- You can shop here or click on the images listed below.
- sign up for my newsletter to receive news and inspiration
- Find out more about joining my team to get a 20% discount on your craft supplies
- email me if I can be of any assistance.
- Make sure you use the current host code so I can thank you for your order.
- Anyone purchasing from me will receive a Tutorial Bundle as a Thank You.


What a great idea to use the labels with the ribbon. Thanks for hopping with us this month
Lovely interpretation of the sketch, thank you for sharing!
Terrific card.
I just love your card Helen
Great card Helen!
I love all the details on your card…and Heat Embossing is my favorite! 🙂
Helen, I just love how you weaved the ribbon through the tags of DSP! So very clever. Thank you for sharing
Beautiful card!! Always enjoy seeing what you have made.


A great take on that layout