For this month’s Casually Crafting Blog hop, I have designed a black & white slimline card.

The idea behind this blog hop is to show that you can create beautiful cards even if you don’t have lots of equipment. These beautiful cards are great for crafters who are just starting out, but even avid crafters will love to try these designs.

We have a sketch to inspire us for this hop. I always love the challenge of creating with a sketch. They can act as a focus for your design, while still giving you the freedom to choose products, colours and textures..
My Black & White Slimline Card
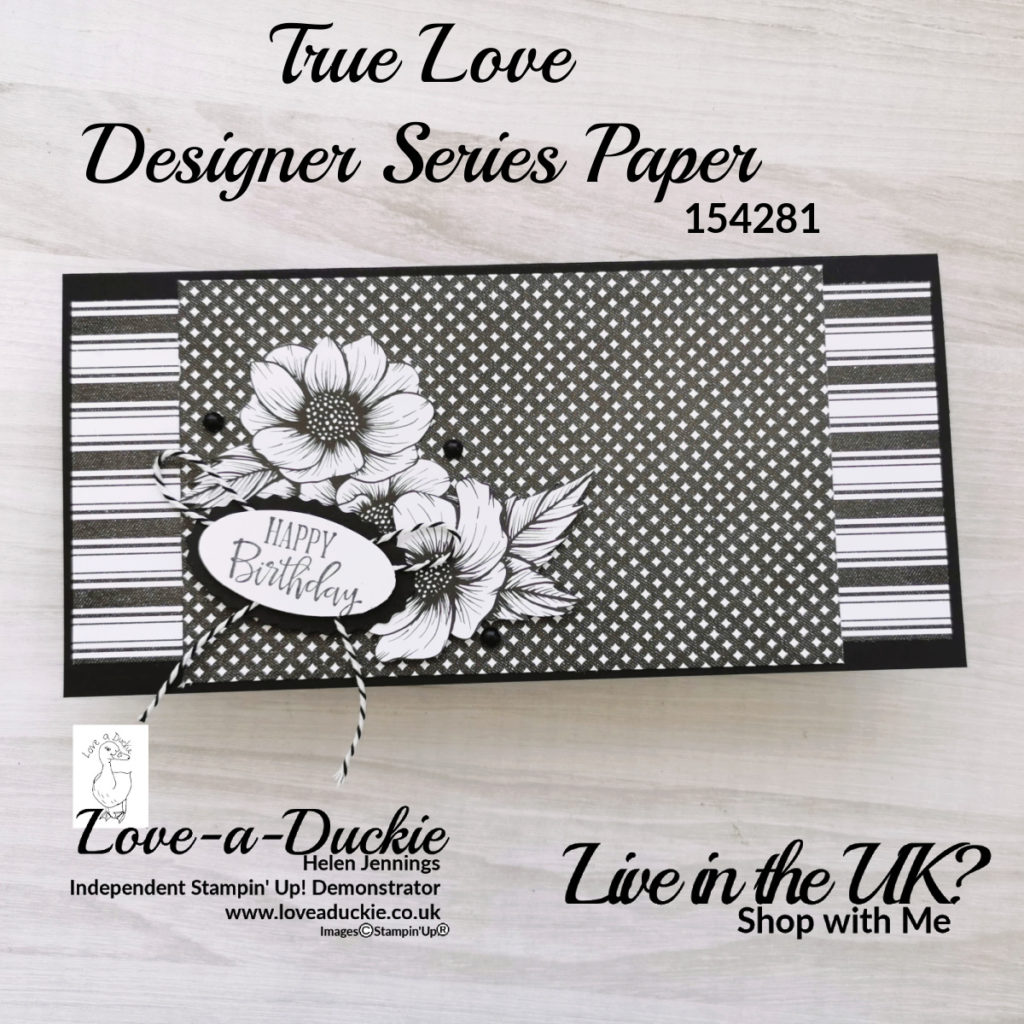
As slimline cards seem to be so on trend now, I thought I would create one using the beautiful monochrome True Love Designer Series paper.
- Stamps: Peaceful Moments
- Tools: Double Oval Punch, Paper Trimmer
- Paper/Card: Basic Black; Basic White; True Love Designer Series Paper
- Ink: Memento
- Embellishments: Playful Pets Trim Combo; Matte Black Dots
- Adhesives: Multipurpose Liquid Adhesive; Dimensionals; Glue Dots.
| A4 metric | Imperial letter Size | |
| Basic Black Card Base | 21cm x 20cm, scored at 10cm on the short side | 8 1/2″ x 7″ scored at 3 1/2″on the short side |
| Striped DSP | 8.5cm x 20.5cm 1cm x 20cm | 8 1/4″ x 3″ 3/8″ x 8″ |
| Diamond DSP | 9.5cm x 15.5cm | 6 1/4″ x 3 1/4″ |
| Basic White | 20cm x 9cm | 8″ x 3″ |
| Floral DSP | 2x single & 1x double fussy cut flower | 2x single & 1x double fussy cut flower |
The Imperial letter Size card is slightly longer and thinner and based on information I can find as to US envelope availability. The metric size card fits a UK DL sized envelope.
Instructions
- Fold the card along the score line to create the card base. Stick the striped paper to the card base and then stick the diamond pattern on the top.
- Fussy cut one double flower and 2 single flowers from the Designer Series paper. Using liquid glue, stick the double flower in place and then add one of the single flowers, slightly overlapping and using dimensionals.
- Stamp the greeting in Memento ink onto the plain white punched oval. Tie a bow with the black and white striped twine from the combo pack. Using a glue dot, stick this to the back of the white oval. Use dimensionals to stick this oval to the scalloped black oval, before attaching it to the card front with some more dimensionals.
- Add some Matte Black dots around the flowers.
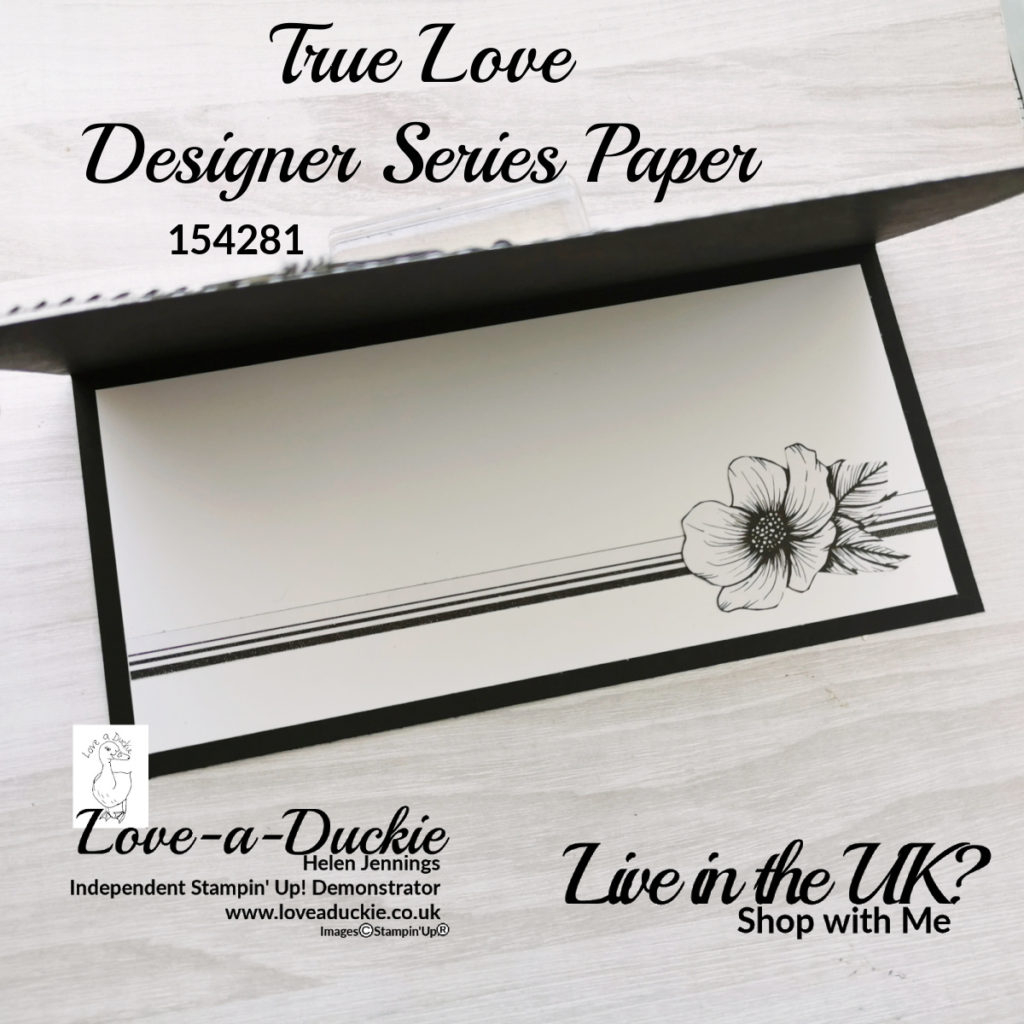
- Stick the basic White mat to the inside of the card with liquid adhesive. Stick the strip of striped designer Series paper along the bottom and add the final flower.
Let’s Hop

I hope you have enjoyed my project. Do leave a comment if you can, because it certainly makes my day. Then it is time to hop around all the other projects
How Can I Help?
I hope you have been inspired to use your Designer Series papers as a focal point on your card and to have a go at some slimline cards.
Stay safe and stay well.
Helen xx
If you live in the UK, I would love you to choose me as your demonstrator.
- You can shop here or click on the images listed below.
- sign up for my newsletter to receive news and inspiration
- Find out more about joining my team to get a 20% discount on your craft supplies
- email me if I can be of any assistance.
- Make sure you use the current host code so I can thank you for your order.
- Anyone purchasing from me will receive a Tutorial Bundle as a Thank You.






Oh Helen, it’s absolutely gorgeous! The inside is as beautiful as the outside! 🙂
well done – love a black&white card!
Stunning card Helen. Great use of the sketch
Thanks for sharing
Such a fabulous Black and White slimline card, love it!
HI Helen, I love the DSP and the way you used the sketch and black/white color combination to put the card together! Thank you for sharing.
Ooooh, lovely card Helen! fabulous use of the monochrome and these papers.