Today I am sharing a Christmas Bag in a Box project I have created for the Creativity Abounds Blog Hop.

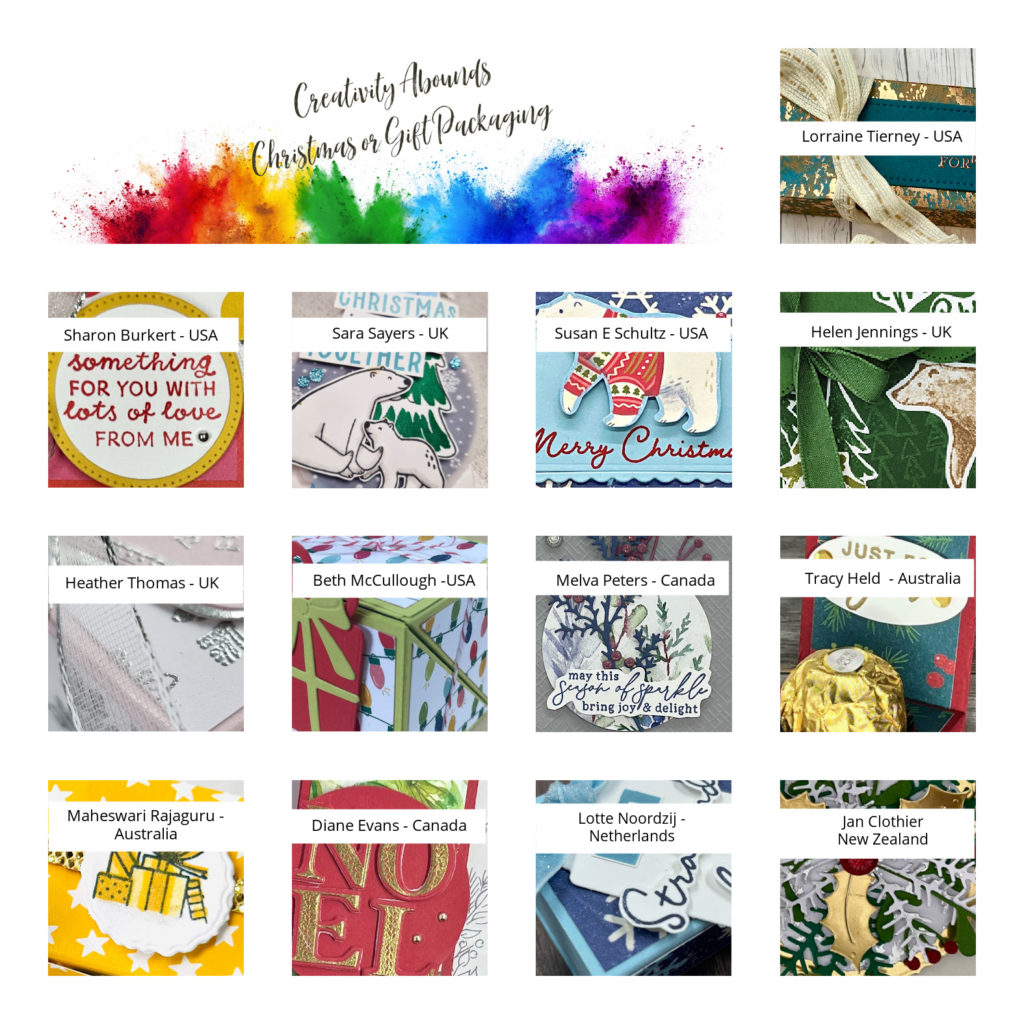
The Creativity Abounds Design Team are a group of very keen Stampin’ Up!® Demonstrators from all around the world that are coming together to share our creative ideas with you. We are happy that you can join us and hope that we can Inspire you to make creations of your own.
You may be starting here or have come from someone else’s blog – either way there is a list at the end of this post to help you move around all the different blogs and get many amazing ideas. We all have our country listed – so if you are looking for a demonstrator in your country, then these demonstrators would love to look after you with your Stampin’ Up!® shopping or if you would like to join our Stampin’ Up!® teams.
These monthly blog hops also introduce you to our latest Tutorial Bundle containing lots of different inspiring projects.
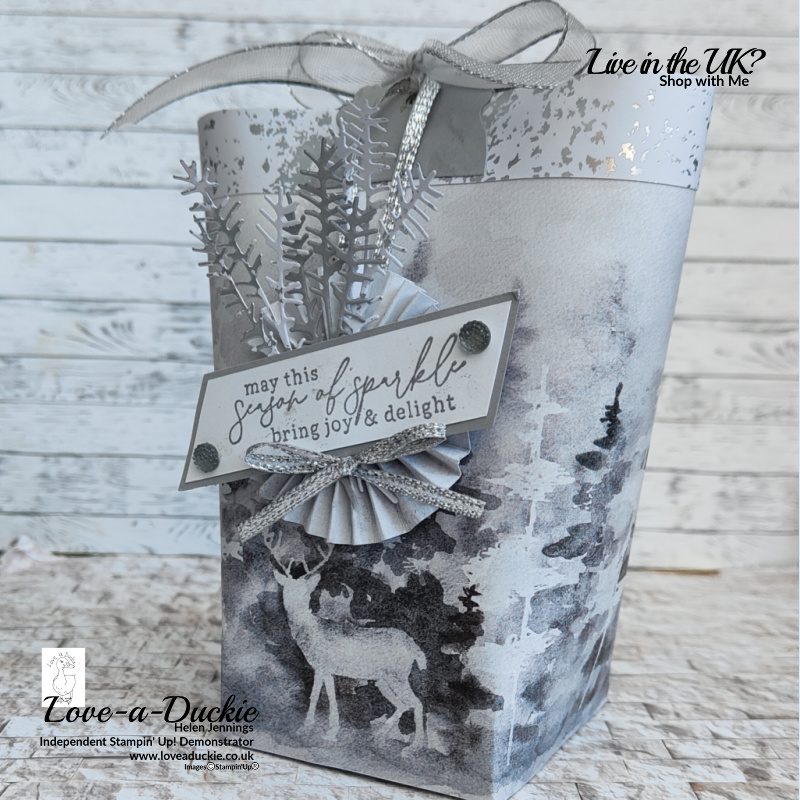
Christmas Bag in a Box
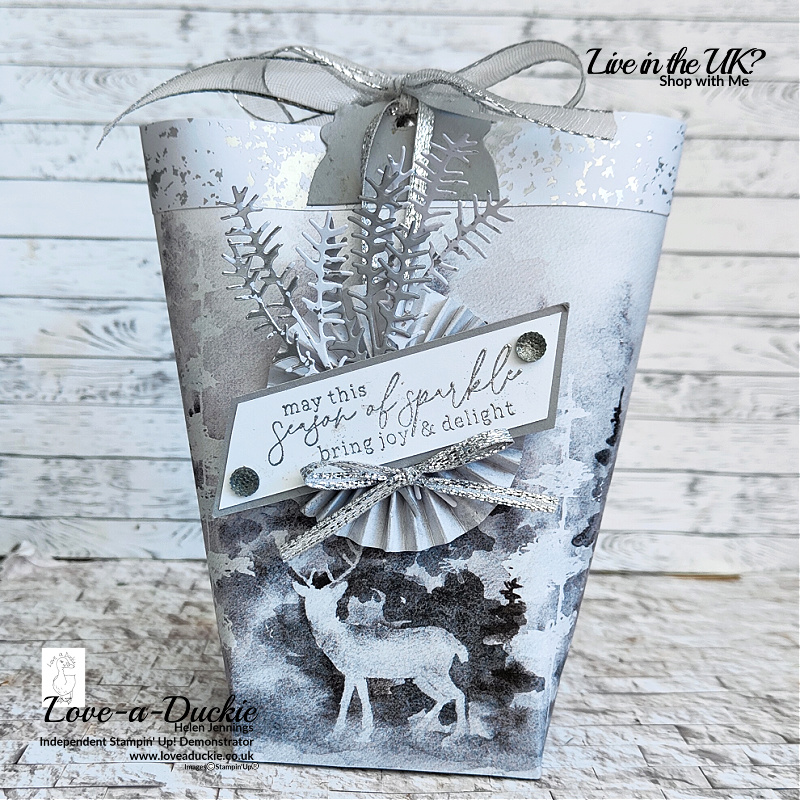
For this project, I took inspiration from an old Blog Post of Jo Blackman, a UK Demonstrator. I used the beautiful Deer Design from the Winter Meadow Designer Series Paper to create this roomy gift bag. This bag has a square base and is 14cm/ 5 1/2″ tall. However, you can alter the design to create rectangular bases and different height bags.
I also used another design from this paper pack to create the rosette tag on the front of the bag.
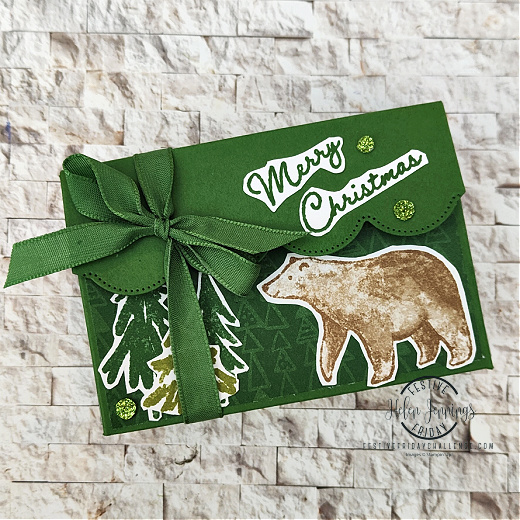
Once you have the hang of the design, you can use all sorts of different colours and designs of paper to use throughout the year and for different occasions. This one would work equally well for a winter birthday.
Instructions
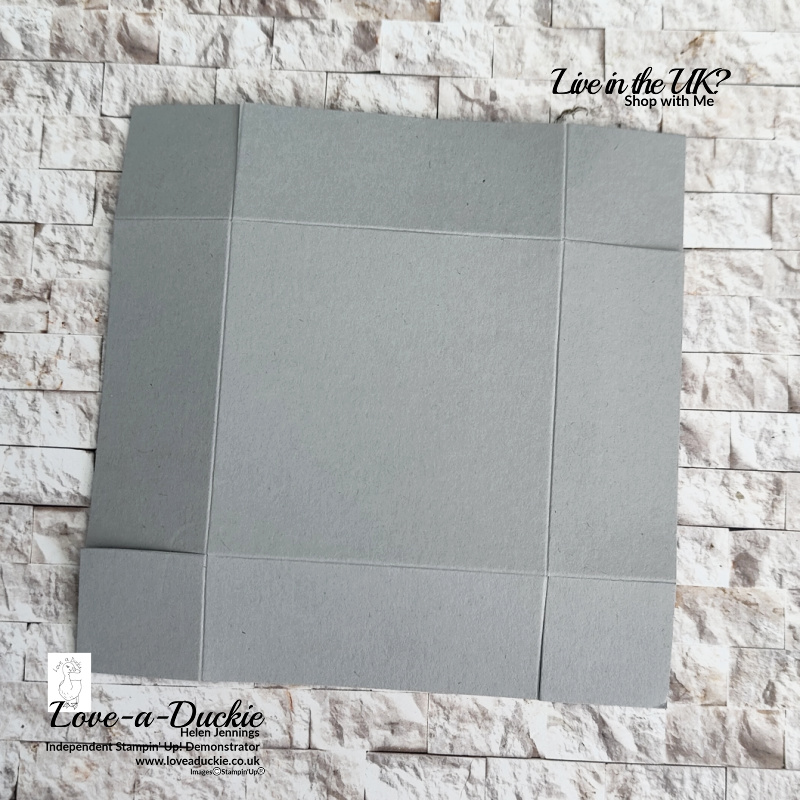
The bag starts with the base. This one was 11.5cm/ 4 1/2″ square in Smoky Slate card. It was scored on all 4 sides at 2.5cm / 1″. Using paper snips, I then cut along the right-hand score line on the first side until I reached the intersecting score line. The base was then turned ninety degrees and I cut up again on the right-hand score line. This was repeated all around the base.
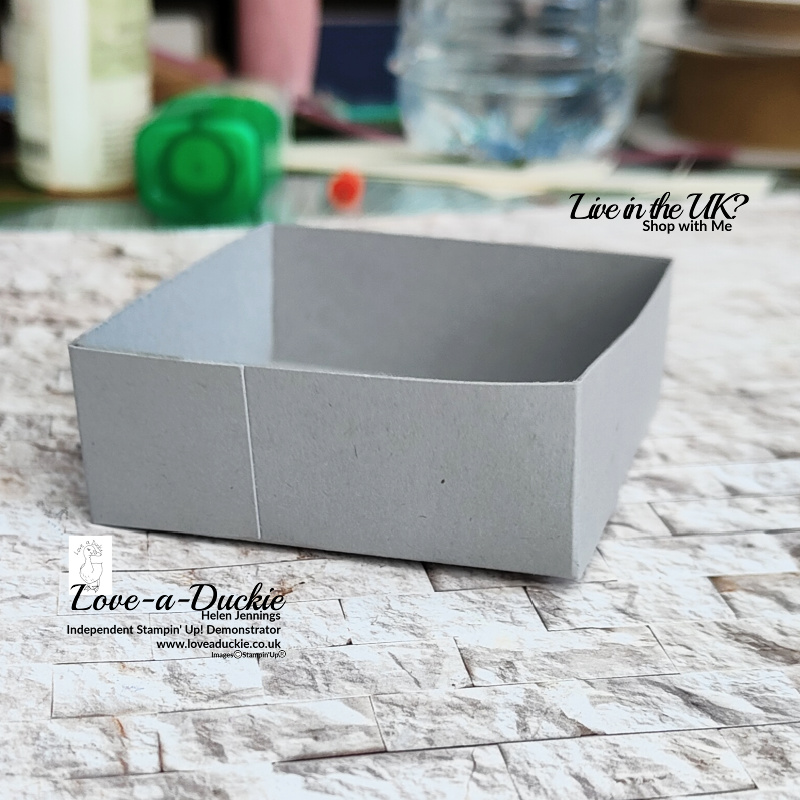
The base was stuck together with the square tabs on the outside of the base. These will be covered with the paper. This means there are no tabs showing on the inside of the finished box.
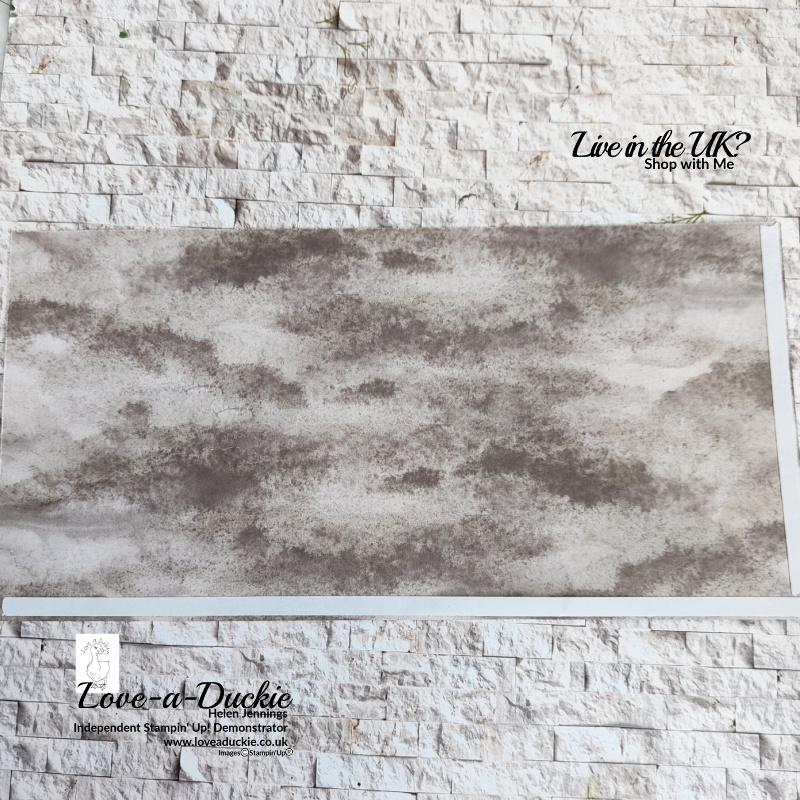
The Designer Series paper was cut to 28cm x 14cm or 11″ x 5 1/2″. Tear & Tape was stuck along the bottom edge and up the right-hand edge.
This paper was then stuck to the base, starting with the first side in the centre of the length of paper. I added some multipurpose glue to the side of the base box for extra stability. The paper is gently eased around the base, without being scored or without any folds being added. For the final side some multipurpose glue was added to the edge of the paper that didn’t have tape on to create a stronger seam.
The Top Of The Bag
To decorate the top edge of the bag, a 2cm x 28cm / 3/4″ x 11″ strip of the white Snowflake Magic Speciality Designer Series paper was stuck around the top.
To create the tabs for the ribbon, I punched 2 Smoky Slate labels using the Lasting Label Punch and they were then cut in half and trimmed so they all matched exactly.
After punching a hole in the top of the tab, these were stuck back to back in pairs on either side of the bag. Doubling the tabs up gives them more strength.
Creating The Tag
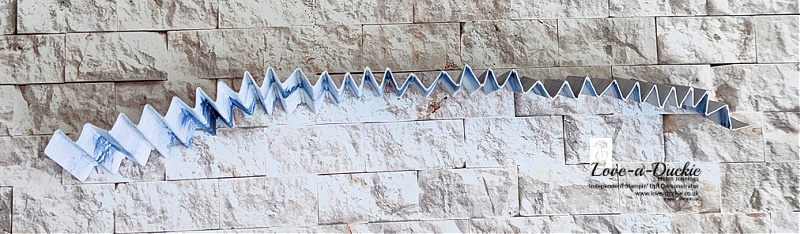
To create the tag, I started with a 2.5cm /1″ strip of Designer Series Paper cut from the full width of a sheet. This was then scored all the way across at 0.5cm / 1/4″ increments. The paper was then concertinaed as shown. The paper should have a valley fold on one end and a mountain fold on the other. The rosette is joined together by adding some multipurpose adhesive to one side of the valley fold and sticking the side of the mountain fold to it to form a loop.
A Smoky Slate and Basic White circle are punched using the 1 3/4″ punch. Plenty of multipurpose glue is added to the Smoky Slate circle. The Rosette is then flattened and arranged on this adhesive and held in place until the glue has grabbed it.
The sentiment from the Magical Meadow stamp set has been heat embossed in silver onto white card. The ends were then shaped and a Smoky Slate mat added behind.
The foliage pieces have been cut using one of the Magical meadow dies; 2 from the Snowflake Magic Speciality paper and one from Smoky Slate card. These have been added to the back of the sentiment strip. This is then stuck to the rosette with glue dots. A bow of silver ribbon was added to the front, along with some faceted gems.
A length of silver ribbon was attached to the back of the Smoky Slate circle with some Tear & Tape, before adding the the white punched circle on top. This enables you to write the recipients name.
The bag is tied together with a length of white and silver sheer ribbon, which has been threaded through both of the tabs and the ribbon loop on the tag.
Let’s Hop
I hope you have enjoyed my project. Do leave a comment if you can, because it certainly makes my day. Then it is time to hop around all the other projects

How to Get The Tutorial Bundle
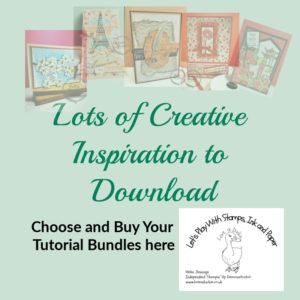
I hope you have been inspired during this hop. This project is exclusive to the blog hop, but there is lots more inspiration in the Tutorial Bundle. If you earn or buy the bundle, you will receive a PDF that will contain all the information you need to create the projects shown in the thumbnails yourself, including the products used, the measurements and detailed instructions. You can get your hands on these tutorials in a couple of ways.
- Receive it free with any purchase from me.
- Buy it from the Downloads section of my shop
- Receive it as a Member of my team
Here is a sneak peek of my box from the tutorial bundle. And don’t forget, you can use these tutorials all year around, just by changing colours and papers.
How Can I Help?
Now is the perfect time to be creating all your packaging for your Christmas Gifts, so this tutorial bundle is a must have!
Don’t hesitate to get in touch if I can help with your purchases, or if you have a crafty question.
Meanwhile stay safe and stay well
Helen xx
If you live in the UK, I would love you to choose me as your demonstrator.
- You can shop here or click on the images listed below.
- sign up for my newsletter to receive news and inspiration
- Find out more about joining my team to get a 20% discount on your craft supplies
- email me if I can be of any assistance.
- Make sure you use the current host code so I can thank you for your order.
- Anyone purchasing from me will receive a Tutorial Bundle as a Thank You.


Stunning bag using those gorgeous papers Helen. Love it!
Stunning project, Helen!
Lovely style of bag, Helen.
Great idea, Helen. I might give this one a try. 🙂
Wow this is amazing Helen
Beautiful. Very nice style of bag. Thanks for sharing
Beautiful bag! Love the way you decorated it with the lovely rosette.