This corner latch Card Tutorial is another of the projects from the Co-Op I belong to and comes to us courtesy of fellow demonstrator Kivonne Tucker. The project uses paper and stamped images from the very cute Sweet Stockings Suite
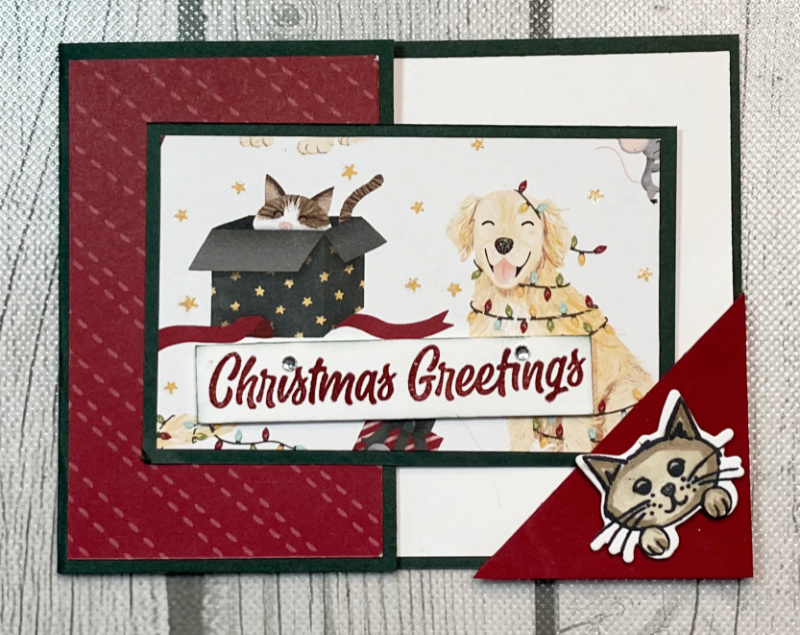
This card front is featuring the adorable festive pets that you will find in this suite of products.
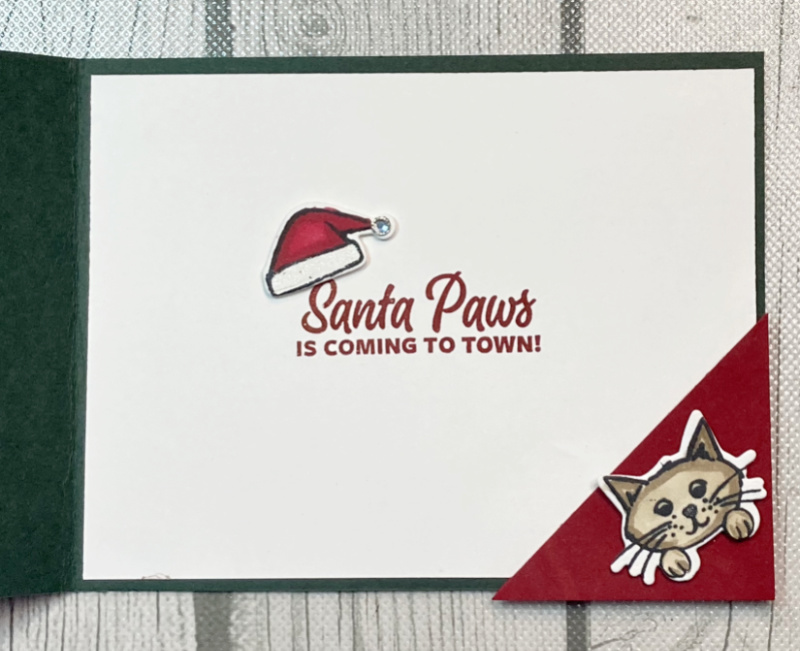
And then the inside of the card features more cute images from the stamp set.
Corner Latch Card Tutorial
| A4 metric | Imperial lettersize | |
| Evening Evergreen Card base | 10.5cm x 29.7cm Scored at 14.9cm on the long side. | 4 1/4″ x 11″ Scored at 5 1/2″ on the long side. |
| DSP x 2 | 7cm x10cm | 2 1/2″ x 4″ |
| Cherry Cobbler Cut in half diagonally | 6cm x 6cm | 2 1/4″ x 2 1/4″ |
| Basic White | 10cm x 14.4cm | 4″ x 5 1/4″ |
See all the products used at the end of the post
Instructions:
1. Firstly, take the Evening Evergreen card stock base and cut 7.5cm/2 ¾” off the front. This piece will then become your front flap.
2. Afterwards, adhere the Designer Paper pieces to the two pieces of Evening Evergreen card stock. (The red will go on the side vertical flap of your base card stock, while the dogs/cats on the horizontal piece.)
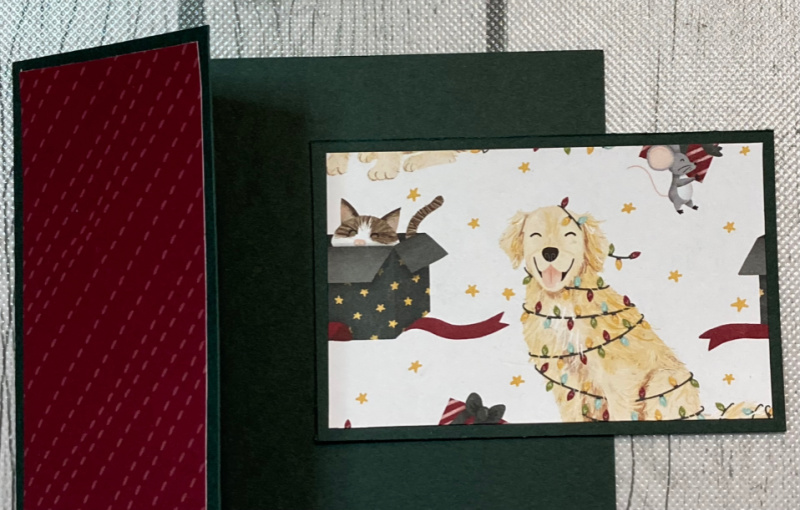
3. On the basic white card stock, stamp the sentiment in Cherry Cobbler and then adhere to the inside of the card.
4. Next, stamp both Santa’s hat and cat in memento ink and die cut.
5. Colour both your Santa hat and your cat with the Stampin Blends. (Crumb Cake and Cherry Cobbler). Add Wink of Stella to the bottom of the hat and a small basic rhinestone at the end of hat.
6. Add two small dimensionals to the Santa hat and adhere to top of sentiment on the inside of card.
7. Add dimensionals to the triangle pieces on the outer edges only. (3 big dimensionals or 5 small dimensionals.) Adhere to the right corner of your card.
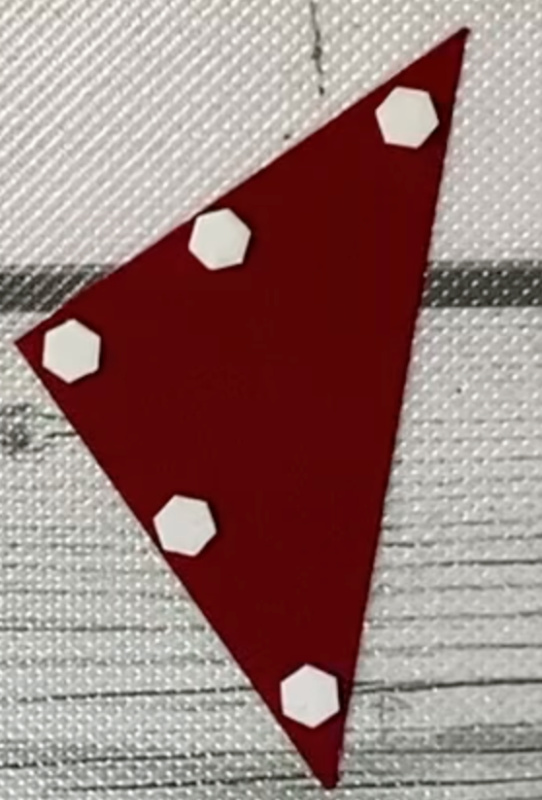
8. Take the 7.5cm x 10cm / 2 ¾” x 4 ¼” Evening Evergreen piece and then add adhesive to the back of this, on the left edge of the horizontal layer.
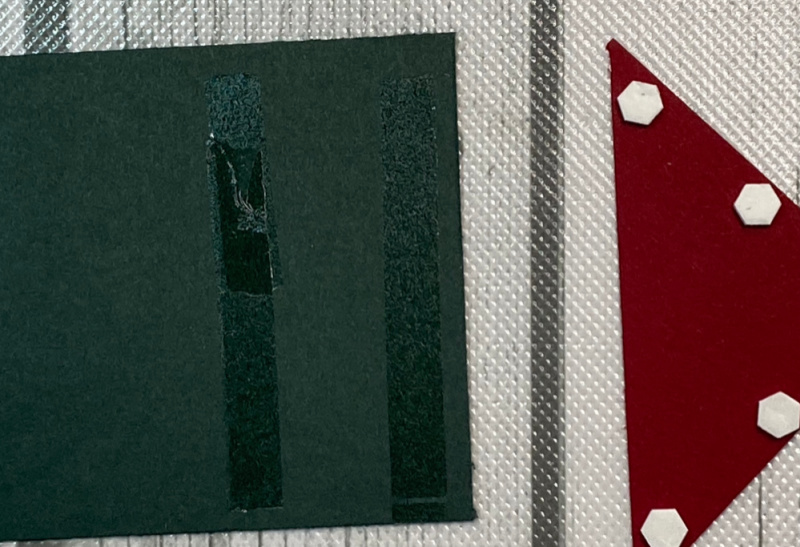
9. Slip it slightly under the bottom right triangle ‘latch’ and then press to adhere. *You don’t want it too deep into the triangle or it will need too much bending to open.
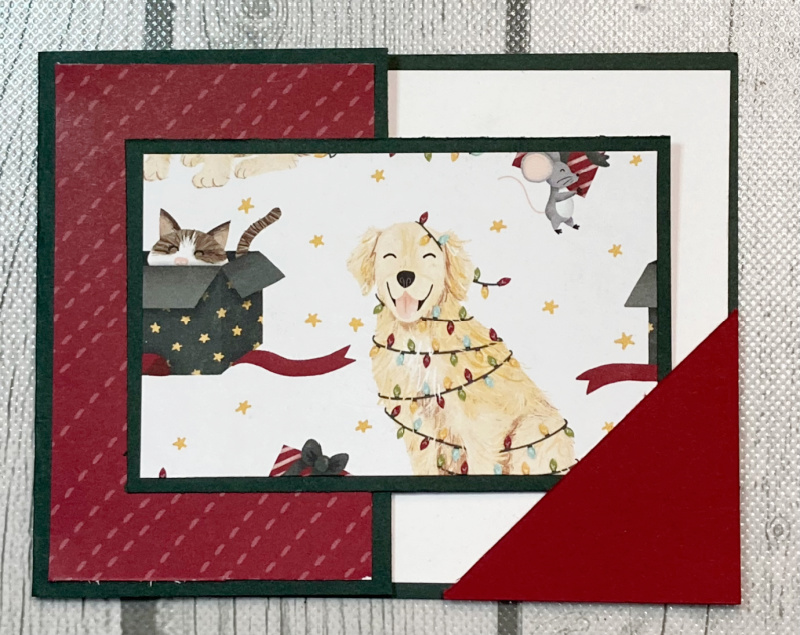
10. Add 2-3 small dimensionals to your cat before adhering it to the triangle/corner latch.
11. Stamp a sentiment on a long skinny basic white scrap and then sponge the edge of the sentiment tag with Evening Evergreen ink.
12. Adhere sentiment to the front of the horizontal DSP with the dog/cat on it so that it is raised up. (I used large dimensionals on sentiment.)
13. Finally, add Wink of Stella to the stars on the DSP. I also added it to the noses of both animals.
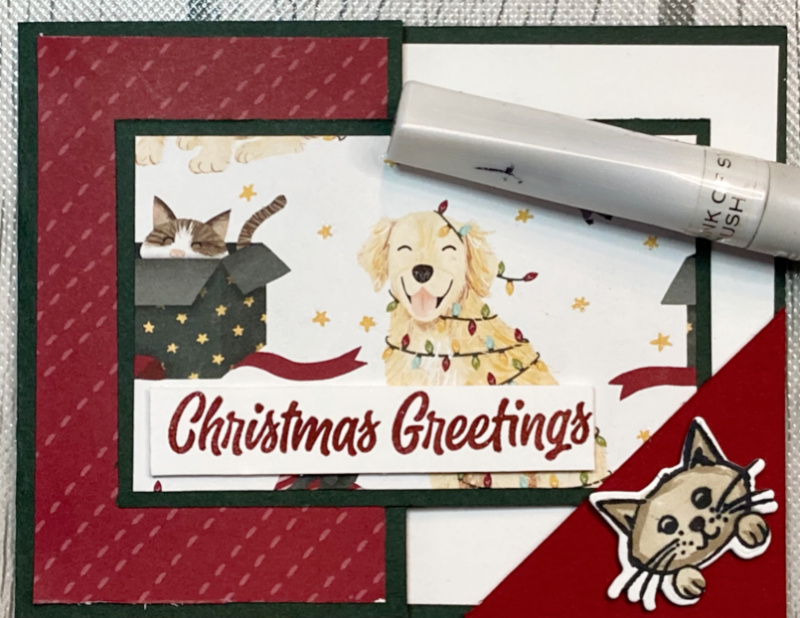
14. Viola, you have completed a corner latch card.
How Can I Help?
I hope you have enjoyed this tutorial from Kivonne, because I am certainly going to be creating a latch card very soon. I would love to see pictures of yours.
As always get in touch if I can help in any way.
Meanwhile stay safe and stay well
Helen xx
If you live in the UK, I would love you to choose me as your demonstrator.
- You can shop here or click on the images listed below.
- sign up for my newsletter to receive news and inspiration
- Find out more about joining my team to get a 20% discount on your craft supplies
- email me if I can be of any assistance.
- Make sure you use the current host code so I can thank you for your order.
- Anyone purchasing from me will receive a Tutorial Bundle as a Thank You.
