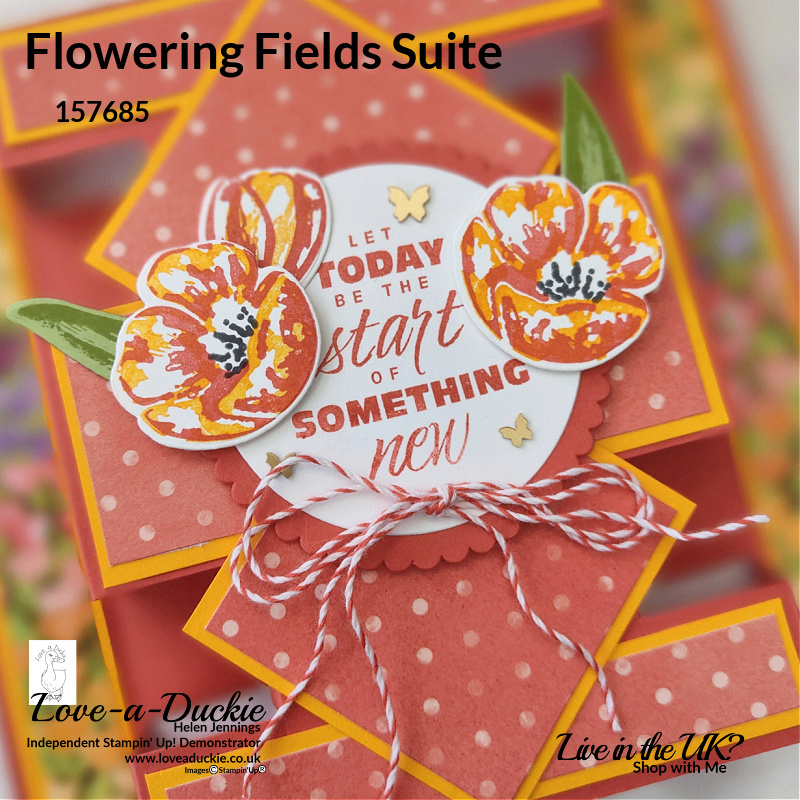
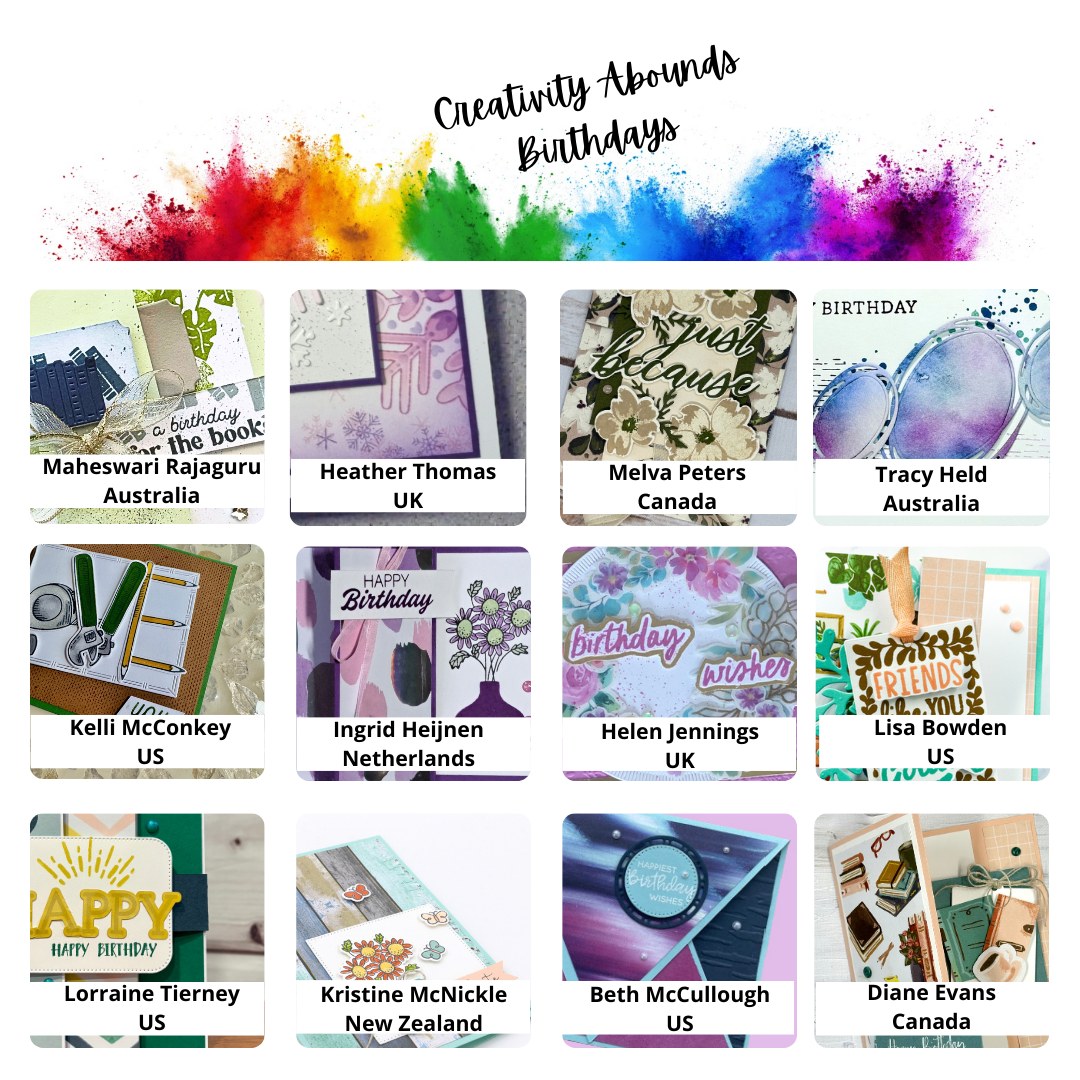
In this post I am going to share how to create a tower fun fold card using the Flowering Fields Suite of products. You will also see lots of other inspiration using this suite from the Creativity Abounds team.

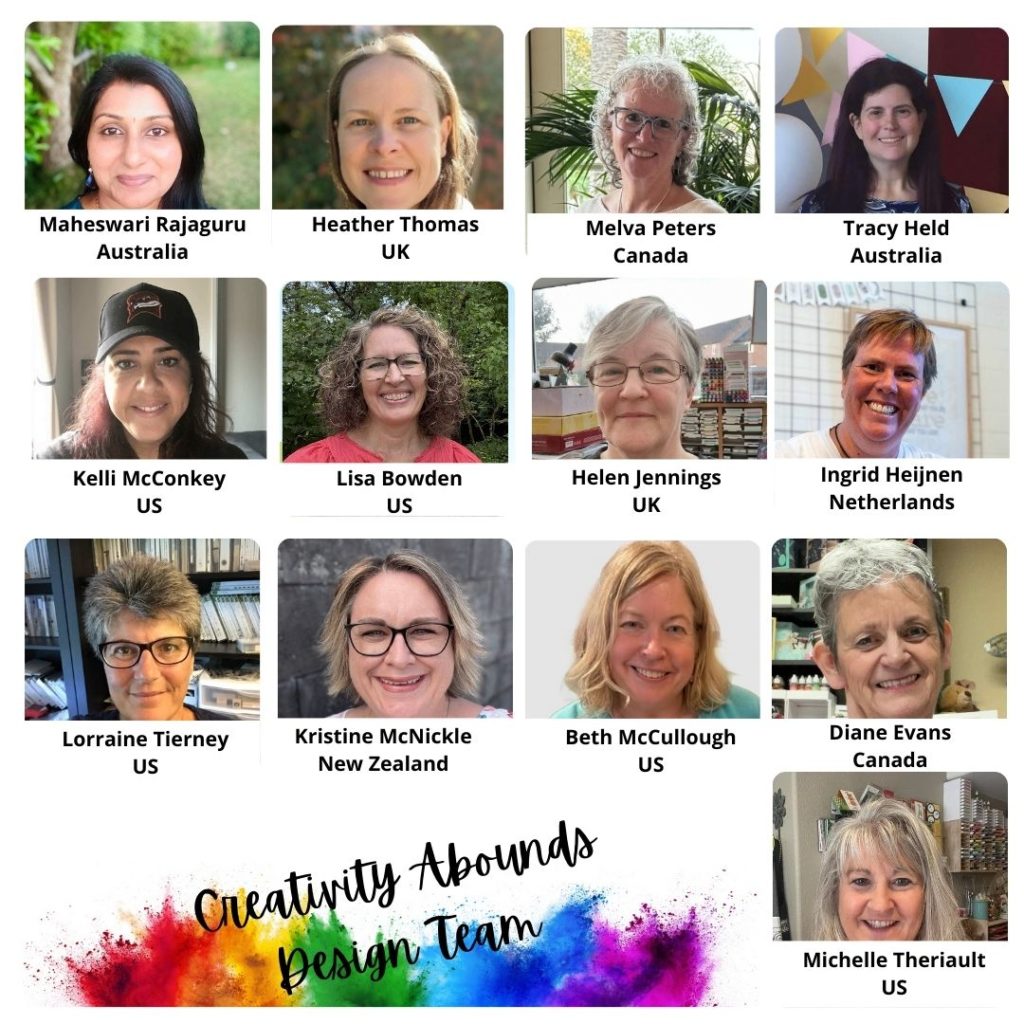
The Creativity Abounds Design Team are a group of very keen Stampin’ Up!® Demonstrators from all around the world that are coming together to share our creative ideas with you. We are happy that you can join us and hope that we can Inspire you to make creations of your own.
You may be starting here or have come from someone else’s blog – either way there is a list at the end of this post to help you move around all the different blogs and get many amazing ideas. We all have our country listed – so if you are looking for a demonstrator in your country, then these demonstrators would love to look after you with your Stampin’ Up!® shopping or if you would like to join our Stampin’ Up!® teams.
These monthly blog hops also introduce you to our latest Tutorial Bundle containing lots of different inspiring projects.
How to Create a Tower Fun Fold Card
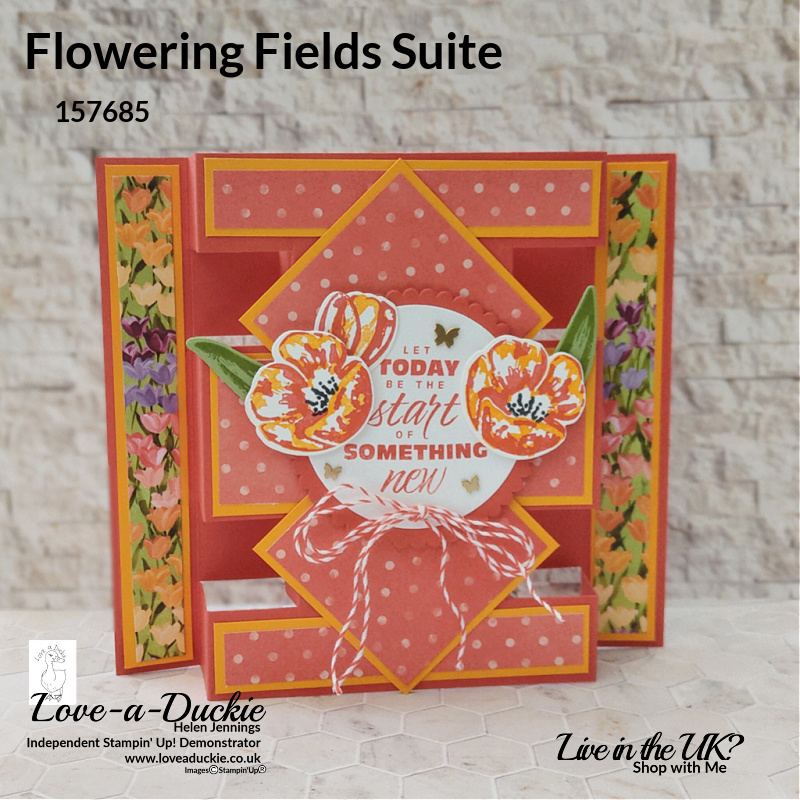
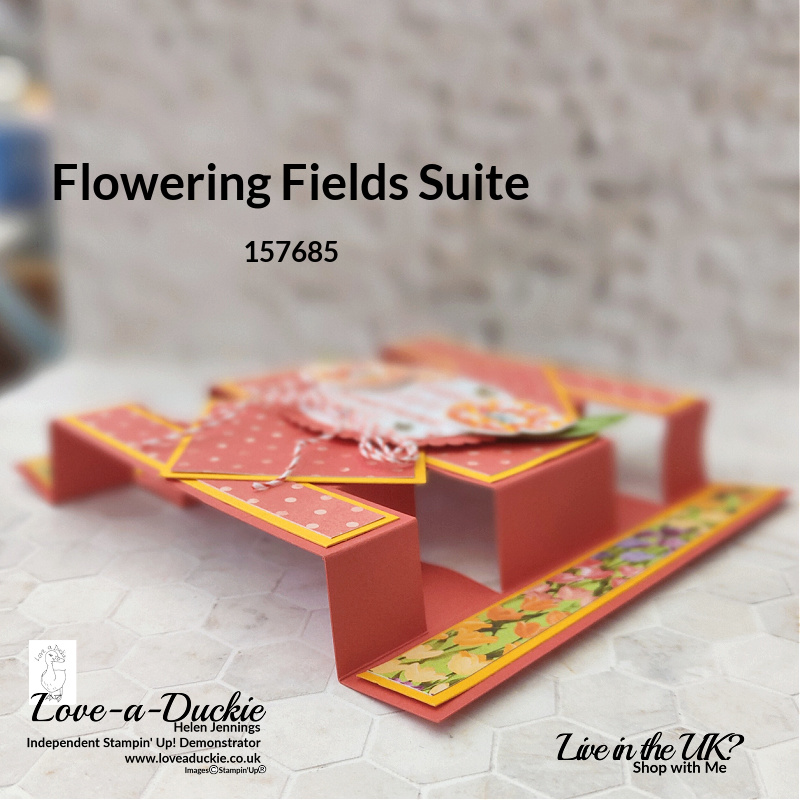
The Designer Series Paper in this suite is so pretty, so I wanted to a card that would be a canvas for some of it. This Tower fold card folds flat for posting, but creates quite a statement on the mantlepiece.
Instructions
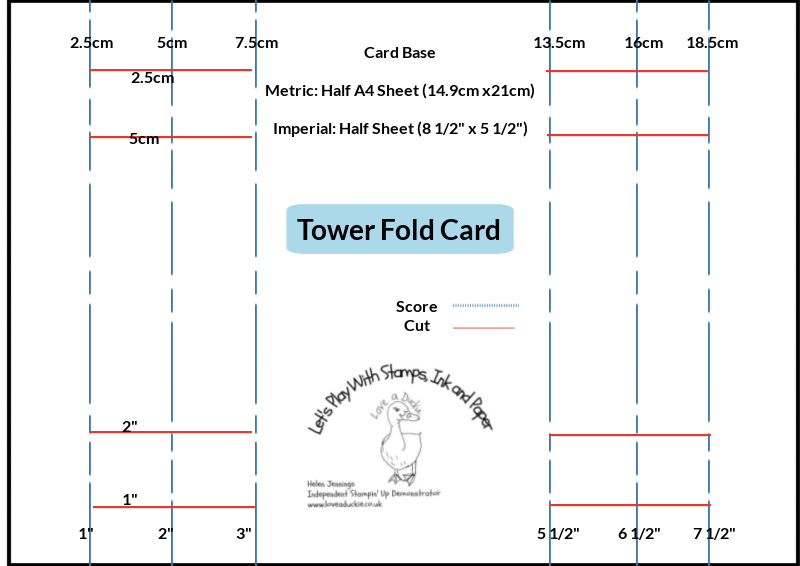
This diagram gives you the guidelines for cutting and scoring the card base. The video below shows not only how I cut and scored the base, but also how I folded it.
I added mats of Mango Melody card before adding my Designer Series Paper.
| Metric | Imperial | |
| Four Side panels: Card DSP | 2cm x 14.4cm 1.5cm x 13.9 cm | 3/4″ x 5 1/4″ 1/2″ x 5″ |
| Two Top and Bottom Vertical: Card DSP | 2cm x 10.5cm 1.5cm x 10cm | 3/4″ x 4 1/4″ 1/2″ x 4″ |
| One Centre panel: Card DSP | 4.4cm x 10.5cm 3.9cm x 10cm | 1 1/4″ x 4 1/4″ 1″ x 4″ |
| Two Front Squares: Card DSP | 6cm square 5.5cm square | 2 1/4″ square 2″ square |
| One Basic White panel | 14.4cm x 5.5cm | 5 1/4″ x 2 1/4″ |
The centre panel was created by die cutting a Poppy Parade scalloped circle from the Layering Circle dies and also a plain Basic White circle. I stamped the sentiment on the white circle in poppy parade ink.
On some Basic White card I stamped the two step tulips in Poppy Parade and Calypso Coral ink and the leaves in Pear Pizzazz on Pear Pizzazz card. These were die cut and arranged on this circular front panel.
To finish the front I added a double bow of Poppy Parade/White twine and some Brushed Brass Butterflies.
on the reverse of the card you will stick two more side panels and the Basic White central panel.
Let’s Hop
I hope you have enjoyed my project. Do leave a comment if you can, because it certainly makes my day. Then it is time to hop around all the other projects

How to Get The Tutorial Bundle
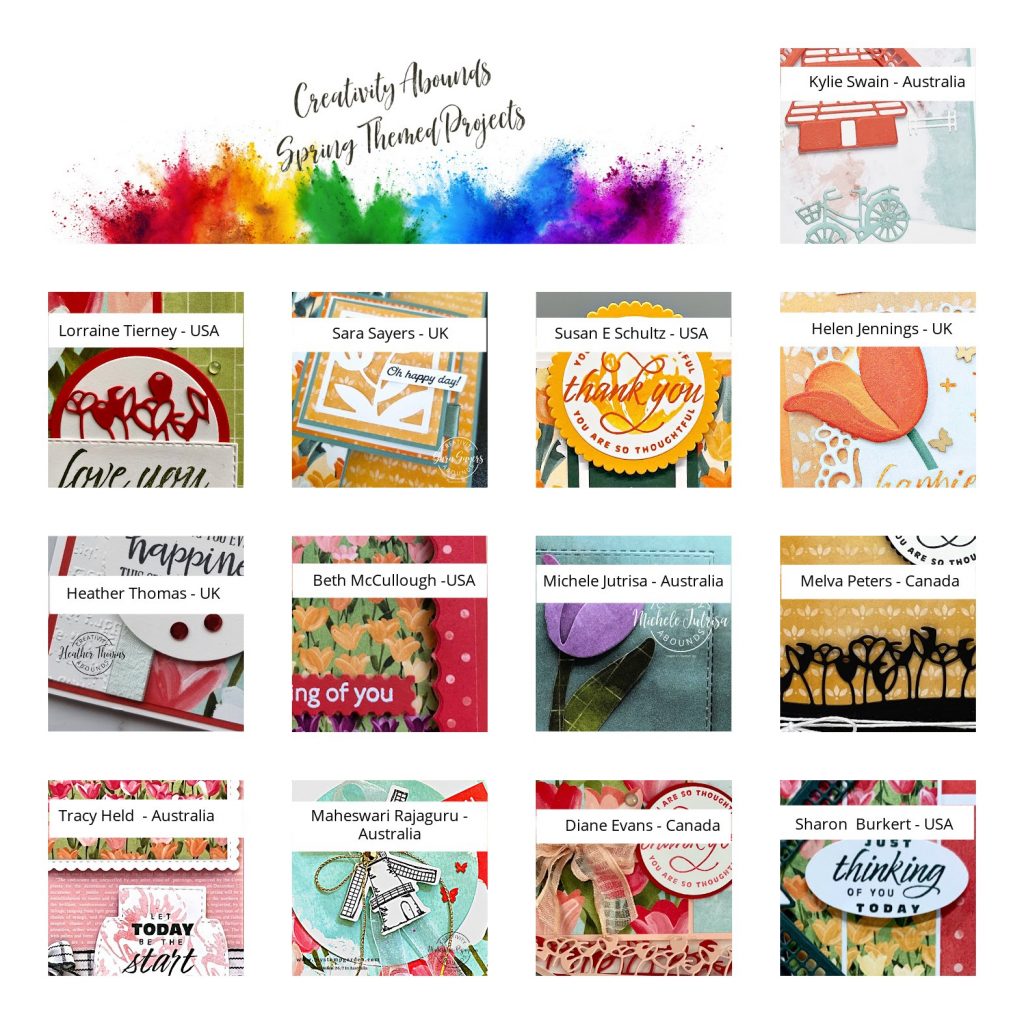
I hope you have been inspired during this hop. This project is exclusive to the blog hop, but there is lots more inspiration in the Tutorial Bundle. If you earn or buy the bundle, you will receive a PDF that will contain all the information you need to create the projects shown in the thumbnails yourself, including the products used, the measurements and detailed instructions. You can get your hands on these tutorials in a couple of ways.
- Receive it free with any purchase from me.
- Buy it from the Downloads section of my shop
- Receive it as a Member of my team
How Can I Help?
I hope you have enjoyed seeing all the projects in this suite. It is going to be the focus of my Lives next week, so there will be more projects to inspire you.
If you are loving what we are bringing you from the creativity Abounds team, don’t forget to check out our fundraising Tutorial for Ukraine and our upcoming Stamp Camp using the Symbols of Fortune Suite.
Don’t hesitate to get in touch if I can help with your purchases, or if you have a crafty question.
Meanwhile stay safe and stay well
Helen xx
If you live in the UK, I would love you to choose me as your demonstrator.
- You can shop here or click on the images listed below.
- sign up for my newsletter to receive news and inspiration
- Find out more about joining my team to get a 20% discount on your craft supplies
- email me if I can be of any assistance.
- Make sure you use the current host code so I can thank you for your order.
- Anyone purchasing from me will receive a Tutorial Bundle as a Thank You.







Love your card, Helen. Thanks for the directions. I’m going to try one of these!
Hi Helen, wow what an impressive card! Your instructions were great! I look forward to trying to make one of these tower cards.
WOW that is amazing! and you make it look easy I am going to have to give this a try
Beautiful card Helen! Can’t wait to try this fold!
Beautiful card! Look forward to giving this fold a try! Thank you
Love this Helen. You always show us great fun fold projects.
What a beautiful fun fold card! So awesome Helen! 🙂
Wow! So much to love about this card..love the fold, colours and works so well with this suite
Gorgeous card. I need to try this fold