I am delighted to be sharing these quick and easy papercraft projects for a games night with you today.

My Quick and Easy Papercraft Projects for a Games Night
Last Friday I held a games night for my customers on Zoom. We had 2 rounds of Bingo, a game of Beetle and a round of Countdown. There was lots of laughter, some great prizes and of course we couldn’t have an evening together without some crafting.
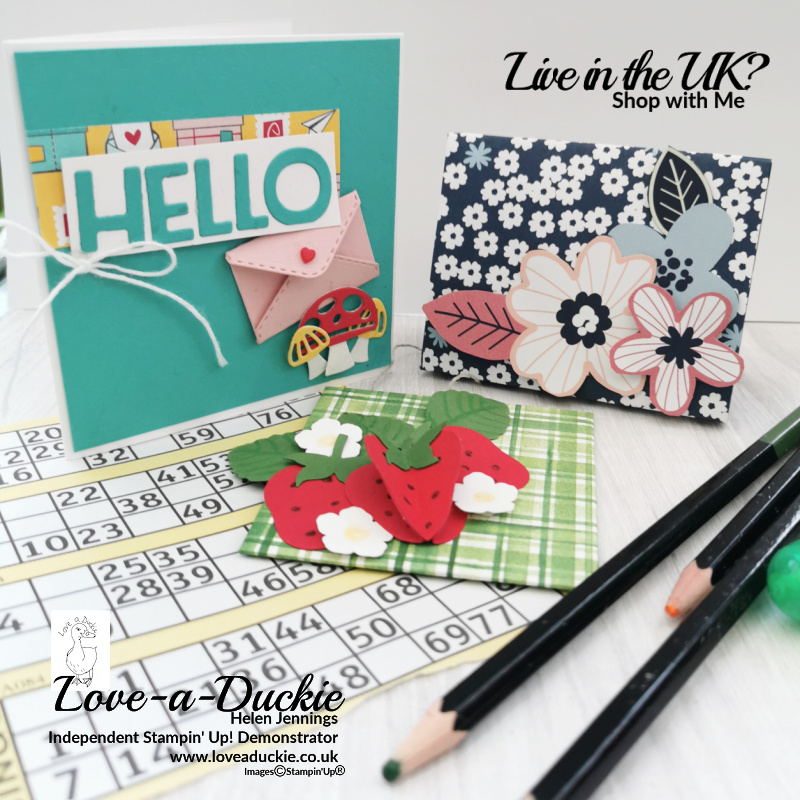
I had sent all of them a pack in advance, containing their B ingo sheets, their Beetle sheet and the supplies for our craft activities.
A Cute Gift bag
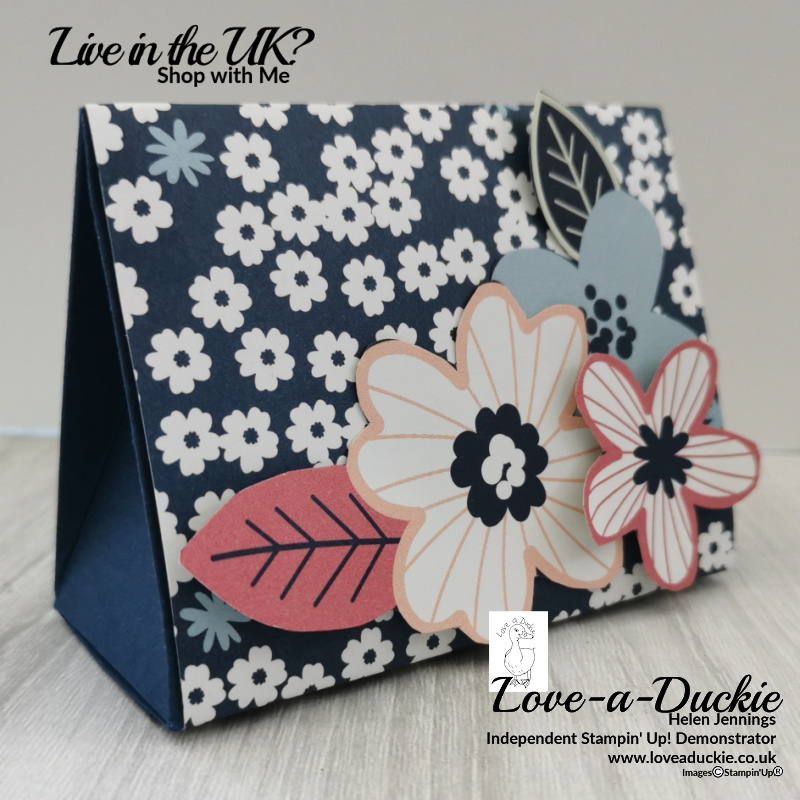
One of the projects was this cute triangular gift bag with a DSP wrap.
- Tools: Paper Trimmer; Snips
- Paper/Card: DSP and Cardstock to match
- Adhesives; Multipurpose Liquid Glue; Stampin’ Dimensionals; Tear & Tape;
| A4 Metric | Imperial Letter Size | |
| Bag | 27cm x 10.5cm | 10 1/2″ x 4 1/4″ |
| DSP | 20.5cm x 9.4cm | 8 1/4″ x 3 5/8″ |
Instructions
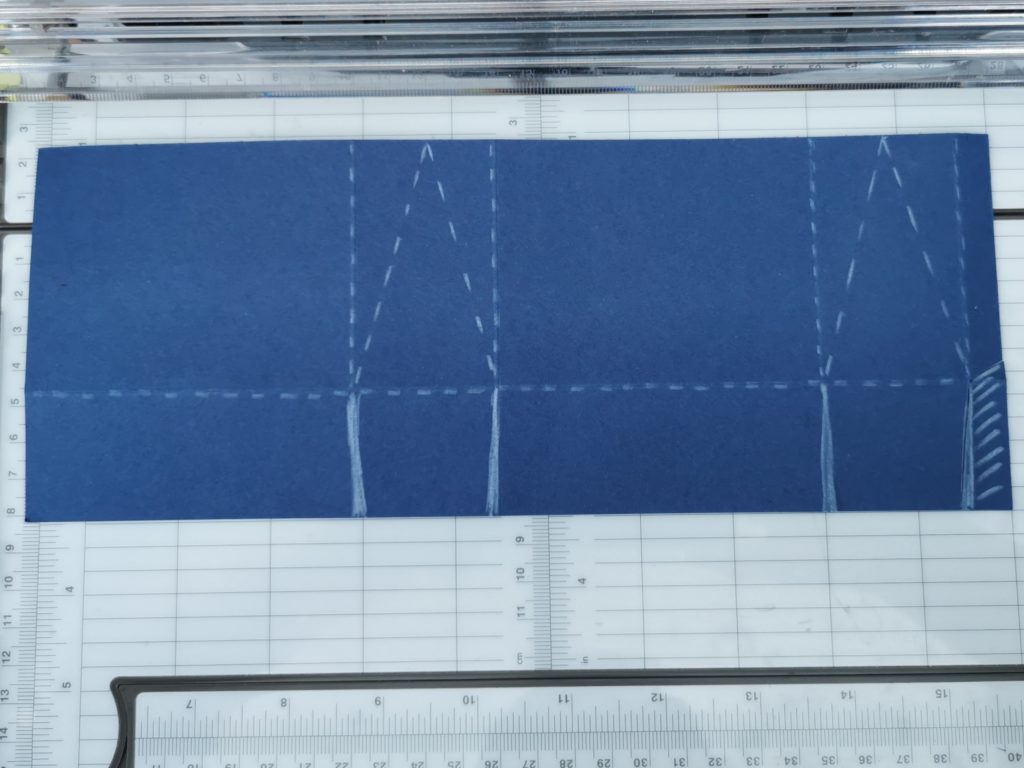
- Take your cardstock and with the long side at the top, score at 9cm, 13cm, 22cm and 26cm (3 1/2″, 5″. 8 1/2″, 10″). While the card stock is in this orientation make a small mark on the top edge at the 11cm and 24cm point
- Turn 90 degrees, so the short side with the 1cm (1/2″) strip is at the top at the top and score at 7cm (2 7/8″)
- You now need to make 2 score lines between your 11cm mark and the point at which the side score lines on that panel meet the bottom score line to form a triangle.(see picture above)
- From the bottom of the cardstock, snip up the horizontal score lines until they meet the vertical scoreline, creating tabs on the two squarer pieces. Cut off the thin end section. See pictures above and below for guidance.
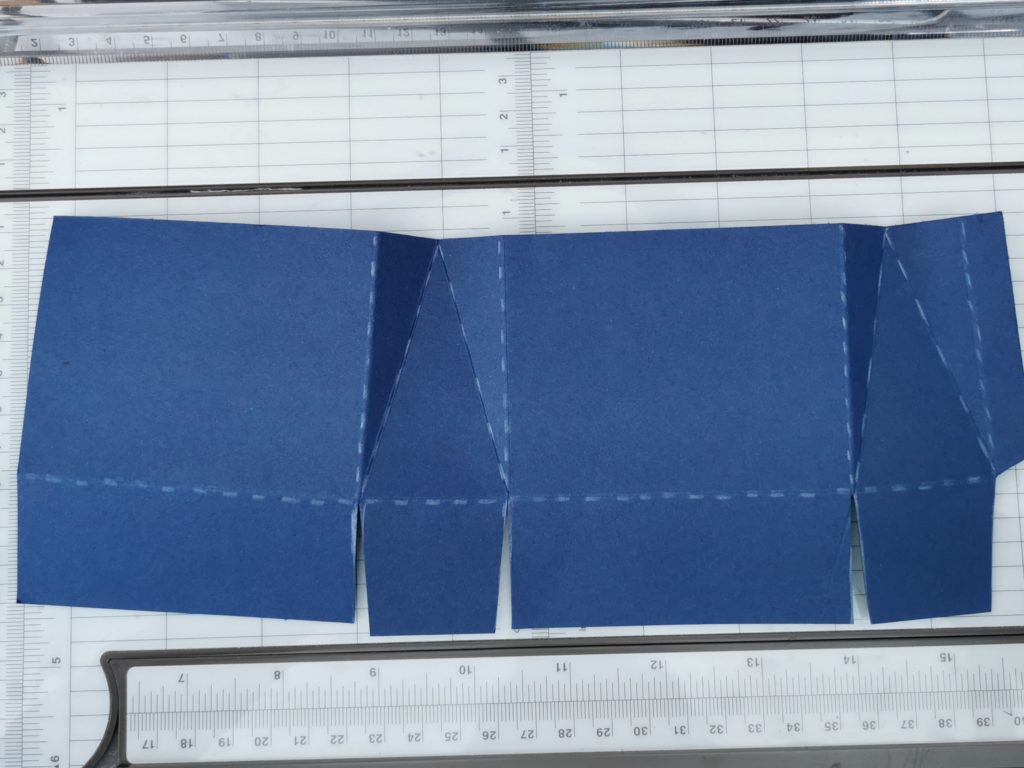
- Put glue or tear and tape on the thin end tab and stick the box togther into a tube, then fold up the bottom tabs and stick these in place. Fold in the side sections of the box to creat your triangular box.
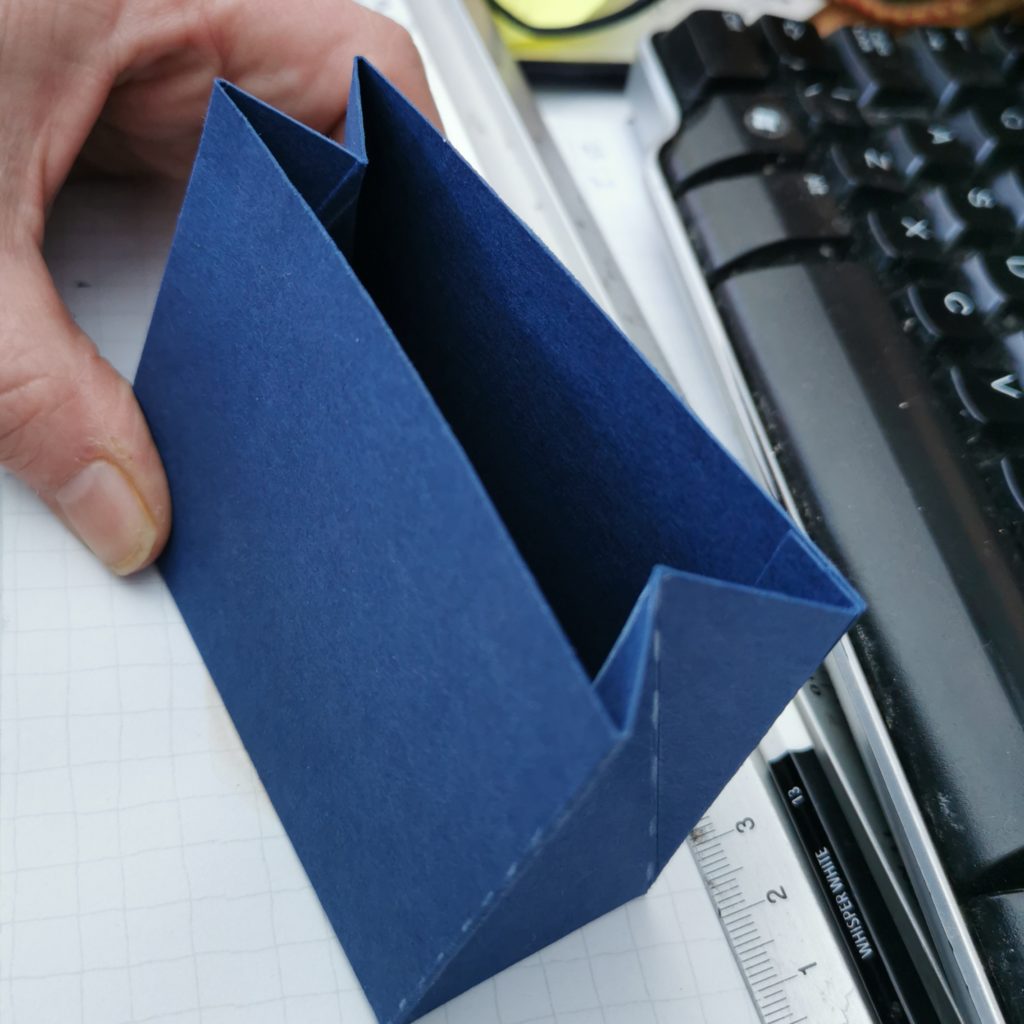
- With the DSP, create a wrap around the box . You might find it helpful to score one end of the DSP at 1.5cm (1/2″) to get you started. Holing your box shut and starting with your DSP under the bottom section of the box, wrap the DSP around the Bag firmly, but with enough give for the box to be able to slide in and out. Stick the overlapping section of the DSP together at the bottom of the box.
- Decorate your wrap as you wish. We used fussy cut flowers from the DSP.
Our Other Projects
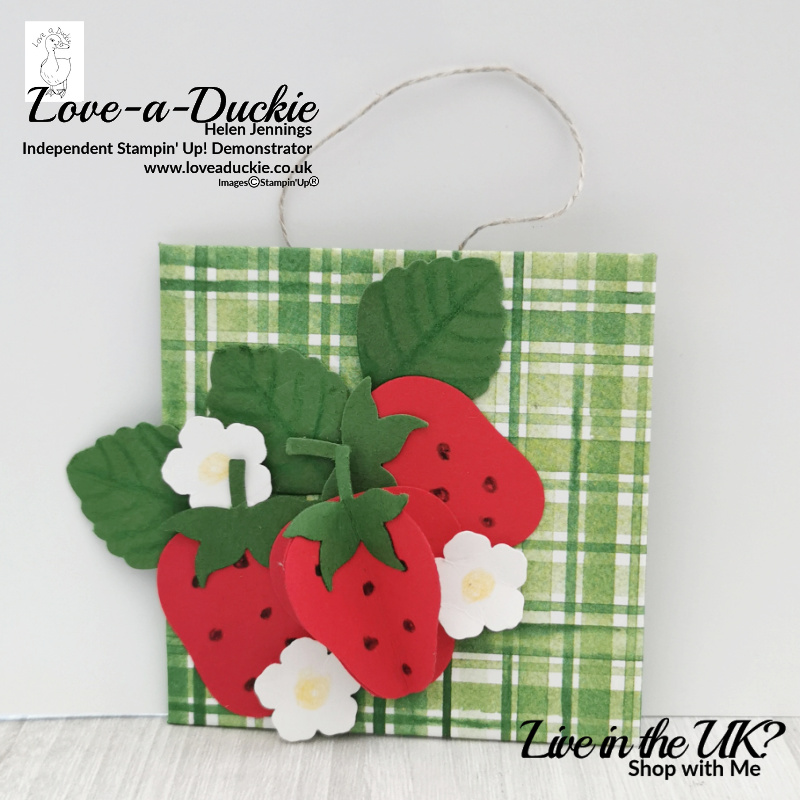
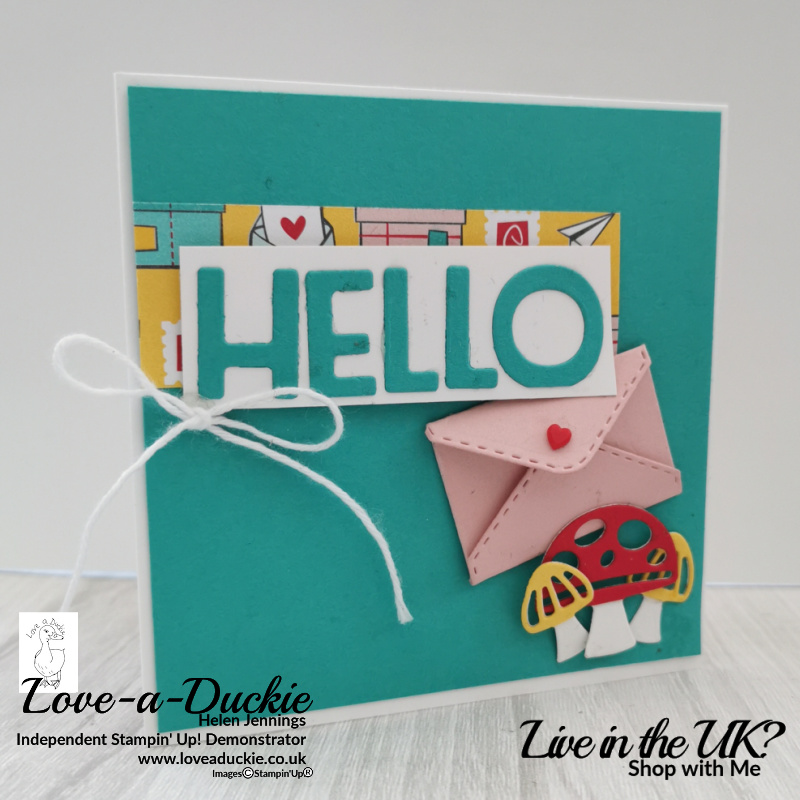
We made two more little projects. A little hanging plaque decorated with the strawberries created with the punch. Because everyone didn’t have the coordinating stamp, we added details with watercolor pencils. The little card was created with paper and die cuts from the fabulous Snail Mail suite.
Let’s Hop
I hope you have enjoyed my project. Do leave a comment if you can, because it certainly makes my day. Then it is time to hop around all the other projects
How can I Help?
We always have great fun at these games nights. I have another one scheduled for the end of April, when we will be looking forward to the new Annual Catalogue. Do check out my events page for details of all my upcoming classes and events.
Meanwhile stay safe and stay well
Helen xx
If you live in the UK, I would love you to choose me as your demonstrator.
- You can shop here or click on the images listed below.
- sign up for my newsletter to receive news and inspiration
- Find out more about joining my team to get a 20% discount on your craft supplies
- email me if I can be of any assistance.
- Make sure you use the current host code so I can thank you for your order.
- Anyone purchasing from me will receive a Tutorial Bundle as a Thank You.






What lovely, cheerful projects
Love these projects Helen. Very Lucky Customers!
Your customers must have had such fun – Lovely projects Helen x
Lovely card xx
Great project
Sweet little treat holder Helen, love it x
Lovely Helen, Love the little Treat Bag soooo Cute x