I thought I would share with you this fun Smackin’ Acetate Technique Project that was put together by fellow Demonstrator Kivonne Tucker. We are both part of a Co-Op that put together articles to share with each others customers through our Blogs and newsletters.
Smackin’ Acetate Technique Supplies
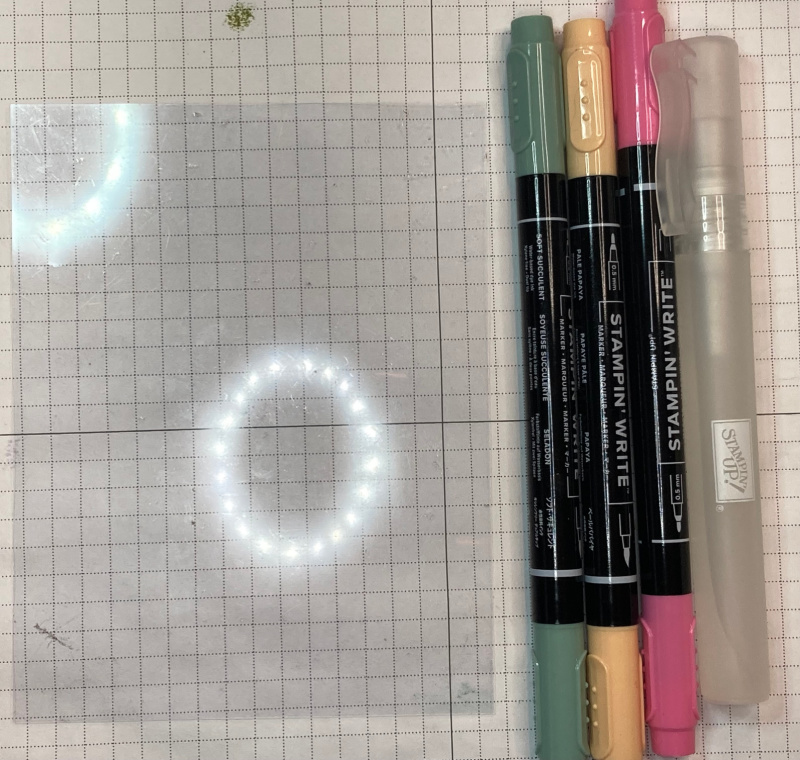
- Spritzer or Spray bottle
- Water based markers
- Cardstock
- Acetate or a window sheet
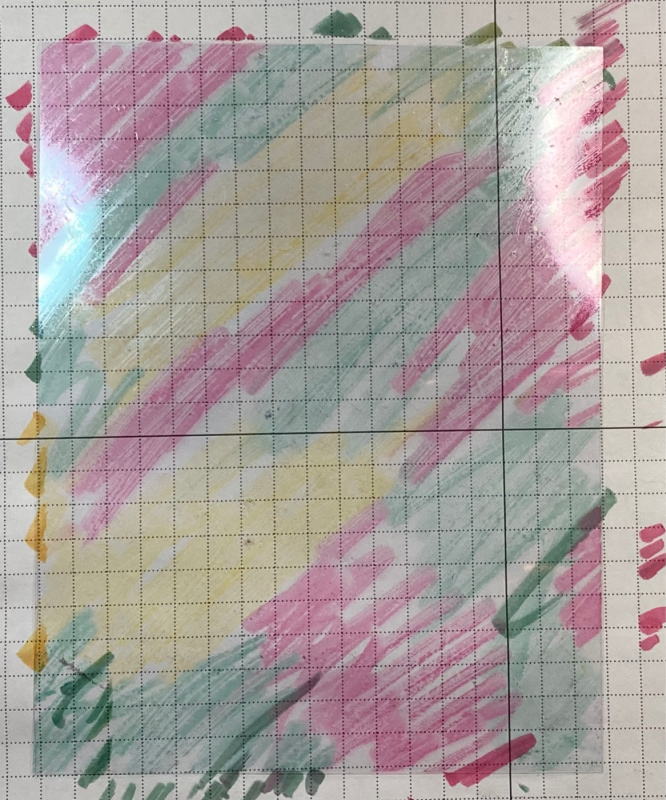
Scribble markers directly on Window Sheet/Acetate
Add the colours you want, trying not to overlap
Colours may look light with some of the basic white c/s showing
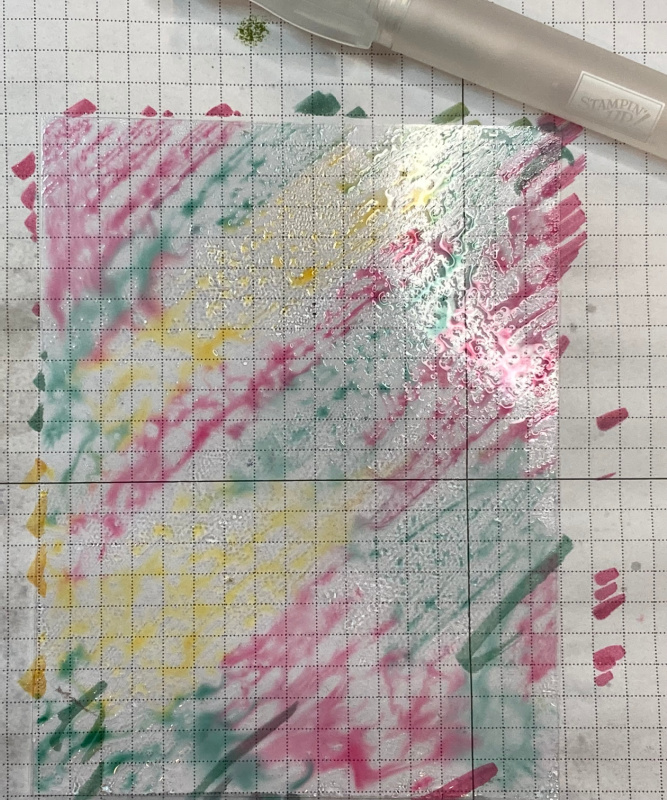
Spritz or spray water on window sheet to moisten and mix the colours
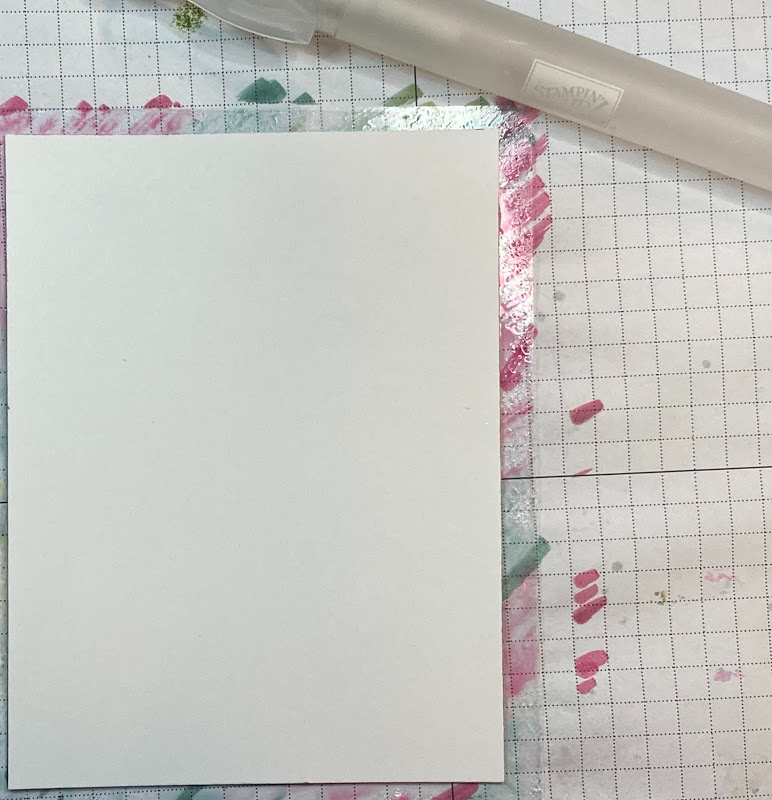
Smack cardstock onto the wet Window sheet/acetate
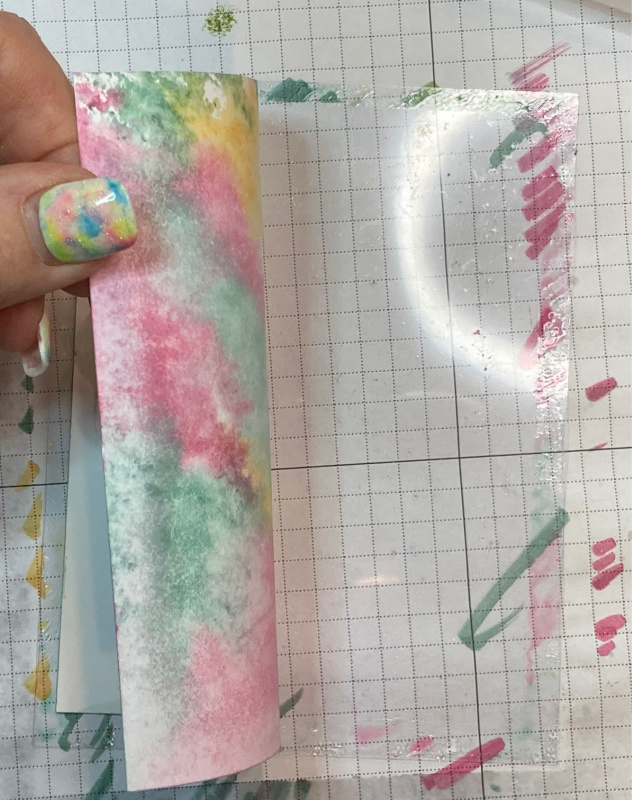
Carefully lift up the cardstock
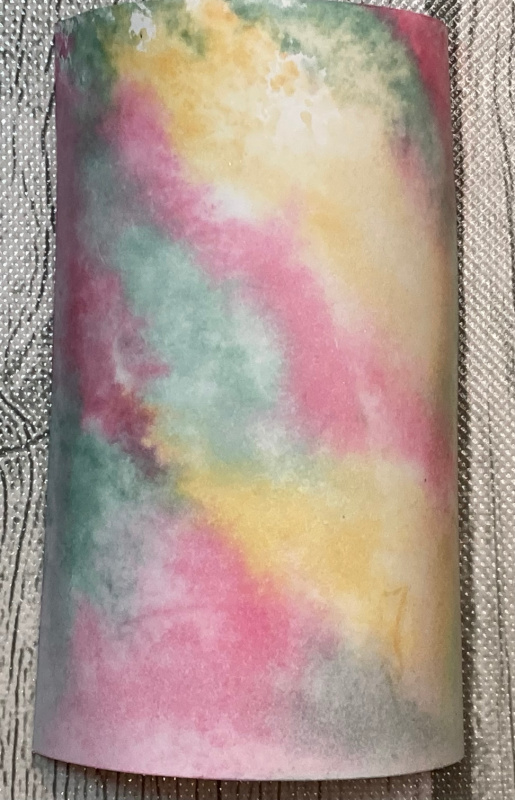
Let the cardstock dry thoroughly and assemble your card
Use Your Smackin’ Acetate Technique Background
Product ListStamp : Soft Succulent A4 Cardstock [155777] £8.25 , Artistically Inked Cling Stamp Set [154542] £22.00
Ink : Tuxedo Black Memento Ink Pad [132708] £5.50 , Polished Pink Classic Stampin' Pad [155712] £7.00
Card Stock : Basic White A4 Thick Cardstock [159230] £7.75 , Basic White A4 Cardstock [159228] £9.00
Tools & Adhesive : Blending Brushes [153611] £11.25 , Multipurpose Liquid Glue [154974] £4.50 , Stampin' Dimensionals [104430] £3.75
Ribbon & Trim : Pale Papaya 3/8" (1 Cm) Open Weave Ribbon [155672] £6.50
Accessory : Matte Black Dots [154284] £6.50
Die Cut & Emboss : Tailor Made Tags Dies [155563] £20.00 , Penned Flowers Dies [155557] £28.00
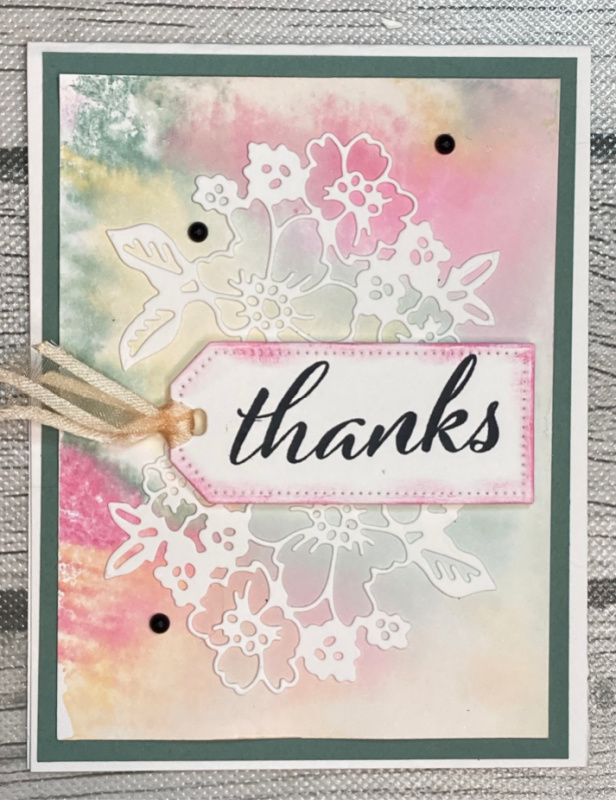
Let’s put the card together:
- Score and fold a 29.7cm x 10.5cm / 11″ x 4 1/4″ piece of Thick Basic White for the card base.
- Take out your Stampin Emboss & Cut machine. Die cut two flowers and tag in basic white cardstock
- Stamp THANKS on the tag in Memento ink
- Take a Blending Brush, brush the edges of the tag in Polished Pink ink
- Cut about 20cm /8” of ribbon. Thread both ends of the ribbon through the tag hole and loop it through the end. Add 6-8 Dimensionals on the back.
- Adhere a 14.4cm x 10cm / 5 1/4″ x 4″ mat of Soft Succulent.Soft Succulent cardstock to Basic White base, then adhere the dried background, trimmed to 13.9cm x 9.5cm / 5″ x 3 3/4″
- Add tombow glue to the back of the die-cut flowers. (Make sure you use a light touch.)
- Position and adhere the flowers in the center of the cardstock.
- Adhere the tag to the center of the flowers
- Place 3 black dots to the card
How Can I Help?
I hope you are preparing to get messy and have fun Smackin’ Acetate.
Meanwhile stay safe and stay well.
Helen xx
If you live in the UK, I would love you to choose me as your demonstrator.
- You can shop here or click on the images listed below.
- sign up for my newsletter to receive news and inspiration
- Find out more about joining my team to get a 20% discount on your craft supplies
- email me if I can be of any assistance.
- Make sure you use the current host code so I can thank you for your order.
- Anyone purchasing from me will receive a Tutorial Bundle as a Thank You.
