In today’s blog I am sharing a stained glass window technique card using Stampin’ Up’s Cheerful Daises stamp set.

The project is part of the monthly Technique Tuesday Blog Hop from the Crafty Collaborations community, a diverse group of Stampin’ Up! Demonstrators from around the world who come together to share inspiration with you.
The theme this month is the Stained Glass Window Technique and I can’t wait to see all the other ideas that my fellow demonstrators have come up with
Stained Glass Window Technique Card
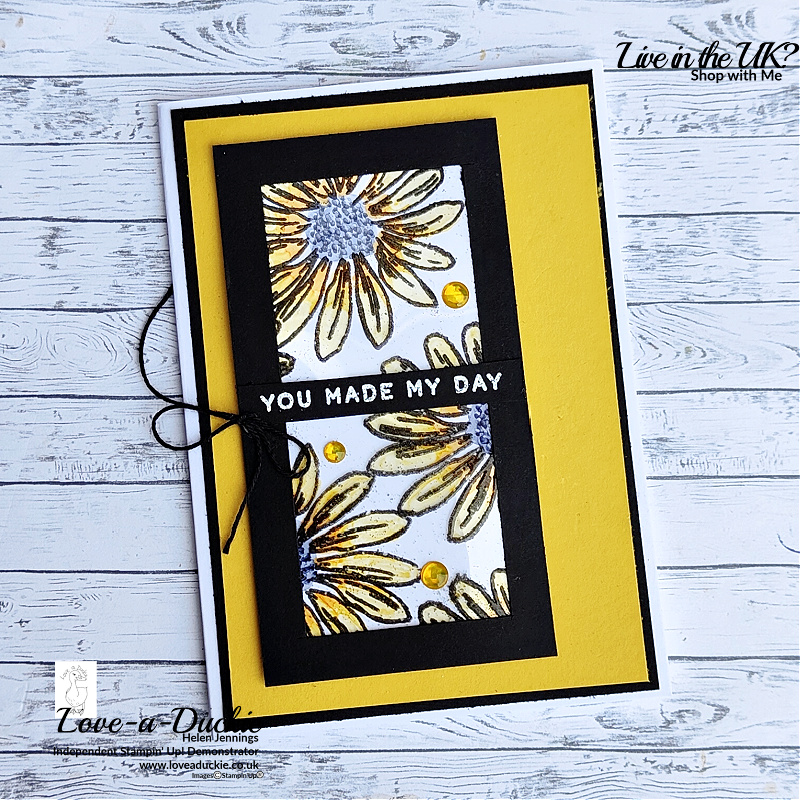
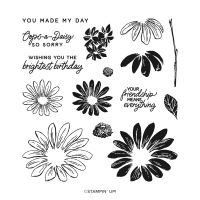
The Cheerful Daisies is a two step photopolymer stamp set that also has coordinating dies. I have just used the large outline daisy image on my project and coloured them in with Stampin’ Blends to create this stained glass effect.
You can see a full list of the products I have used at the end of the post, including links to my online shop.
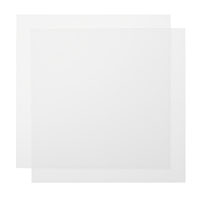
Adding real glass to my project may make it a little too fragile and certainly heavy to post. Instead I have heat embossed the images in black onto some Window Sheet. The window sheet measured 12cm x 6cm (2 1/2″ x 4 1/2″ for letter size cards)
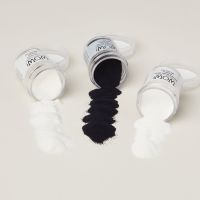
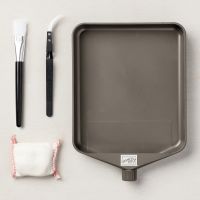
Firstly I gave it a good coating with my embossing buddy before stamping with Versamark. Once I had sprinkled the powder on, I then gave the acetate some firm flicks on the back to get rid of excess powder. My brush, which like the embossing buddy is a part of the embossing additions tool kit, helped move any other stubborn flecks of embossing powder. I heated the window sheet quickly and the images set, without warping the sheet too much. Nothing that wasn’t put right when it was stuck down.
There are a few minute speckles of embossing powder on the sheet, but it gives the look of very fine splattering and isn’t at all out of place.
You could just stamp the images in Stazon ink if you prefer, but I would suggest using a stamping platform if you have one, so you can achieve a solid colour.
Adding Colour
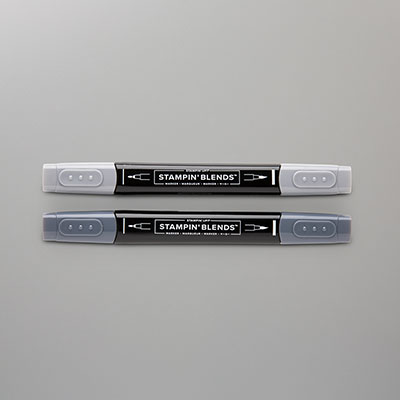
Having stamped the daisies, I then turned the window sheet over and used Stampin’ Blends to colour on the back. For the centre of the flowers, I coloured all over with Light Basic Black and then used Dark Basic Black to add dots all over the area.
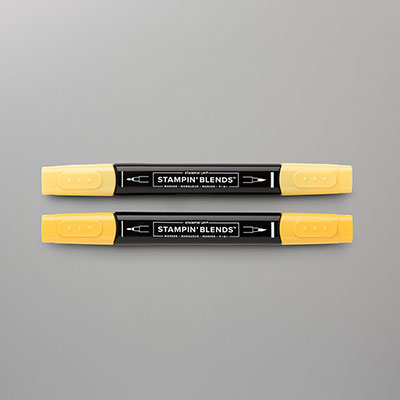
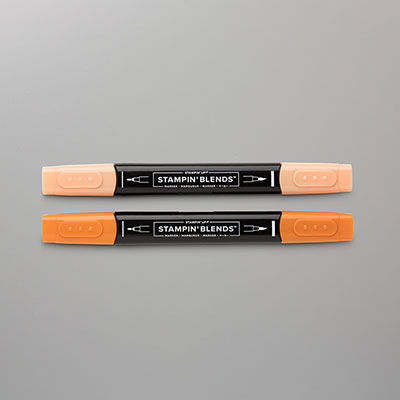
The petals were Dark Pumpkin Pie and Light and Dark Daffodil Delight to give a gradient of colour.
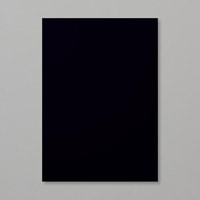
The black frame was created by gutting the centre of a 12.5cm x 6.5cm (2 3/4″ x 4 3/4″) piece of Basic Black, leaving a 1cm (1/2″) border all round.
Using tear & tape to avoid any squirting glue, I stuck the frame to the window sheet and then the window sheet to a 12cm x 6cm (2 1/2″ x 4 1/2″) piece of Basic White card.
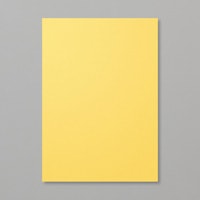
For this card I used a standard Thick Basic White card base, with a Daffodil Delight mat. The Stained Glass Window piece was added with dimensionals.
The sentiment used white embossing on a black strip of card.
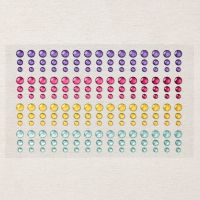
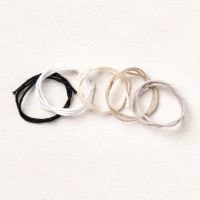
To finish I added some yellow Glossy Dots and a bow of black twine.
Let’s Hop
I hope you have enjoyed my project. Do leave a comment if you can, because it certainly makes my day. Then it is time to hop around all the other projects
How Can I Help?
Don’t hesitate to get in touch if I can help with your purchases, or if you have a crafty question.
Meanwhile stay safe and stay well
Helen xx
If you live in the UK, I would love you to choose me as your demonstrator.
- You can shop here or click on the images listed below.
- sign up for my newsletter to receive news and inspiration
- Find out more about joining my team to get a 20% discount on your craft supplies
- email me if I can be of any assistance.
- Make sure you use the current host code so I can thank you for your order.
- Anyone purchasing from me will receive a Tutorial Bundle as a Thank You.










Love your card Helen, so pretty x