Creating Borders
For lots of people, their stamp positioning tool is an absolutely vital piece of equipment and is the difference between them being able to stamp and being denied the pleasure. They may have issues with gripping a block, holding the block steady, or having the strength in their hands to apply the necessary pressure. Whatever the barriers they have experienced in the past, the stamparatus can often be the solution.
I am blessed and have none of these difficulties. My stamparatus is still a vital piece of equipment in my craft room. There are so many techniques you can use it for. It is invaluable when mass producing projects.
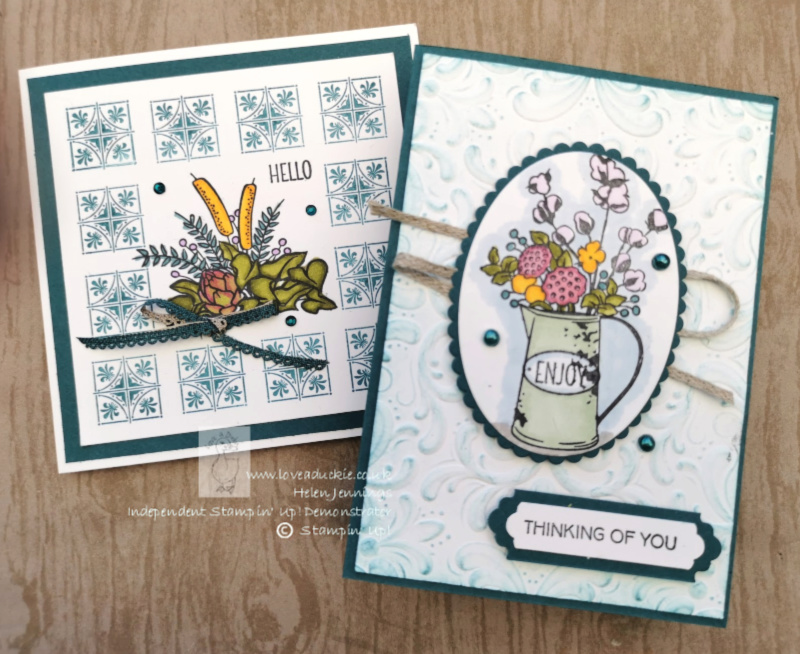
I have reached for it a couple of times this week on my Facebook Lives.
Tile Border
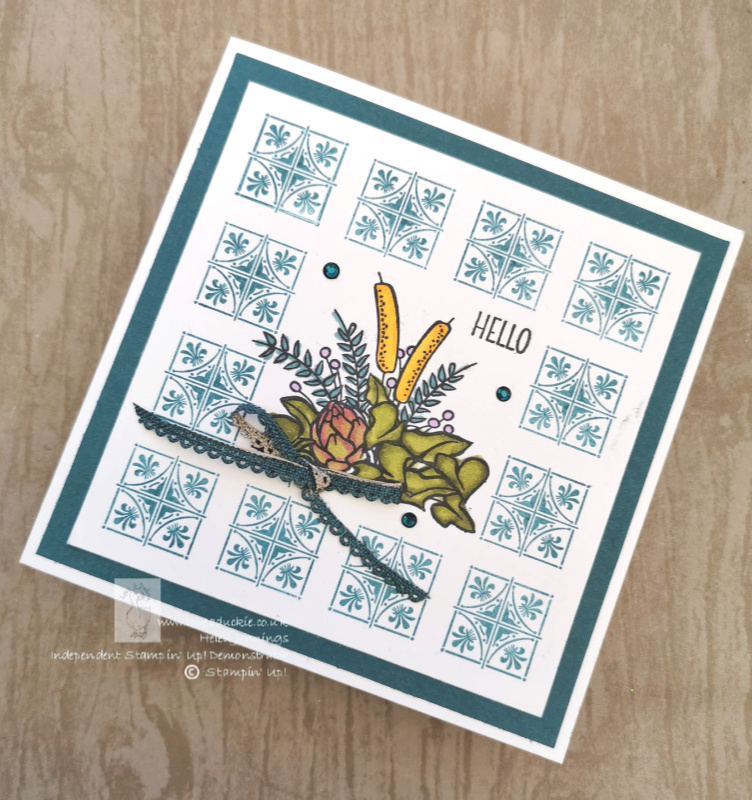
I used the little tile stamp from the Country Home stamp set to create a border around the edge of the 11cm square piece of Whisper White card. This was accomplished by using the unique feature in Stampin Up’s stamp positioning tool that allows me lift the plate out and then move it along the hinge a notch, before stamping again. I also used my stamparatus to allow me to line up the centre image and greeting.
Jug of loveliness
I went on to create a 2nd card with this stamp set, maintaining the same basic colours.
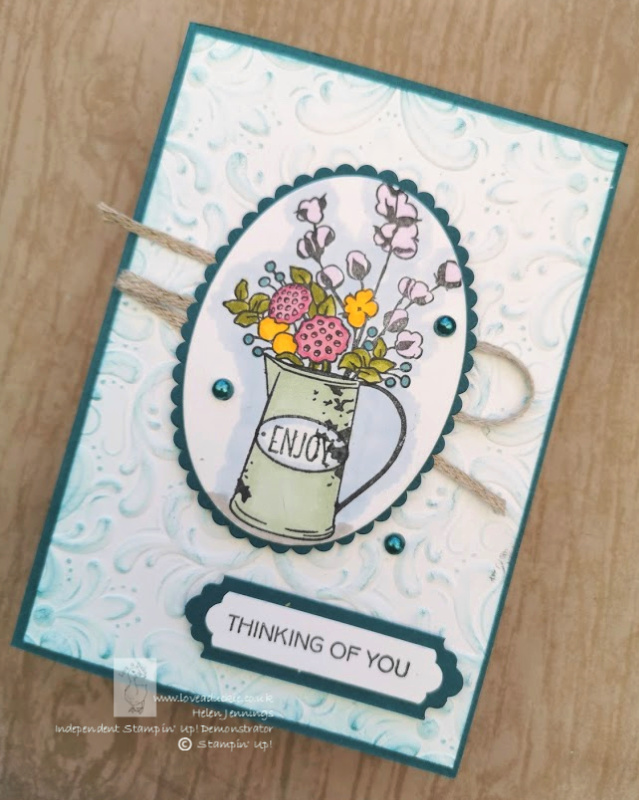
You can watch both of these cards being created on this video:
Markering Butterflies
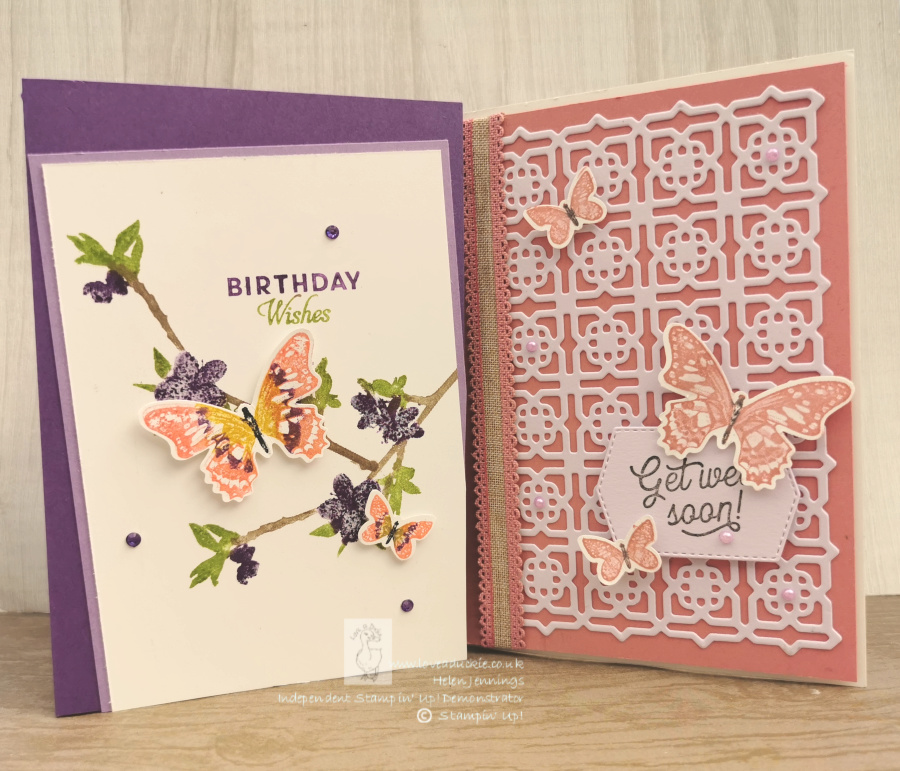
I had never heard the term markering before until I spotted it in a little key to techniques at the front of the new Annual Catalogue that launches next week. It is a term to describe the process of using Stampin Write markers to add colour directly to the stamp. This works best with our rubber stamps. The stamparatus is a brilliant tool to help with this technique as you are able to gradually build up colours on a stamp, blending colours together.
Blossom Butterfly
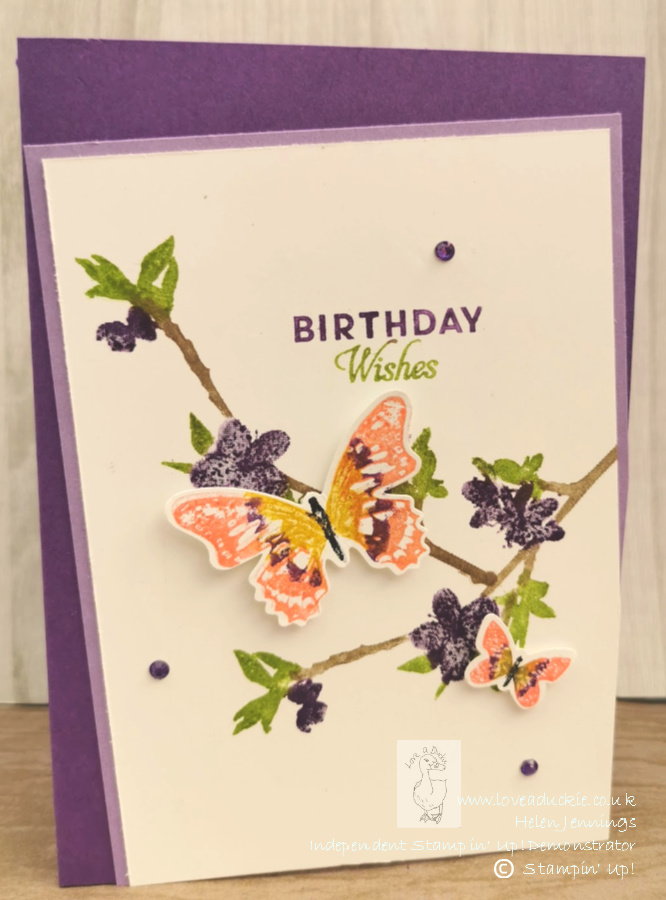
I used my stamparatus and my stampin write markers in soft suede, Granny Apple Green and Gorgeous Grape to create the branch of blossom from the Butterfly Wishes stamp set. Using the same technique, I also was also able to create a two tone greeting.
The stamparatus then came in handy for another technique. I was able to use a stencil to line up the butterfly stamps and then add in whisper white punched shapes to stamp. This time I used Crushed Curry, Flirt Flamingo, Gorgeous Grape and Basic Black markers.
The finished stamped image was added to a card base at a jaunty angle to create a lovely clean and simple card.
Oh My Medallions
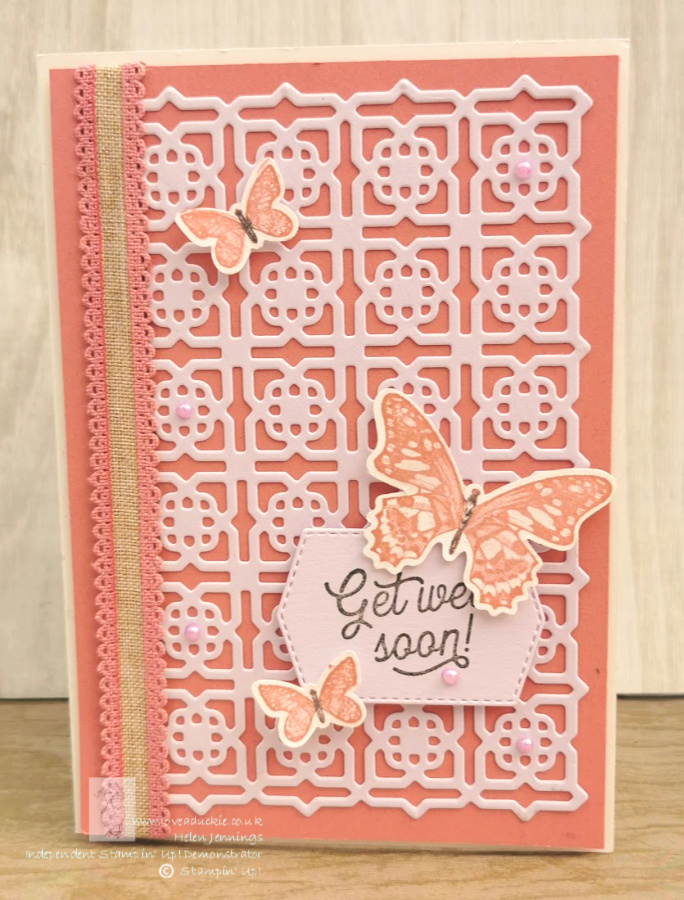
The stamparatus was used again to create this second lot of butterflies which are fluttering around this fantastic new die cut Medallion background.. I used my ink pad to stamp the butterflies, but then used the basic gray marker to add in the butterflies body. I used my dark Purple Posy Stampin Blend to colour some pearls and one of the new Tasteful Labels for the greeting. This sentiment came from the Many Mates stamp set, an incredibly useful sentiment set that is bundled with the Many Medallions die set.
You are able to see these cards being created too.
Supplies
You can find the current products that I have used in these projects listed below. The new products will be available from June 3rd and you will be able to find them in my online store then.
Do come and join me for lots of demonstrations, fun and games on launch day.
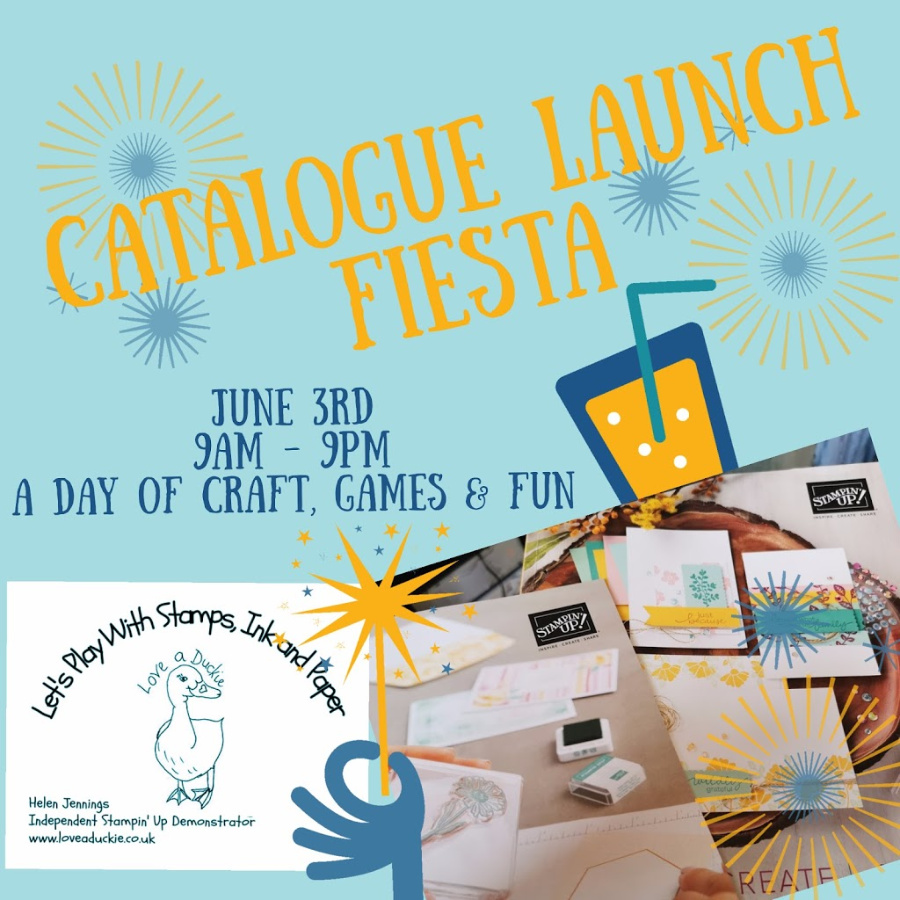
Meanwhile, grab your stamparatus and get creating.
Stay Safe, stay well
Helen xx
Free Tutorial Bundle with any purchase 
Host Code
Shop Now
Product List
