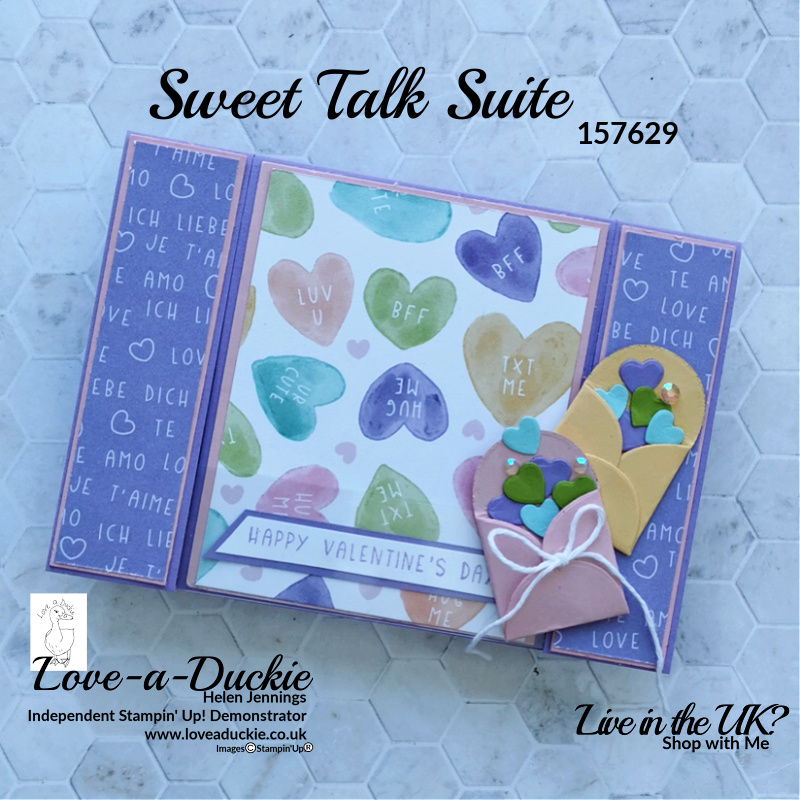
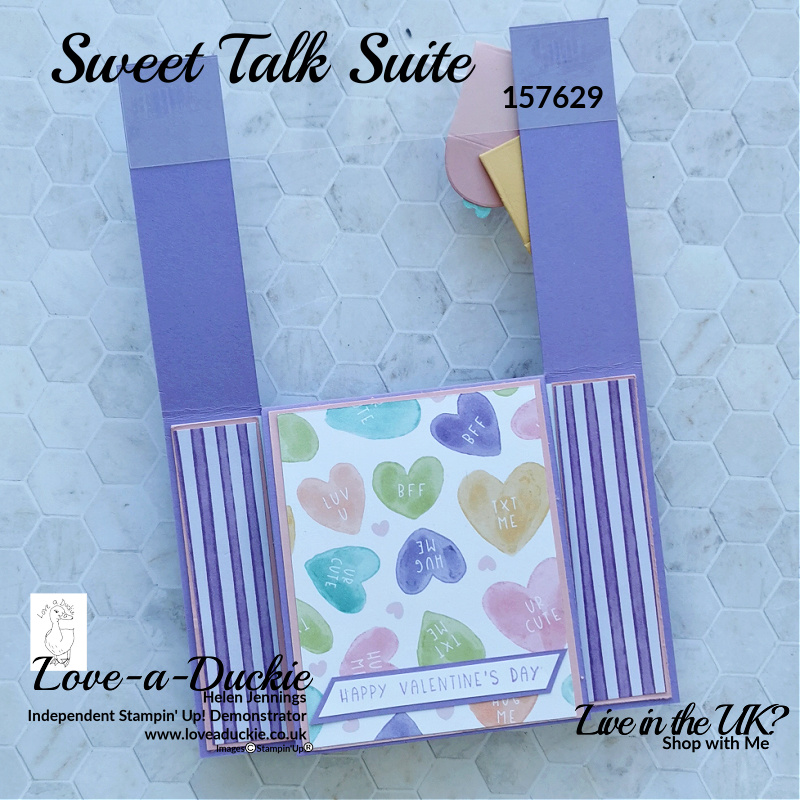
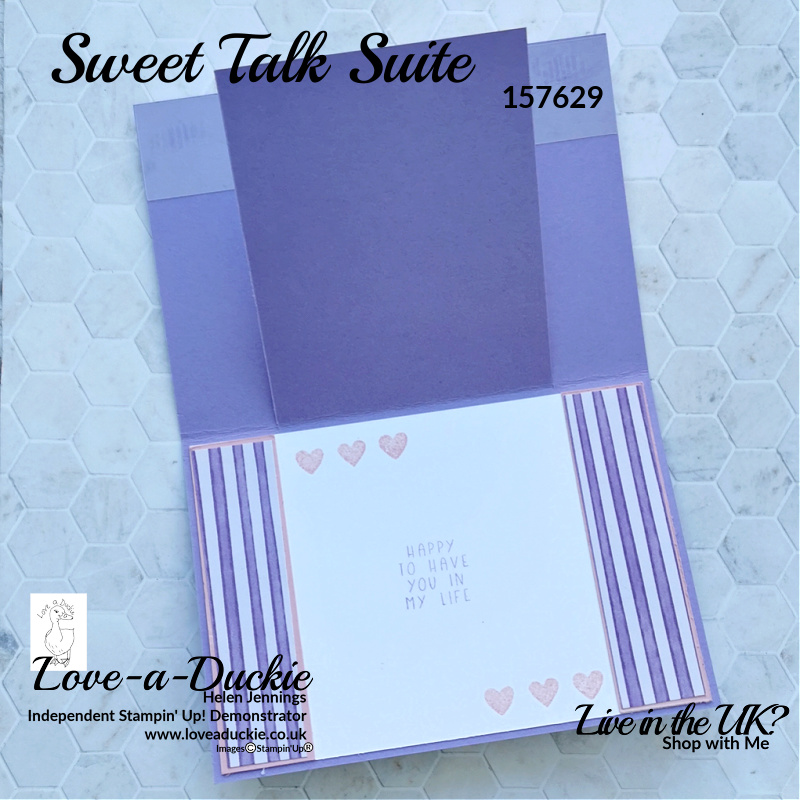
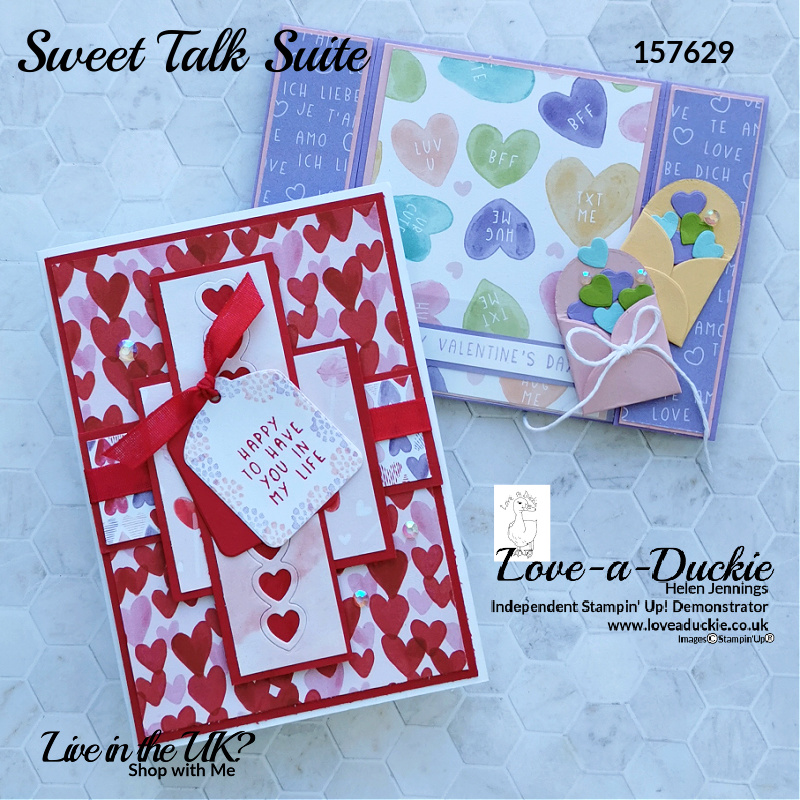
I created a Spanner Fold card for Valentine’s Day on a recent live. There was also a card with layered blocks of patterned paper.
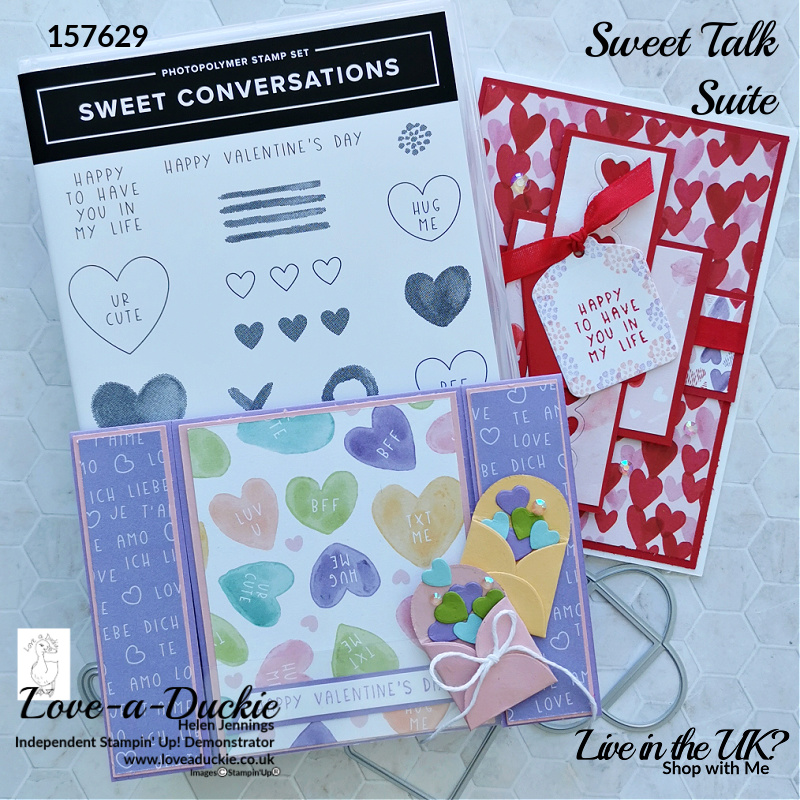
Both cards were using the Sweet talk suite of products. This set has obviously been created with Valentine’s day in mind. However with its images of sweets and lollipops and fun colour palette, it would also be perfect for cards the year through.
The suite consists of:
- A Photopolymer Stamp Set
- Coordinating dies, including a mini envelope and tag
- 12″ x 12″ Designer Series Paper, with some images you can die cut
- A Gingham Embossing Folder
- Iridescent Rhinestones
- Real Red Faux Linen Ribbon
- Little Treat Boxes
On the first of two lives I am doing with this suite, I created cards to showcase the papers, bringing in other elements of the suite.
My Projects
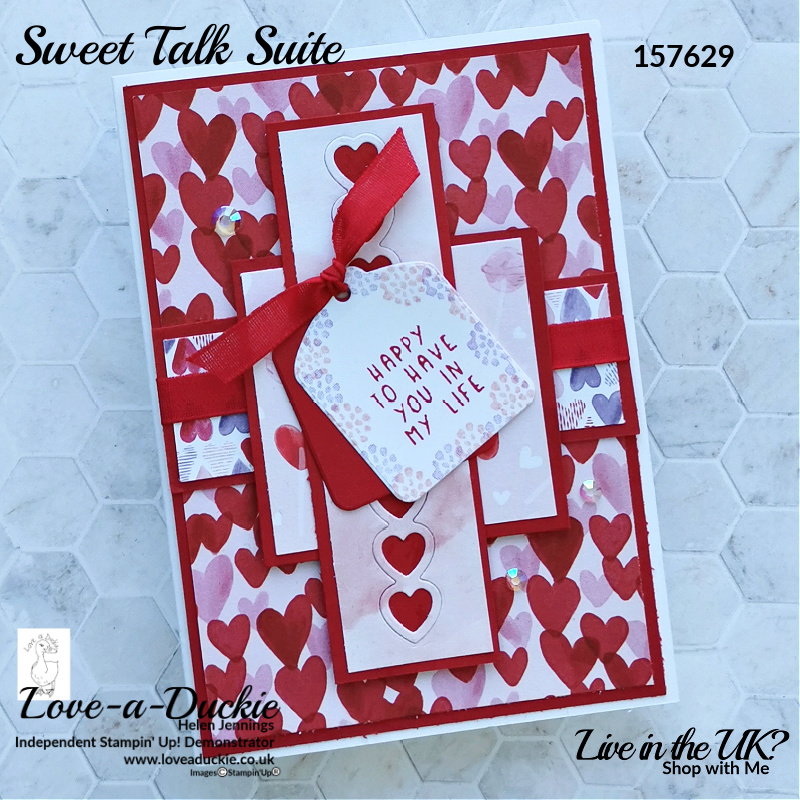
This first card uses different sized mats of Designer Series paper, backed with Real Red cardstock.
| Metric | Imperial | |
| Thick Basic White Card base | 14.9cm x 21cm Scored at 10.5cm on the long side | 8 1/2″ x 5 1/2″ Scored at 4 1/4″ on the long side |
| Layer 1 | Card:14.4cm x 10cm DSP: 13.9cm x 9.5cm | Card: 5 1/4″ x 4“ DSP: 5″ x 3 3/4″ |
| Layer 2 | Card: 3.5cm x 10cm DSP: 3cm x 9.5cm | Card: 4″ x 1 3/8″ DSP: 3 3/4″ x 1 1/8″ |
| Layer 3 | Card: 6.5cm x 6.5cm DSP: 6cm x 6cm | Card: 2 1/2″ x 2 1/2″ DSP: 2 1/4″ x 2 1/4″ |
| Layer 4 | Card: 12cm x 3.5cm DSP: 11.5cm x 3cm | Card: 4 1/2″ x 1 3/8″ DSP: 4 1/4″ x 1 1/8″ |
The DSP piece on layer 4 was die cut with a strip of hearts , to reveal the red card underneath.
To these layers, I added some of the faux linen ribbon from the suite, a stamped tag and the gorgeous Iridescent Rhinestones.
A Spanner Fold Card for Valentine’s Day
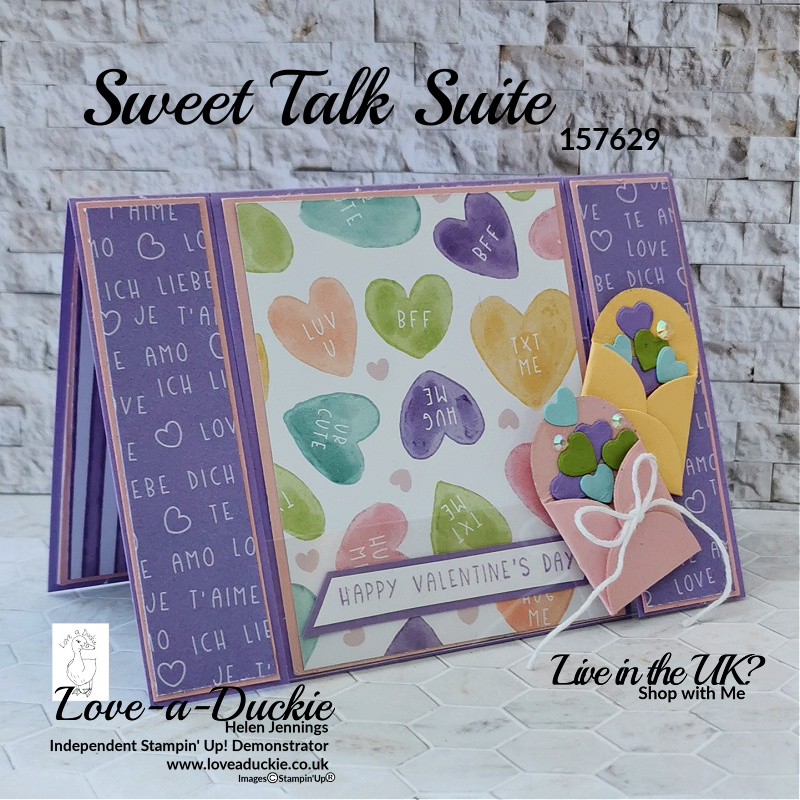
This second card was a fancy fold card. I saw this idea for a Spanner Fold Card on a You Tube video by Lisa Curcio from last May using different products.
I worked out the measurements to create this style of card using metric cardstock
The basic card base measurements are:
| Metric | Imperial | |
| Highland Heather Card base | 14.9cm x 21cm Scored at 10.5cm on the long side | 8 1/2″ x 5 1/2″ Scored at 4 1/4″ on the long side |
| Side Panels (cut 2) | Card: 10.25cm x 2.75cm DSP: 10cm x 2.5cm | Card: 1 1/8″ x 4 1/8″ DSP: 1″ x 4″ |
| Centre Panel | Card: 10.25cm x 8.65cm DSP: 10 x 8.4cm | Card: 2 7/8″ x 4 1/8″ DSP: 2 3/4″ x 4″ |
| Window Sheet | 14.9cm x 3cm | 5 1/2″ x 1 1/4″ |
| Back Panel | Card:14.4cm x 10cm | Card: 5 1/4″ x 4“ |
| Back Side Panels (cut 2) | Card: 10cm x 2.75cm DSP: 9.75cm x 2.5cm | Card: 4″ x 1 1/8″ DSP: 3 7/8″ x 1″ |
This finished spanner card has three different layers. The front opening piece has a Window Sheet bridge and has been decorated with mini envelopes. The centre panel is showcasing Designer series paper and has a sentiment strip on it. The inside base layer features more paper and stamping.
Watch the Video
You can see both these cards being created on this recording of my Live.
How Can I Help
I hope I have given you some inspiration if you have this suite. If you don’t have it yet, I’m sure you are going to want it.
You can find another card I have created with these papers on a recent blog post.
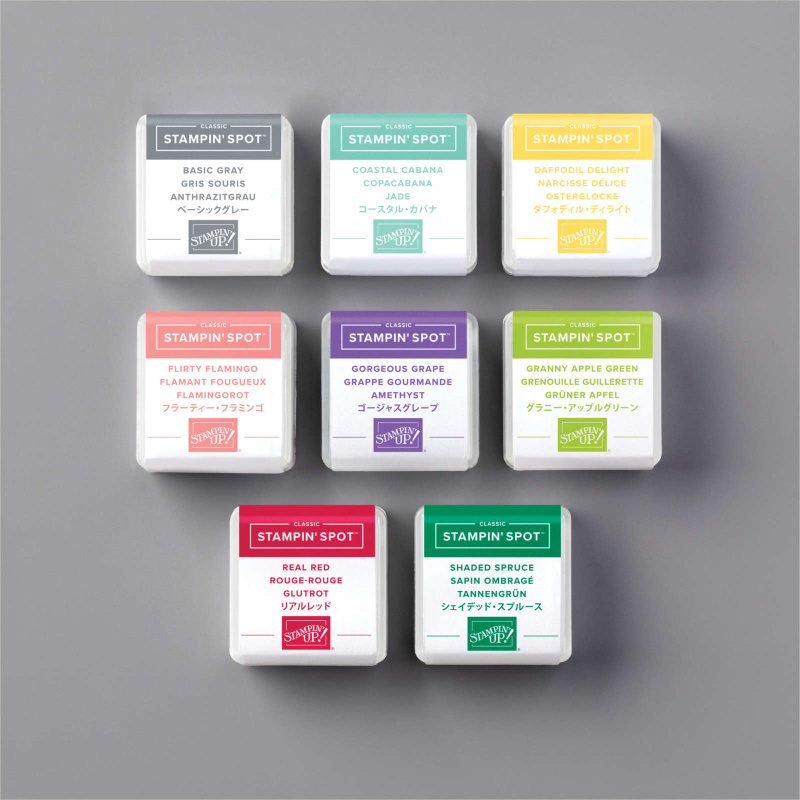
During my video, I used a Real Red Stampin’ Spot for my inking. This little collection of Stampin’ Spots is so useful. Whether you are new to Stampin’ Up products, or wanting to craft on the go, these will be a great addition to your craft supplies.
Don’t hesitate to get in touch if I can help with your purchases, or if you have a crafty question.
Meanwhile stay safe and stay well
Helen xx
If you live in the UK, I would love you to choose me as your demonstrator.
- You can shop here or click on the images listed below.
- sign up for my newsletter to receive news and inspiration
- Find out more about joining my team to get a 20% discount on your craft supplies
- email me if I can be of any assistance.
- Make sure you use the current host code so I can thank you for your order.
- Anyone purchasing from me will receive a Tutorial Bundle as a Thank You.
